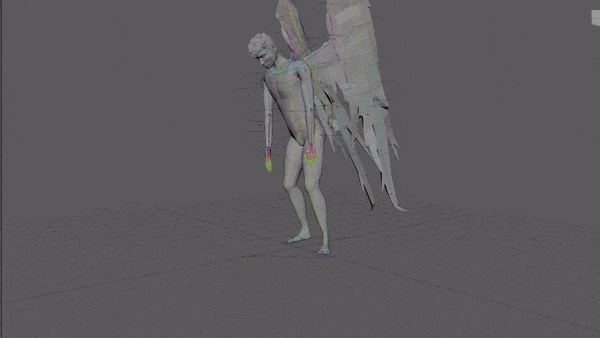
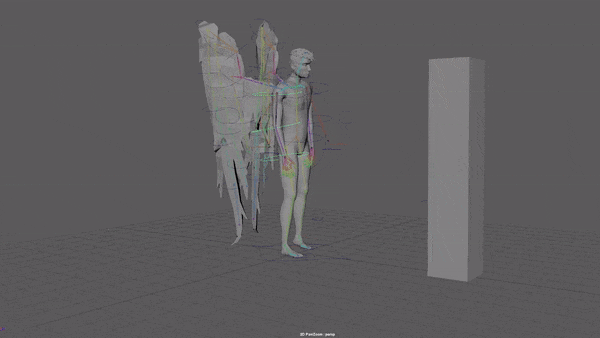
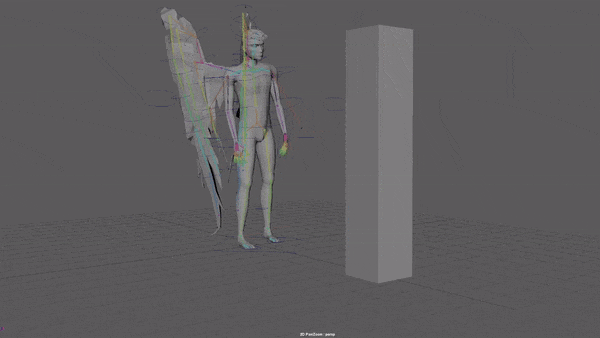
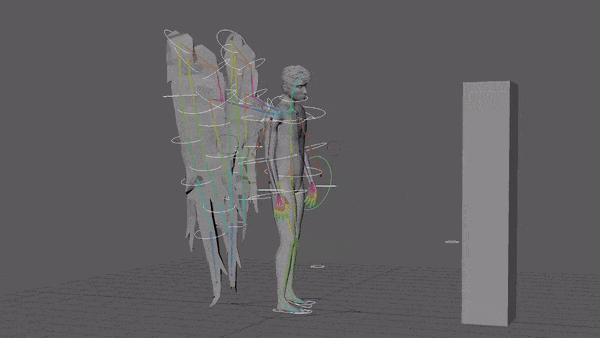
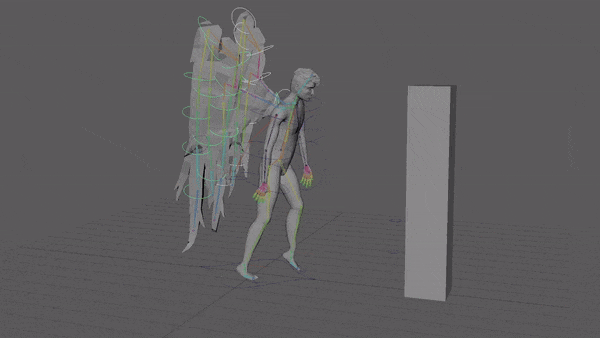
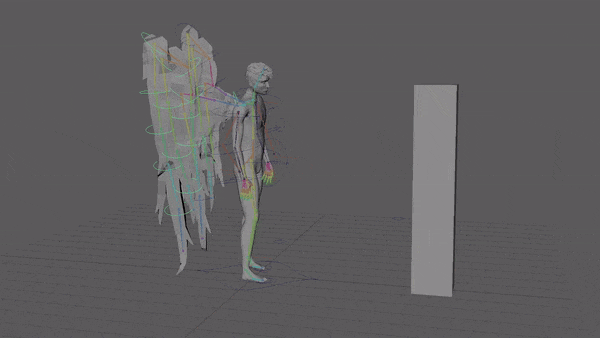
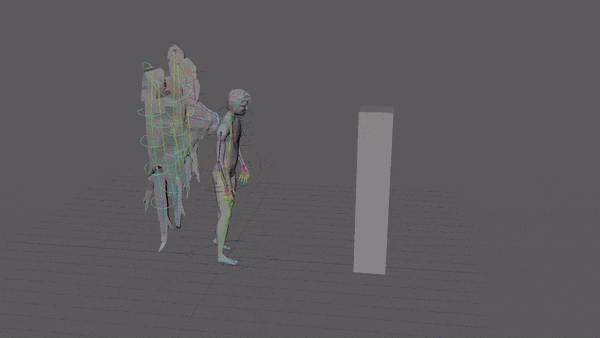
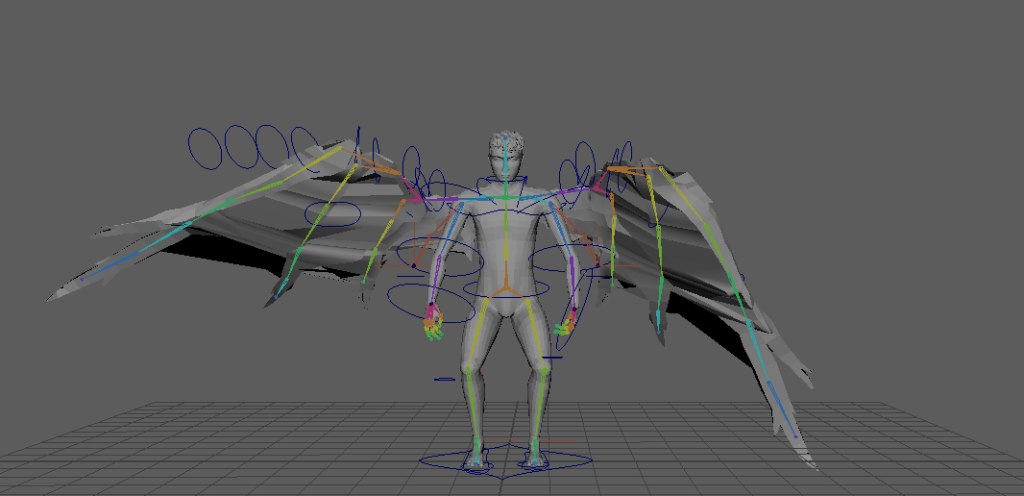
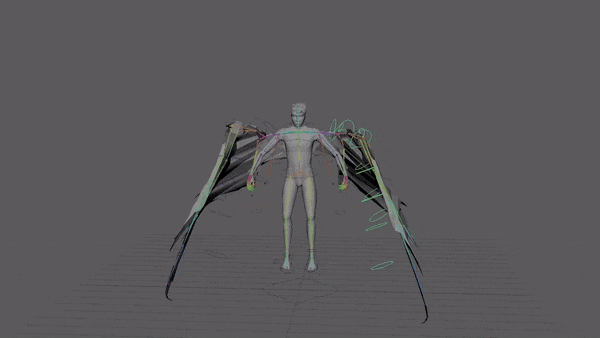
Sequence 1


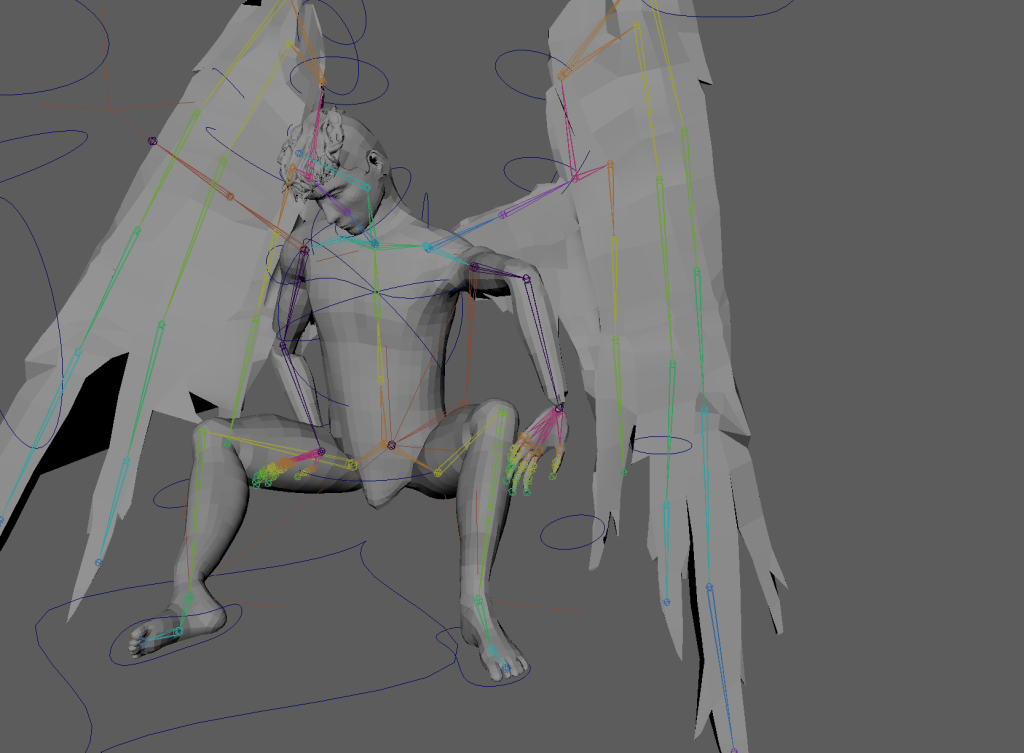
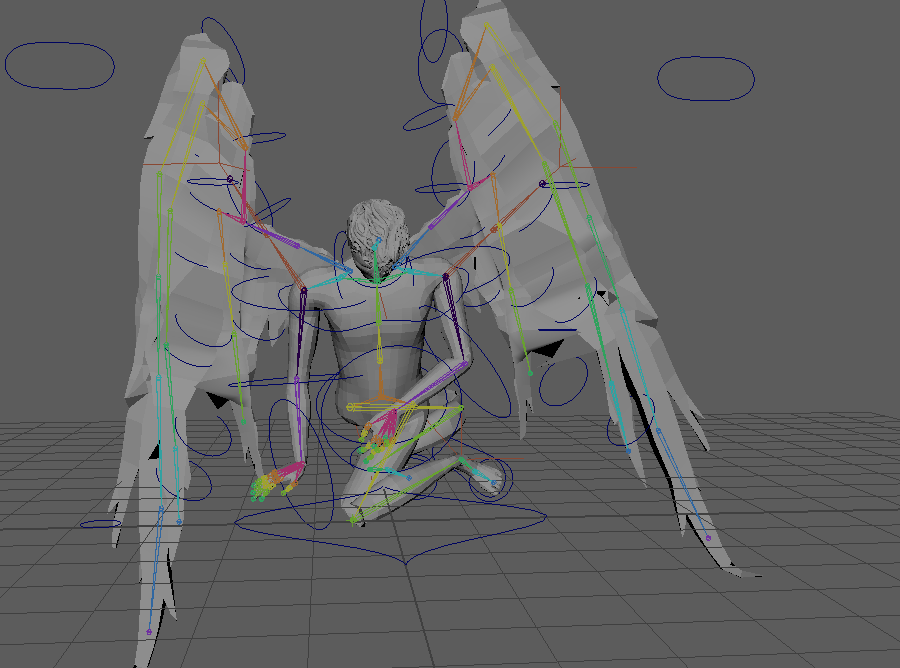
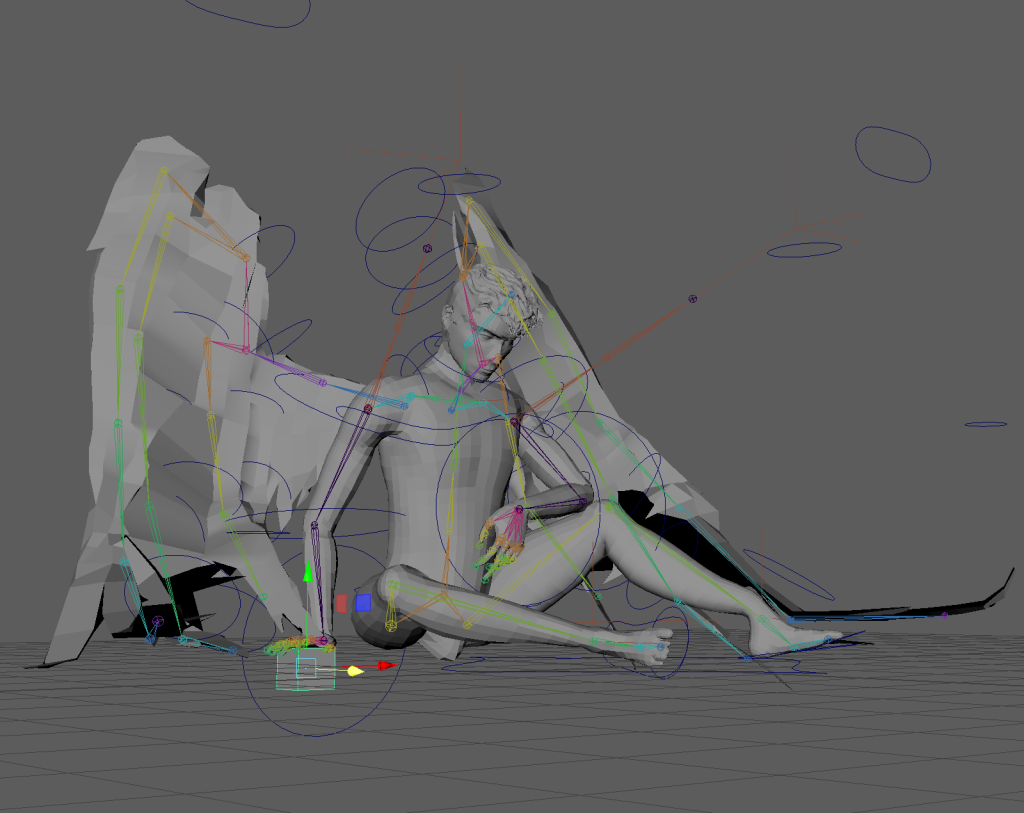
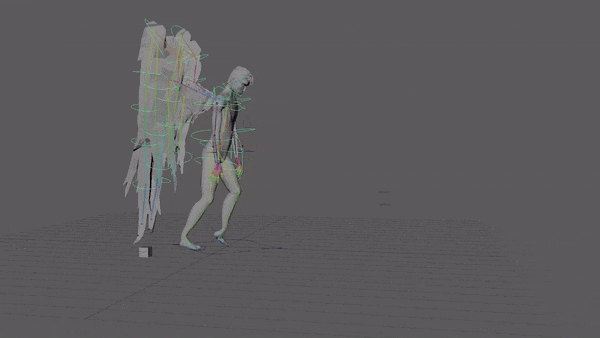
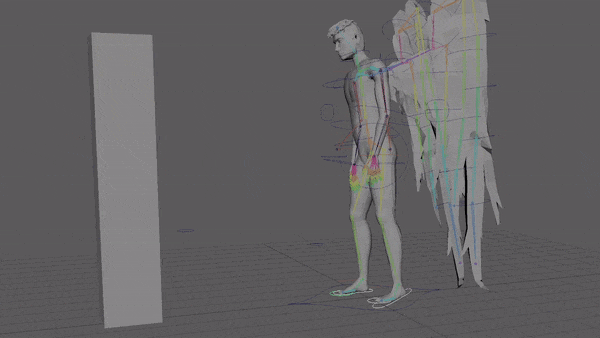
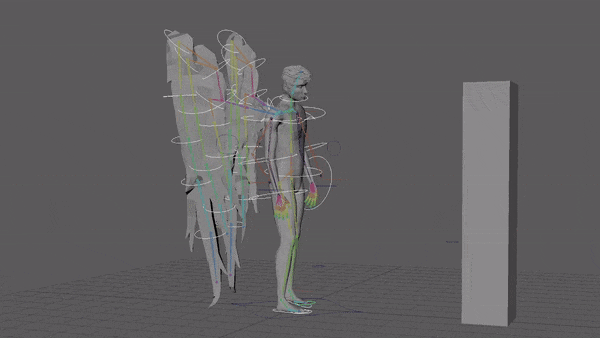
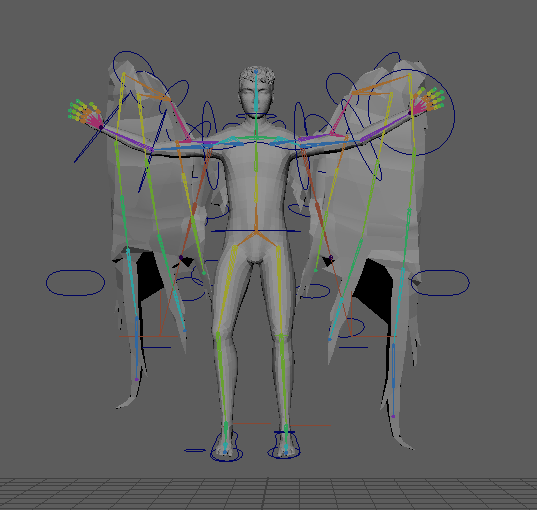
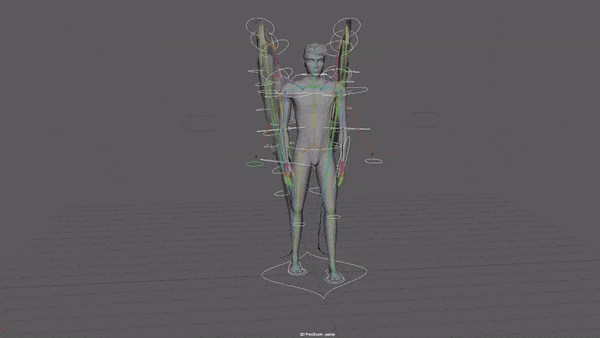
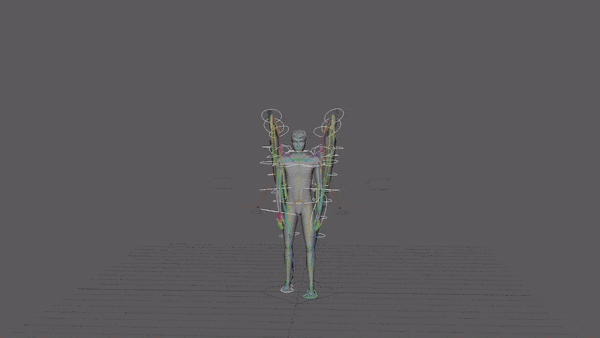
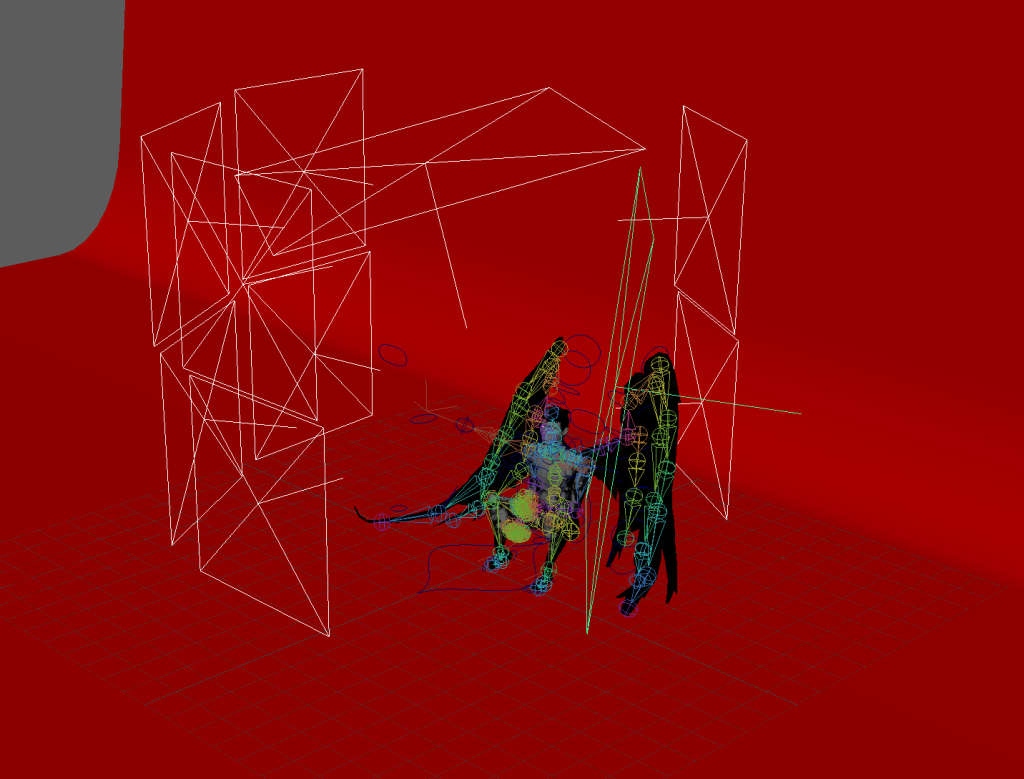
Pose 1
I started animating by creating the key poses from my storyboards.
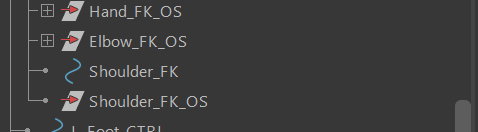
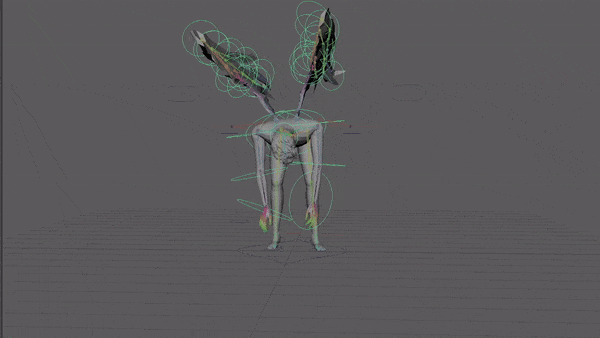
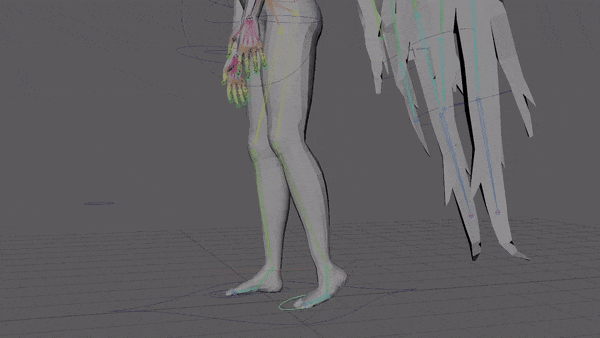
I found some parts of the rig that I wished I set up different controls for like an adjustment to the driven keys for the hands so the finger could flex backwards instead of only having the option of the hand being relaxed or clenched. I also realised that I would’ve liked controls that allowed for the back to hunch but had to make do with what I had.
I noticed the FK controls weren’t following the bones properly and wasn’t sure what was wrong with the parenting but eventually found where it was parented incorrectly.

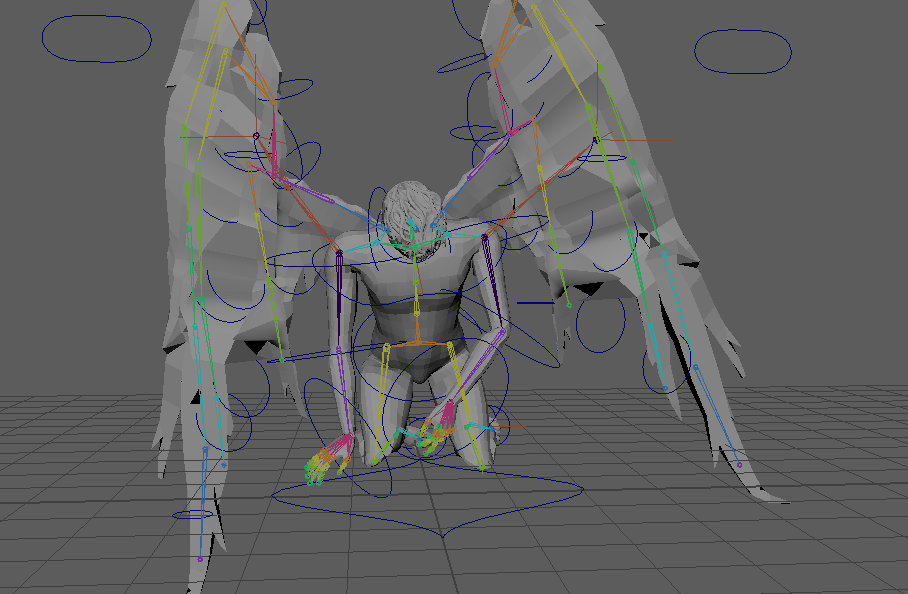
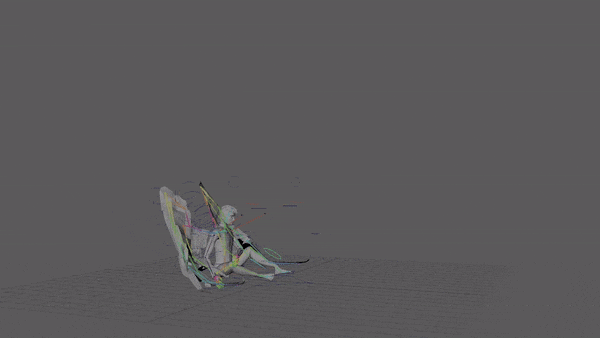
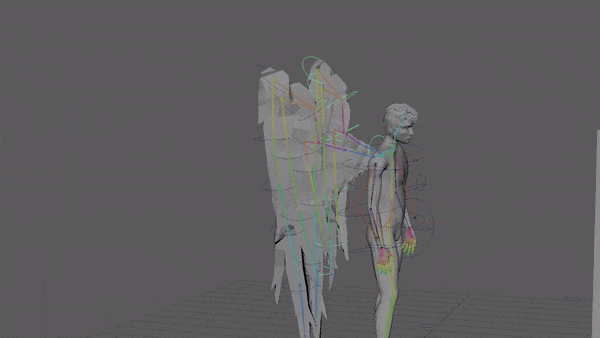
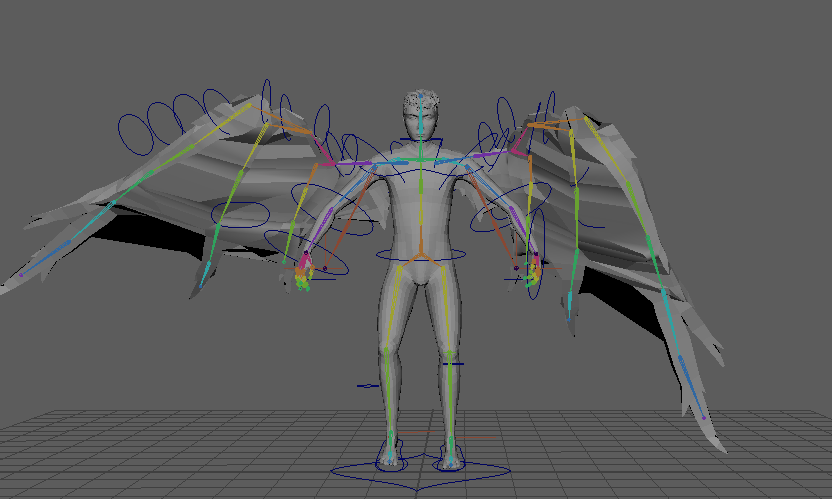
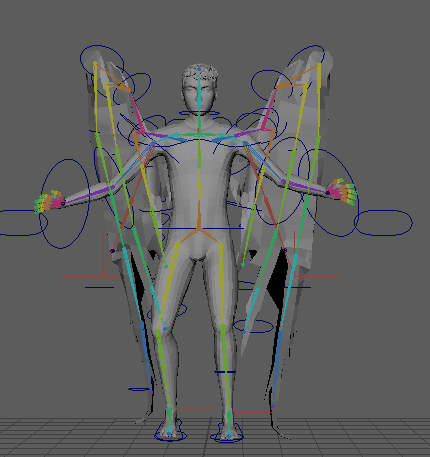
Pose 2
As I keyed the controls for the second pose I started having issues with the previous keys being overwritten and I wasn’t sure why. I figured out that I had keyed the master control only and while the other controls were selected through the parenting their values were not being keyed. I also realised that if I keyed a control for the second pose that I hadn’t keyed anywhere else it would stay as it was keyed in the second pose for the whole sequence so after this I started keying all the controls on the start and end pose when I started animating each sequence.

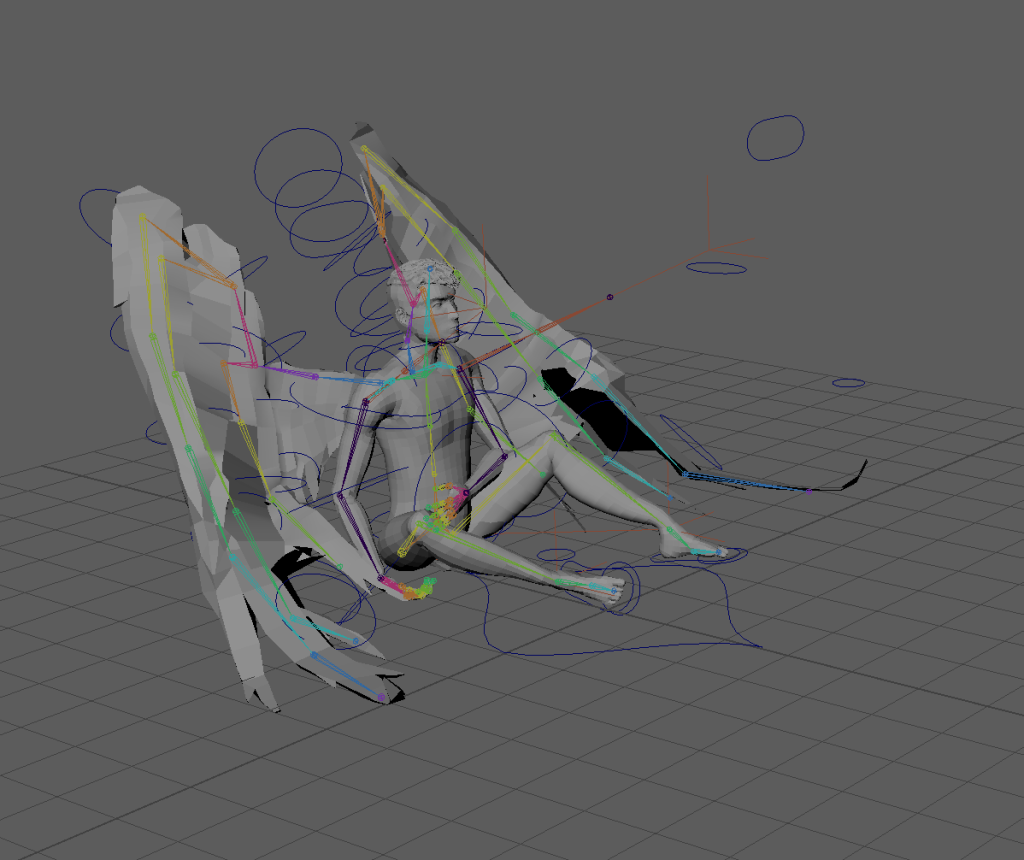
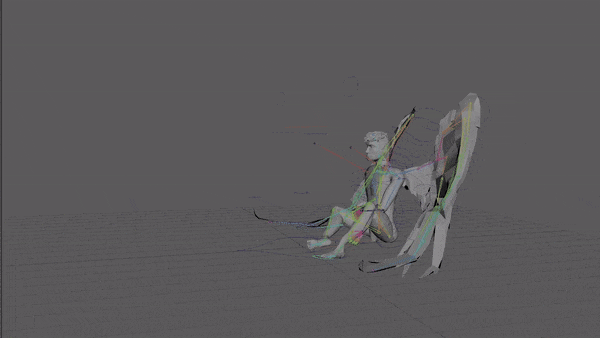
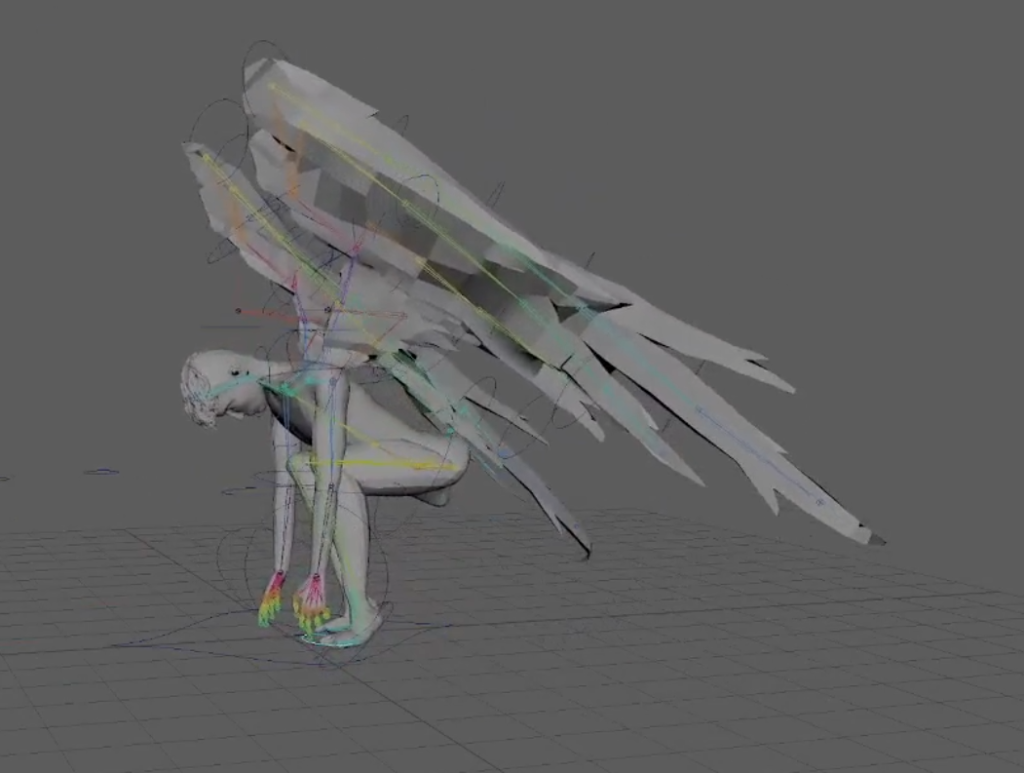
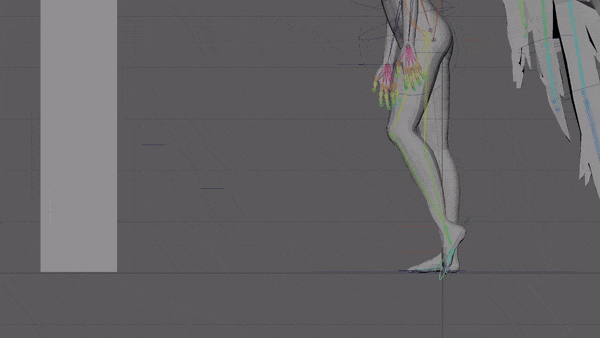
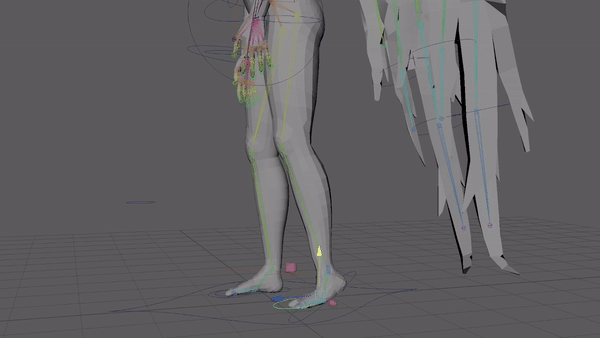
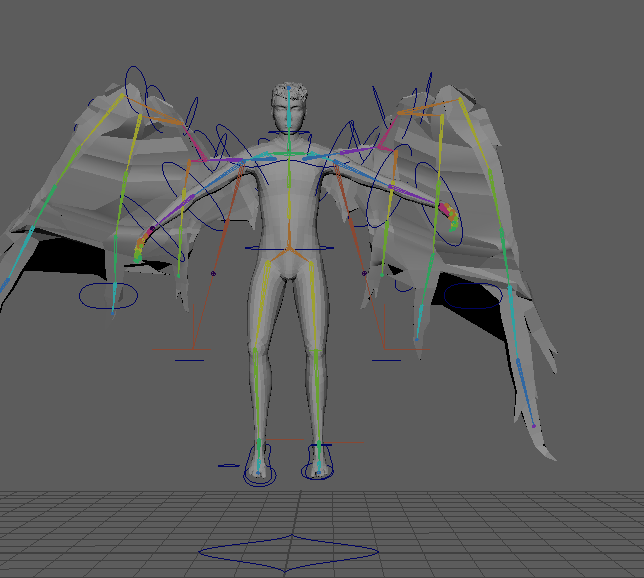
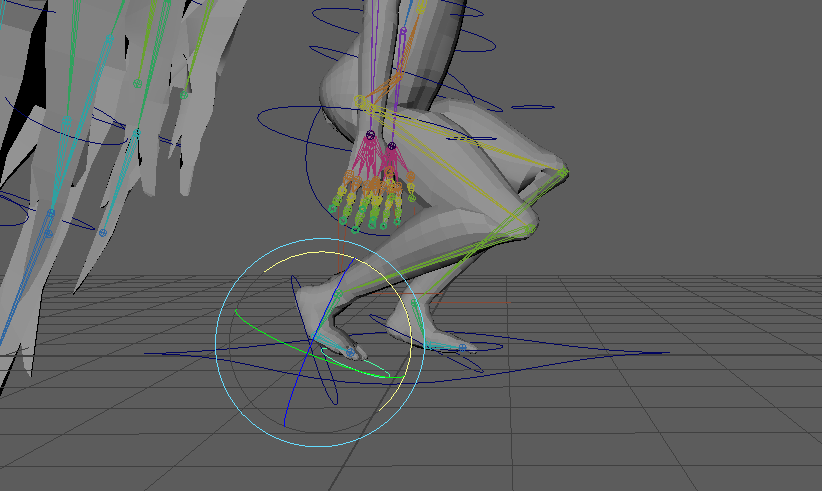
I found that the knees break when the character is in a kneeling pose and started thinking about changing the third pose.
After keying frame 60, the left arm in frame 30 broke and the controls moved into the body.
I realised I misclicked and broke the parenting that’s why it stopped working.
After many issues and errors I decided to restart this animation.
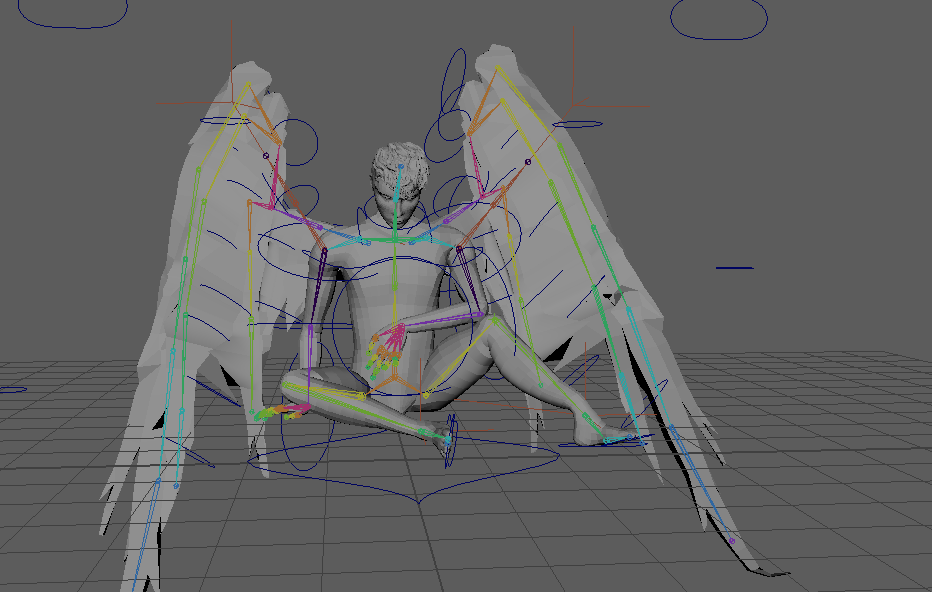
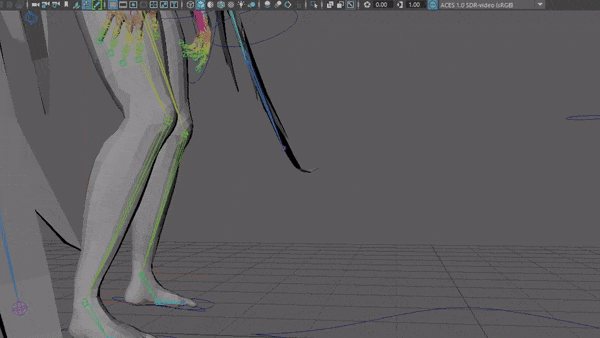
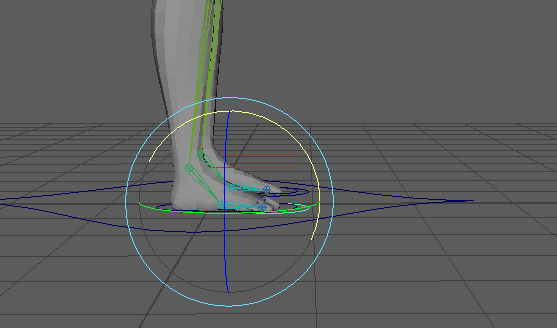
In between the first two key poses the knees break and pole vectors stop working when feet are too close to the body. To fix this I had to key the pole vectors at really extreme transformations for a few frames before having them return to their original position.
I started with a walk where the toes drag along the ground but as I struggled to make it look natural to place the foot down after the toe dragging I decided to change the walk.
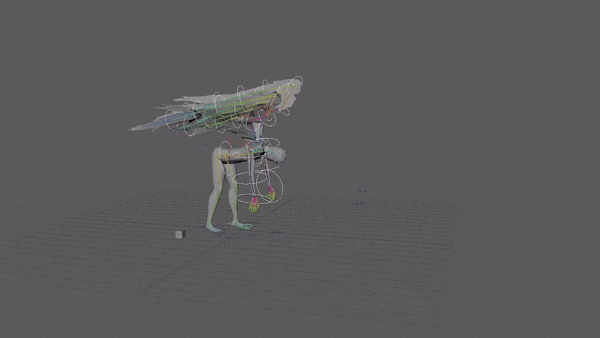
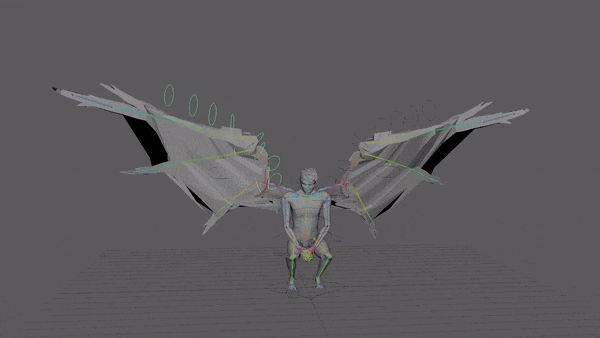
Adding wings bending due to contact with the ground started on frame 50 as that was where they would be the most bent then copy and pasted the keys onto frame 1 where they look like this.
I adjusted the angle of the wings bending to fit the first frame.
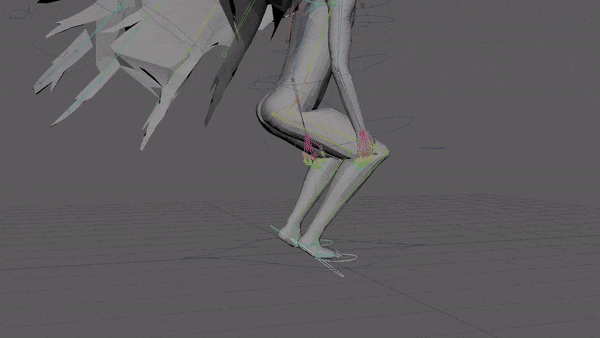
I changed the walk completely to limp without the weird foot angle despite my refs and storyboard because I didn’t like the way it looked on the mesh. I filmed a new self-reference video and adjusted the limp using the graph editor.
I synced hips with the limp by comparing the foot controls and hip control on the graph editor and selecting the hip keys and then using pressing shift and 9 or shift and 0 to move them keys one frame left or right. Realised form looking at self-reference as soon as the non limping foot lifts the hips start to lower and reach their lowest just after the foot hits the ground before bouncing back up as the leg is straightened underneath them.
The feet slide on the x axis a lot during the standing up portion. To make this look normal I changed the start position of the right foot so that when the left foot slides it looks like he’s putting weight on his right foot to move the left instead of it just looking like the floor has not friction at all.
I added hip movement on the x axis during the limp to show his balance shifting as he lifts up his foot.
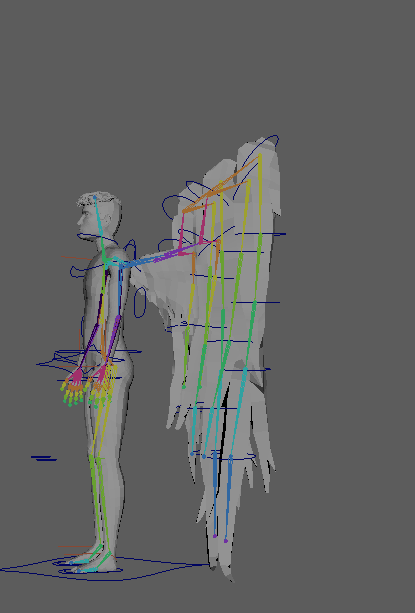
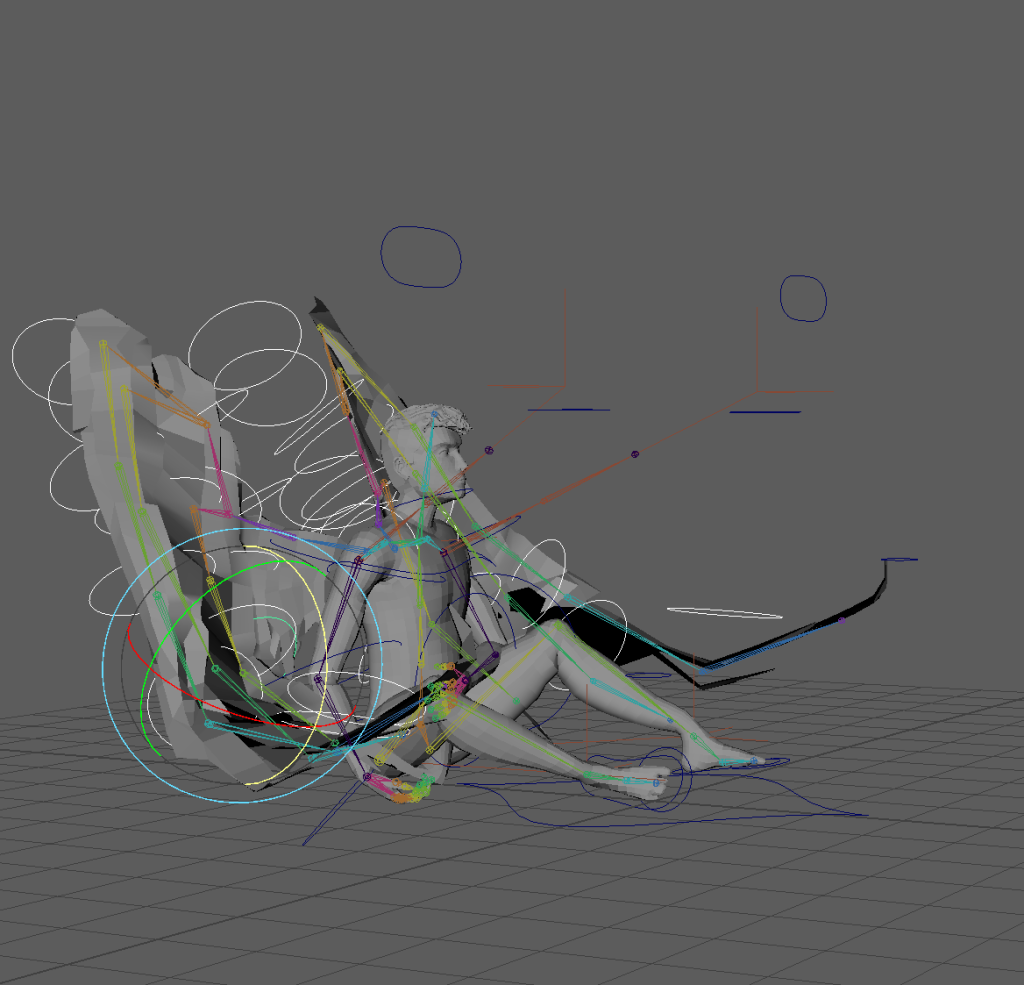
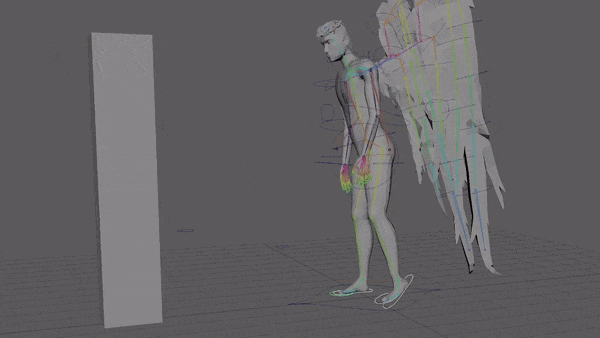
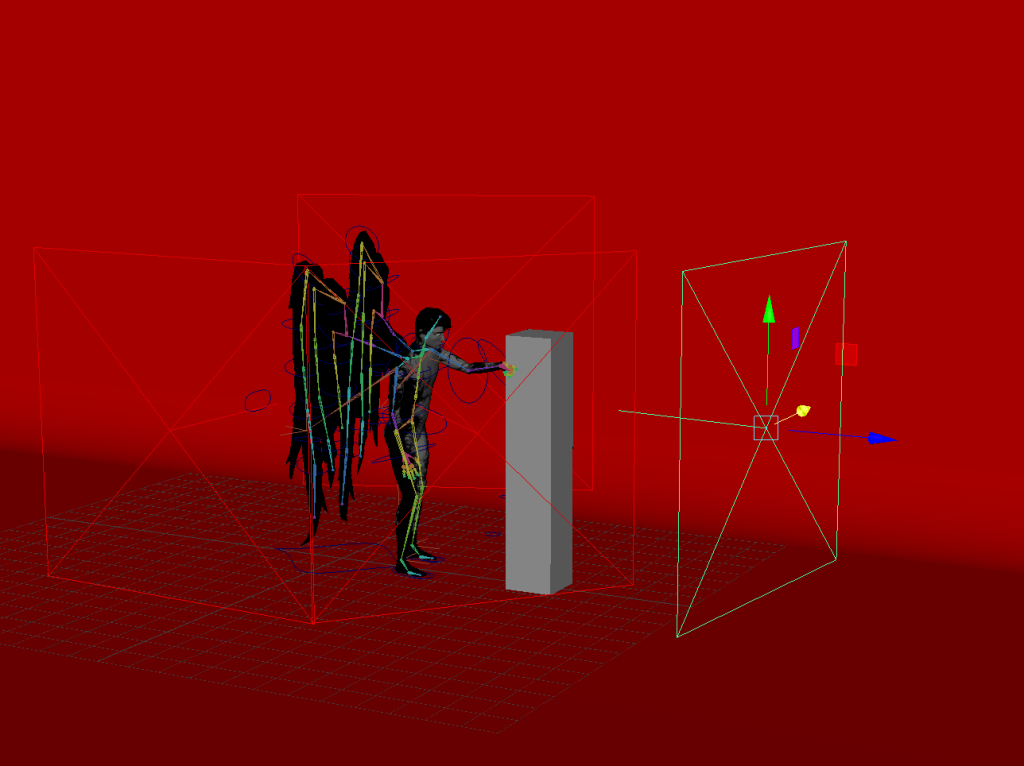
I used a cube as a marker for where the hand contacts the floor to animate with FK controls as the IK doesn’t have a control to change the wrist angle.
I adjusted the feet so he stands up without breaking the laws of physics. Before his centre of gravity was way too far back and he would’ve fallen backwards from being unbalanced.

I adjusted the speed of the steps without changing the speed of the foot dragging. Adjusted the angle if the foot during steps. Increased speed of hip up and down motion with steps and adjusted a bunch to sync it with the walk motion.
After speeding up the steps he looks like hes getting stuck on the foot drag.
I need to make the first step more like the second two because the motion is so natural in them. It sort of looks like a cross between a limp and a gallop at the moment.
I added an extra frame to the wings bending in contact with the ground as he stands up and it’s much smoother now.
I moved the hip rotation to stand upright at the start of the sequence a few frames earlier because it didn’t start until the hips stopped moving up and the movement was robotic and unnatural because it waited for one movement to stop before the next started. I also made the right arm swing slower.
Sequence 2

Despite using pose to pose animation for the rest of my sequences i decided on using the straight ahead animation technique for the explosion animation in sequence 2 to create more natural movement of the falling blocks. They move in arcs. I also considered keying the scale to add squash and stretch when they bounced but decided to focus on the character movement first.
I realised the movement was too slow when actually playing the animation as I messed up the timing by scanning through the frames instead of playing the animation so I didn’t see the frame rate.
To fix the timing I selected all the cubes and opened the graph editor. After deleting the scale graphs for all the cubes, as their scale remains the same, I selected all the keyframes I wanted to move up and then pressed shift and nine to move the keys left by one frame.
Currently looks stiff because only the legs and hips and one arm are actually animated. Gotta add some mild arm swing and idle wing movement.
I added head movement.
I added arm swing and used graph editor to sync motion on arms.
I slowed the head movement and adjusted the hip speed to match with feet better.
I sped up the walk but the foot still didn’t look right so I decided to switch to a limp without the ankle rolling.
I tried making the toe flick forward to transition from the toe dragging to the next step but it felt too stylised and unrealistic to fit with my animation.
Here I adjusted the timing of the steps more.
I changed the walk and adjusted the feet movement.

I tried to add wing movement but removed it because it was the opposite of how it should move.
I added down hip movement at end of first step and adjusted the walk speed.
I let the arm drop at end of the sequence as it felt like it was too long for him to reasonable continue holding it up after destroying the block.
I added a wing bounce with the steps.
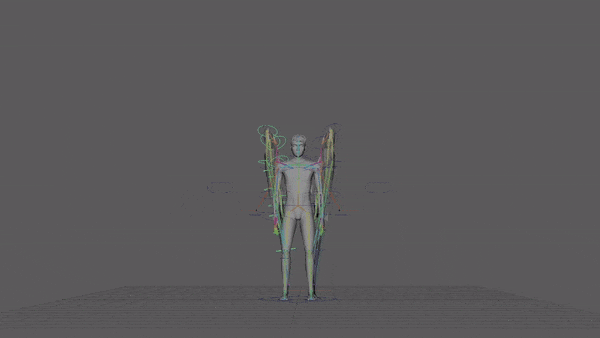
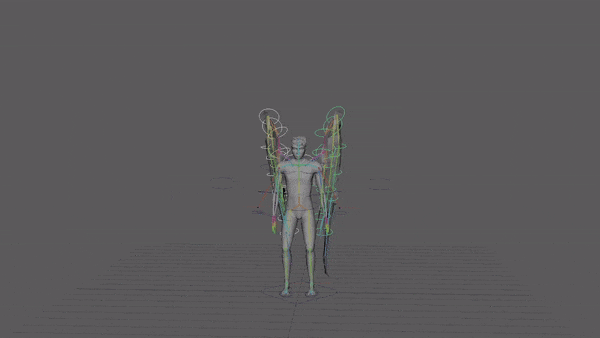
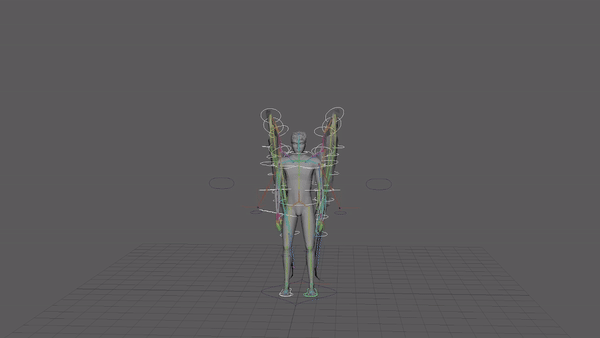
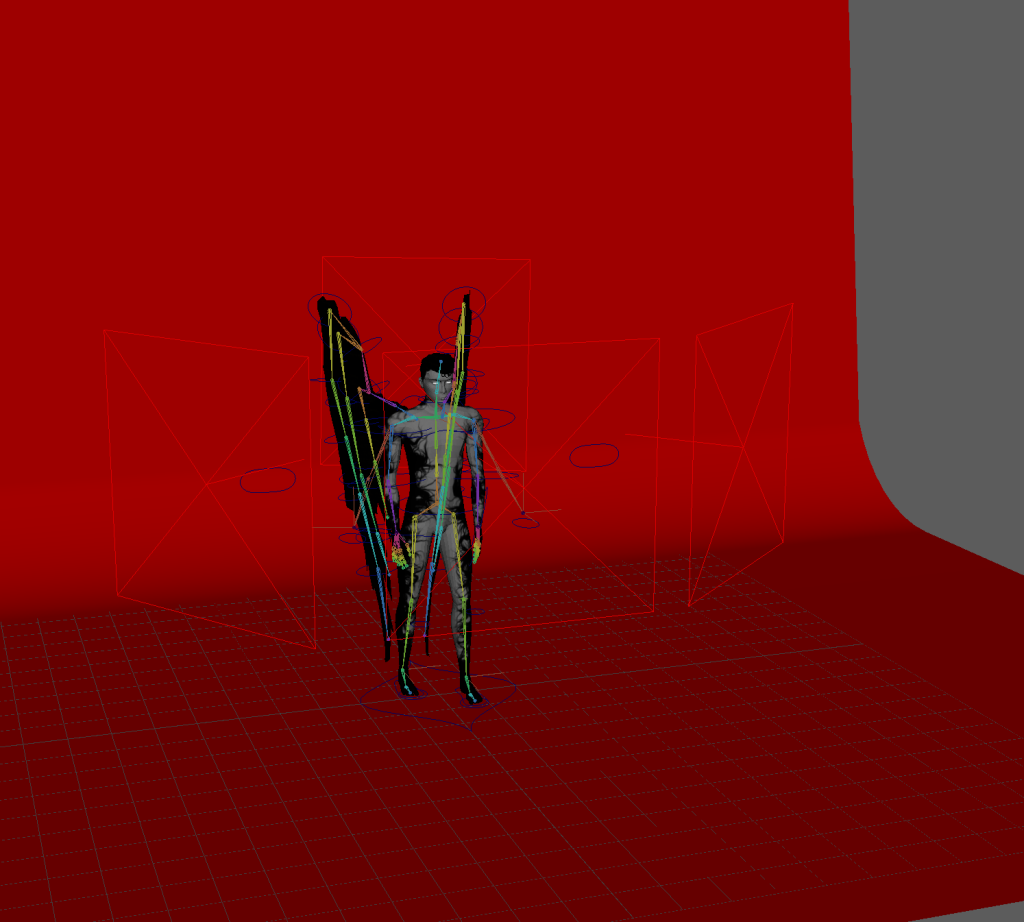
Sequence 3 – Pose and flight
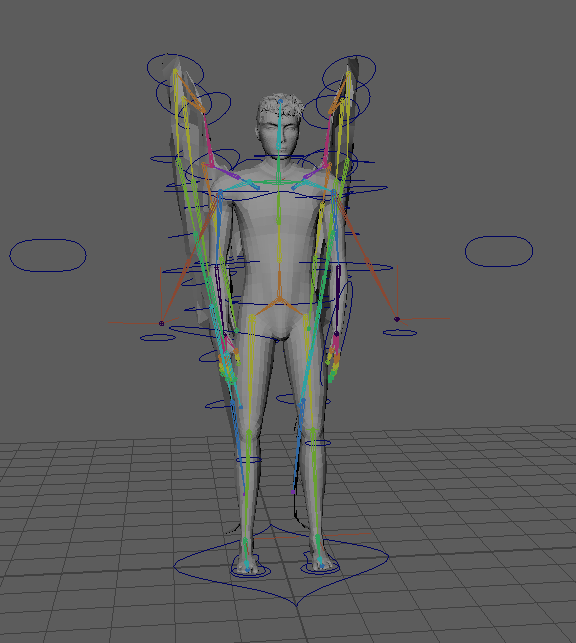
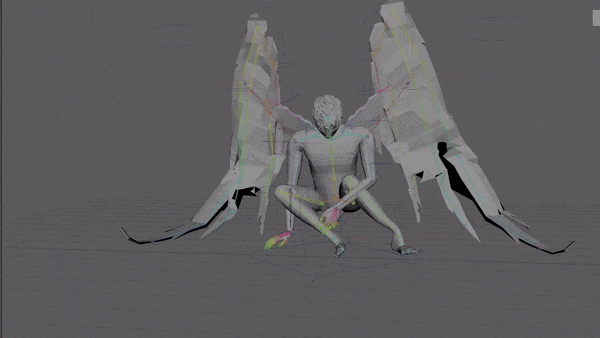
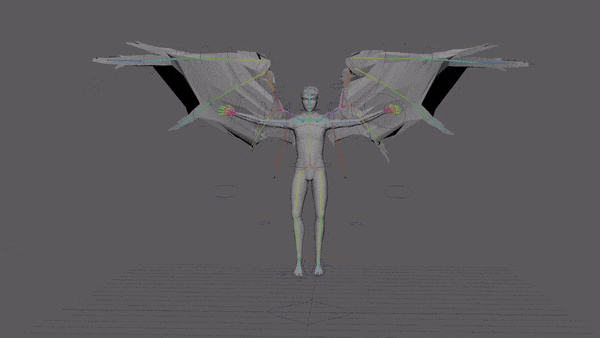
I started by keyframing in a slightly edited neutral stance at the start and end frame as I’m using pose to pose instead of straight ahead animating technique. I decided to focus on the body movement before the wings so just did minor open and close animations in the wings to focus more on them while animating them.


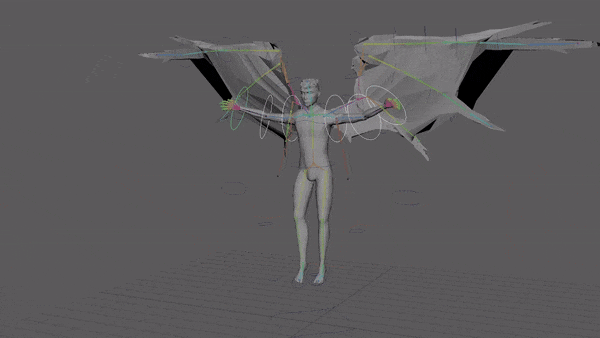
Then added planned poses from my storyboard every 30 frames.
I adjusted the feet during take off and landing.
I added arm swing in frames 270 and 300, then in 290.

Then I added inertia in 298. I might cut down middle floating portion to add some more time for idle motion at the end to prevent the harsh cut off.
There was choppy wing movement at frame 75, I edited it with the graph editor to smooth out the curves.
I deleted frame 75 to test it and I like it better without. I decided to try moving up frame 100, when the wings are fully forwards. I thought I might want to add a second flap before hovering.
The take off looks off, it’s too slow and stutters right after pushing off and towards the peak.
The arm movement on the take off is unnatural but I’m not sure why yet.
I selected and scaled keys around the hovering pose to make the take off have normal timing and then have a pause when he’s floating in the air in the middle.
I don’t like the middle of the sequence and want to add another flap and fix the stutter in the wings.
I added an extra flap on the way up and did lots of tweaking to the timing of the wings, hips and feet moving up. I also adjusted the position of the wings and synced them.
I added a stutter on the hips to make it look like the momentum from the first flap has run out before the second flap lifts them higher.

Finished animation.
Note
The UVs on my character changed layout when i exported it so applying the old textures wouldn’t work so I had to re export the model after adjusting UVs and then set the
Lighting, staging and rendering

Three point lighting but with an extra fill light on the front as my characters textures are pretty dark and need quite high exposure to show up so I added three fill lights in the front and one rim light.
I added a red backdrop to create contrast as my character is black and white. I also thought this dark red fits the character as the blood red has dark and ominous connotations.
I added extra lights in sequence 1 as after a test render I thought there wasn’t enough contrast between the wings and the backdrop so I added a large light pointing at the backdrop so it would be brighter in comparison the my characters wings.
Keyframed camera to pan to show blocks bouncing in sequence two
Maya crashed while rendering with viper on sequence 2 and deleted the entire contents of the file.

I have to use an older version of the file, luckily I haven’t made any major changes since the older version I just need to add the textures again and edit some of the animation on the graph editor.
This happened 2 more times. to the new file I made and to sequence 1.
I ended up having to render with the Arnold renderer in Maya.
Reflection on process
If I were to animate sequences in Maya again I would make sure to play the animations from the first draft to check timings instead of scrubbing through it by dragging my cursor along the timeline as I didn’t start actually pressing play until after I had animated a large amount with poor timing however I was able to fix this using the graph editor and managed to catch it early enough to work on it without rushing too much.
I would also test the extreme poses from the animations on my model early on in the process as the rigging, weighting and construction of my model has affected what I was able to animate with it and I had to change sequences while working on them in order to make them actually look good on my model like changing the limp from a walk where the toes drag under the foot to one where the whole foot drags without bending.
I also would’ve used the graph editors earlier on as they made adjusting timing and poses much quicker and easier.
Also I lost my version of the project with the textures and the original substance painter file so I had to redo the textures; this is more of a reflection on the previous module but I think I need to improve my organisation as my lack of it during the character design module caused me to lose files and set back my progress in this module. Going forward I intend to save all my files in a folder for the module saved in at least two places.
Final Animations
Reflection on Final Animations
Some clunky parts of the animation could use more refining but I think it’s mostly the fault of the issues I had while rendering with crashes and corrupted files that meant I had to go back to a much older file version for sequence 2.
I think the timing is still a bit off especially in the sequence where he takes off, I think the landing is a bit slower than it should be. However I think the pose while landing is really well exaggerated and has good appeal.
I do think the movements are good as there are good arcs especially in the arm and wing motion.
I think my sequences could be slightly more exaggerated and have more secondary or overlapping action. It would’ve been cool if I could’ve animated the hair or face but I am happy with the lack of facial expressions as it feels in character for a cold and inhuman entity.