Initial Ideas and Inspiration
Idea 1
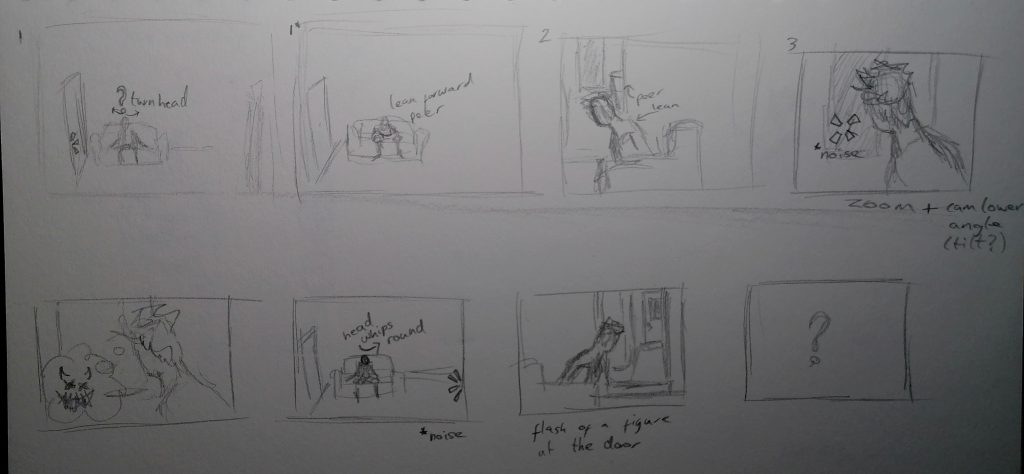
A person hearing noises in their house at night with animated neon light effects to show their reactions, thoughts and noises as they imagine what the source of the noises could be. This idea was inspired by real life experiences of being alone in a big house at night. I decided against making this sequence as it didn’t seem like the VFX would be very complicated or take much skill and I knew finding a furnished house environment to use for free would be difficult as would making a set for the sequence.
Idea 2
My second idea was a magic user ending up in hell after a spell or deal gone wrong. For this story I was inspired by Constantine in Hellblazer (1988) and the Constantine (2005) film adaptation where the magic very dark. My idea for this sequence was for it to be a snippet from a film or TV show. I chose this sequence because I felt like the VFX in it would be more complex than my first idea and I could make the environment from scratch in unreal fairly quickly.
VFX list
Ash, Embers, Magic sparks, Smoke or fog, Portal, Magic circle that flickers and fades out, Glowing eyes
Visual Inspiration
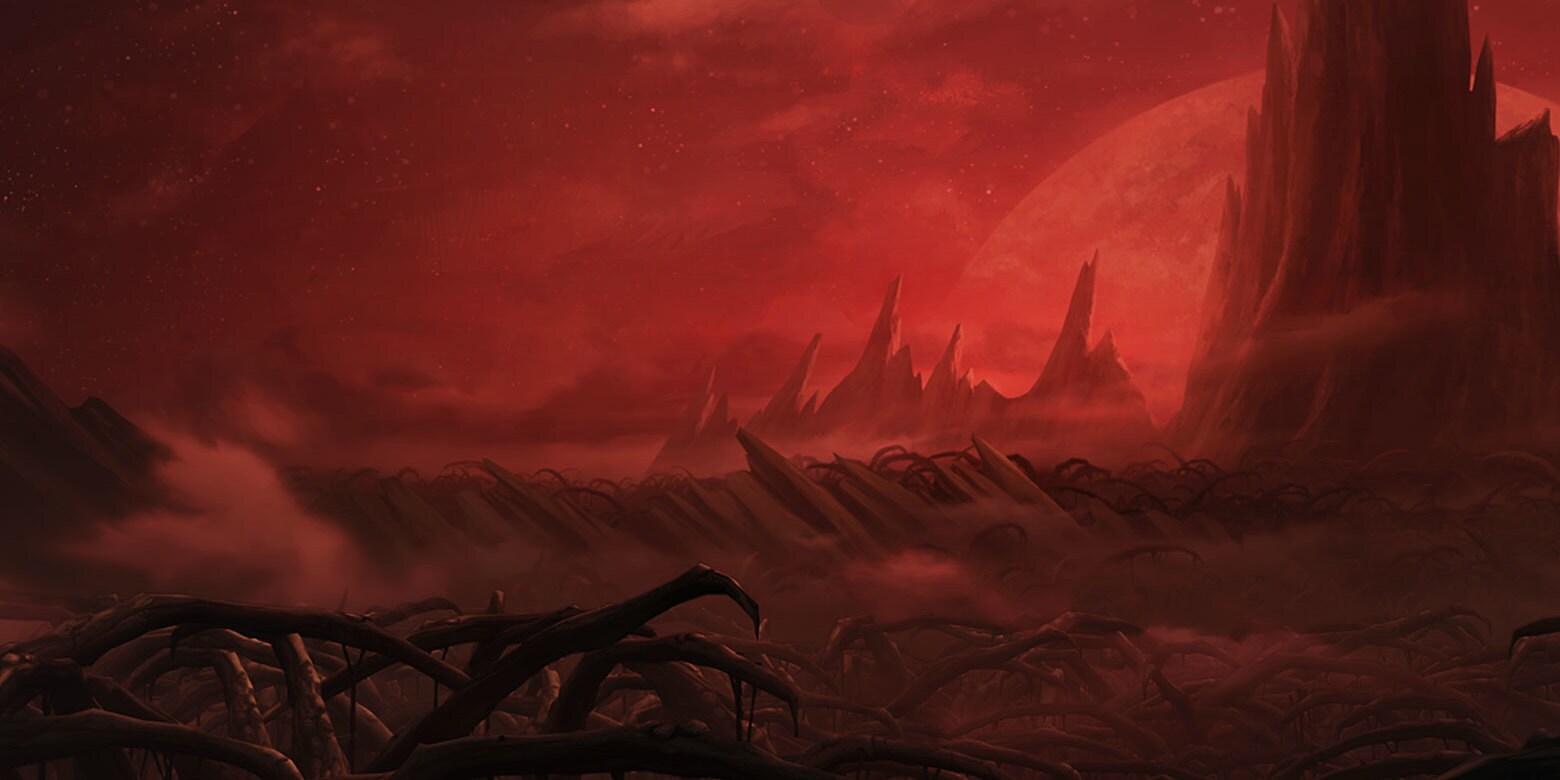
For the environment I wanted it to look like Dathomir from Star Wars: Rebels (2014) where everything is shades of red. I wanted to make it less thorny and more rocky to make it seem more like a volcanic wasteland than somewhere that plants grow.
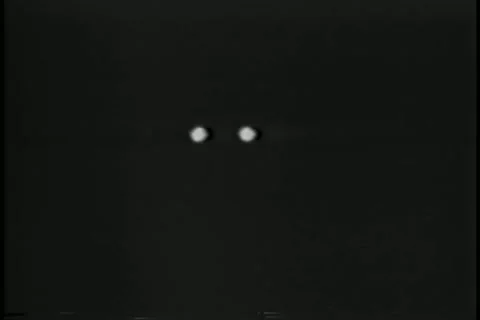
This image of bat eyes in the dark captures the feel I want the glowing eyes at the end of the sequence to give.
For my magic circle I want to create a simple spinning circle with particle effects floating off of it and then have it decay and flicker out at the end.
For the magic spark effect I want it to look electric so I’m going to make textures based off of lightning .
Storyboarding and Planning
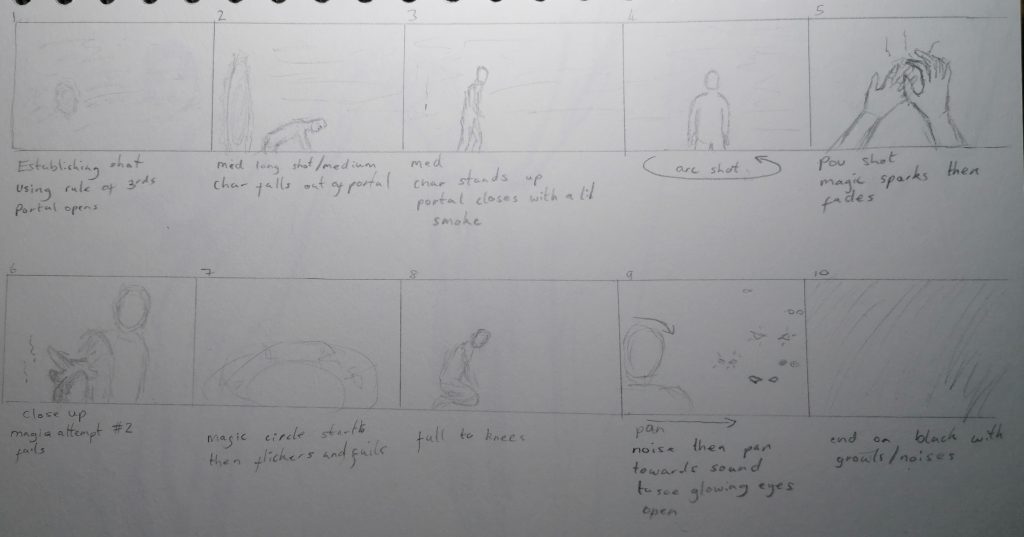
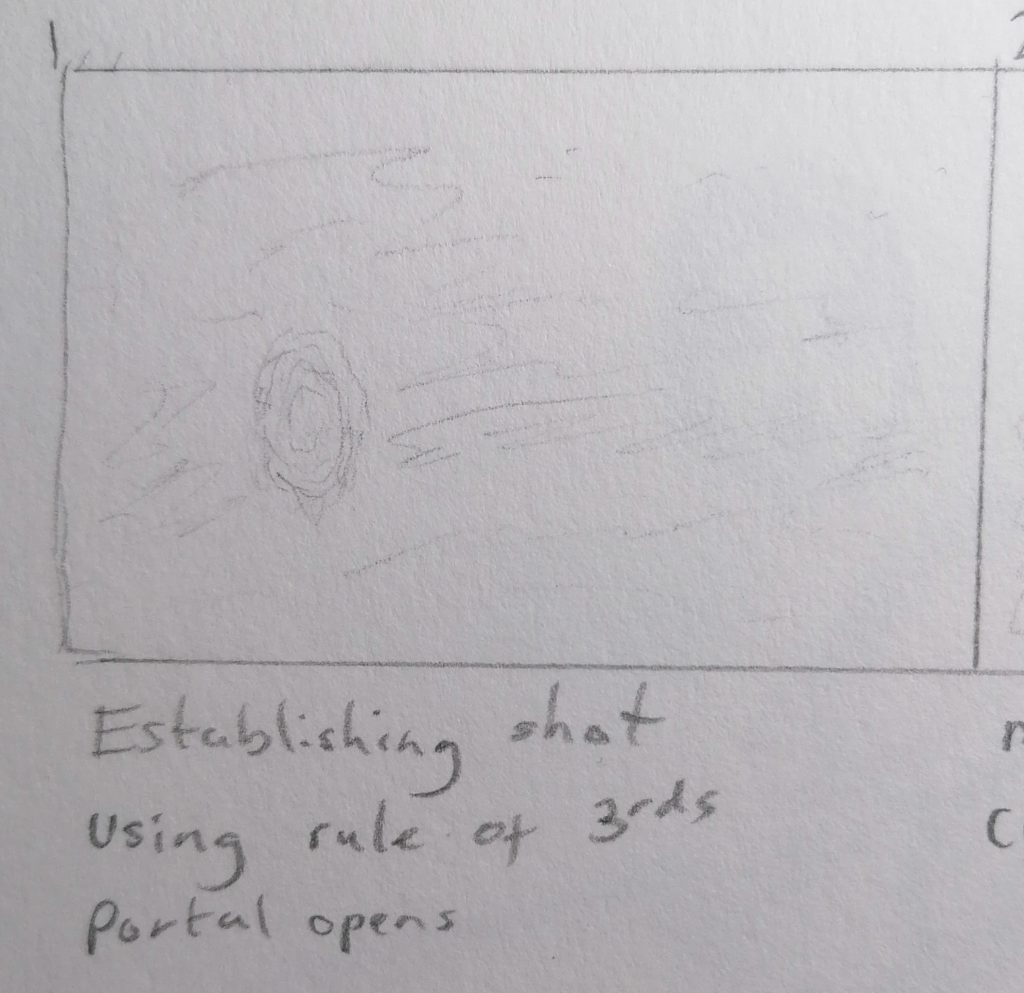
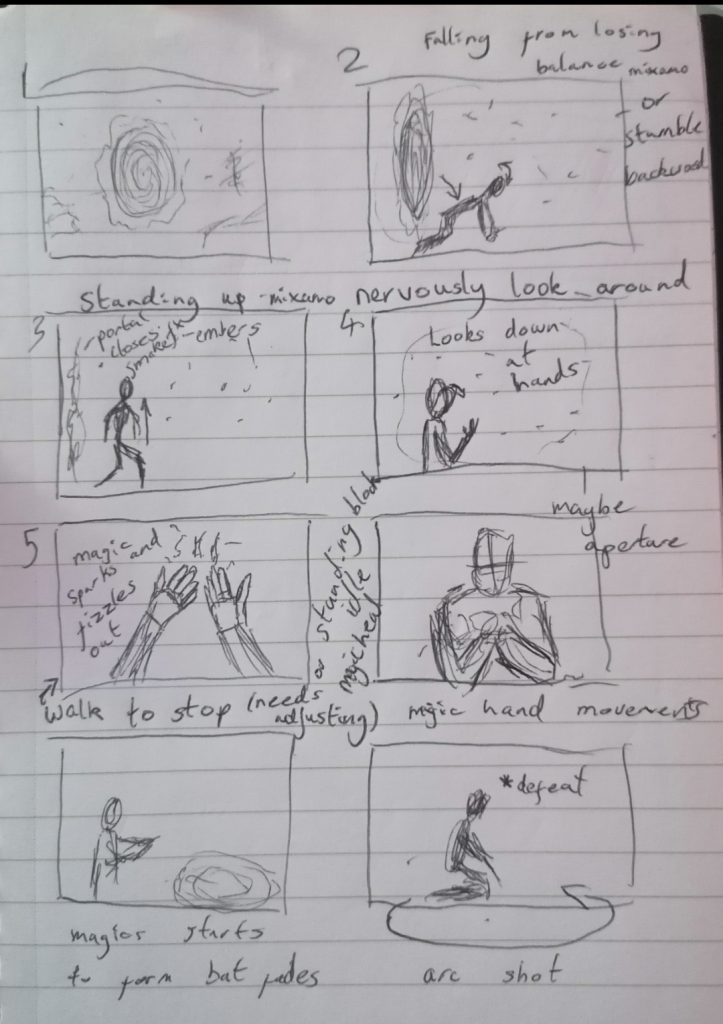
Shot 1 – Establishing shot, 5 seconds with portal opening during this shot.
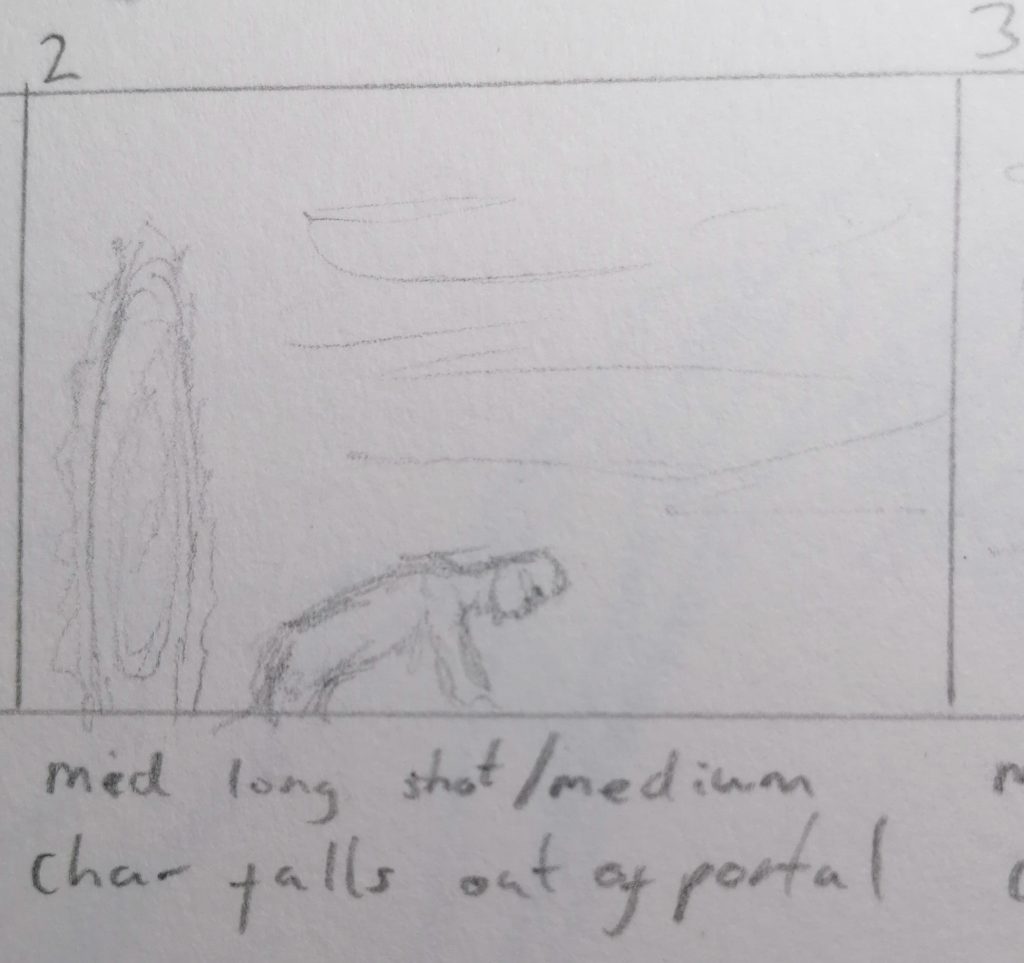
Shot 2 – Medium full shot, 3 seconds side view as character falls through the portal.
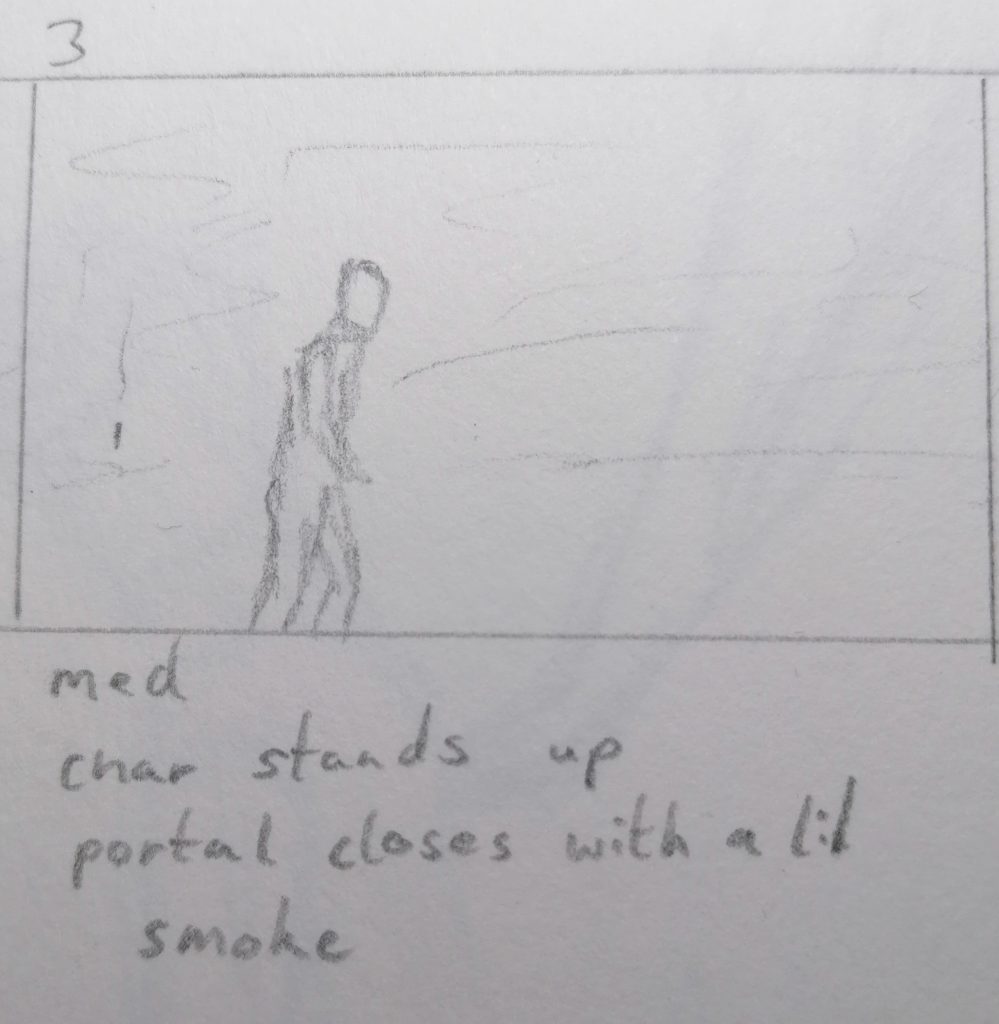
Shot 3 – Medium full shot, 10 seconds front view of character getting up from the floor.
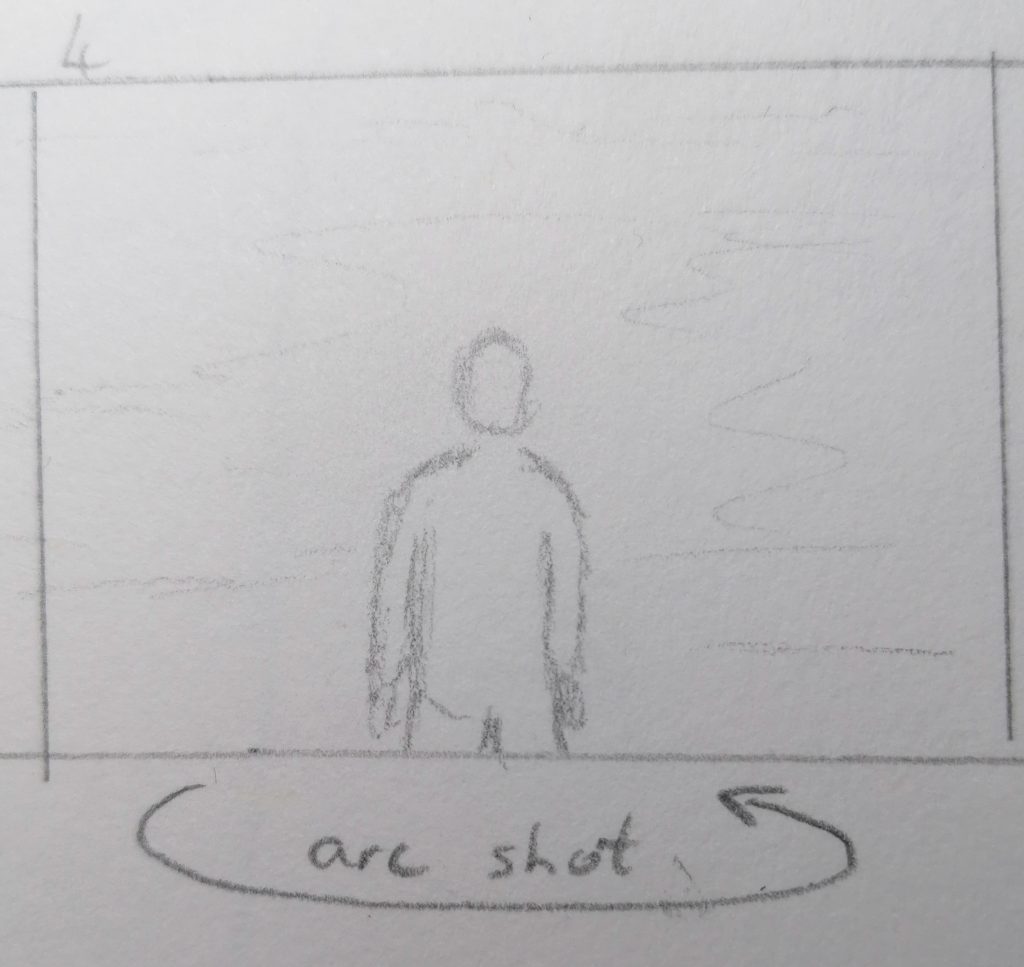
Shot 4 – Arc shot, 5 seconds pan around the character as he takes in the environment.
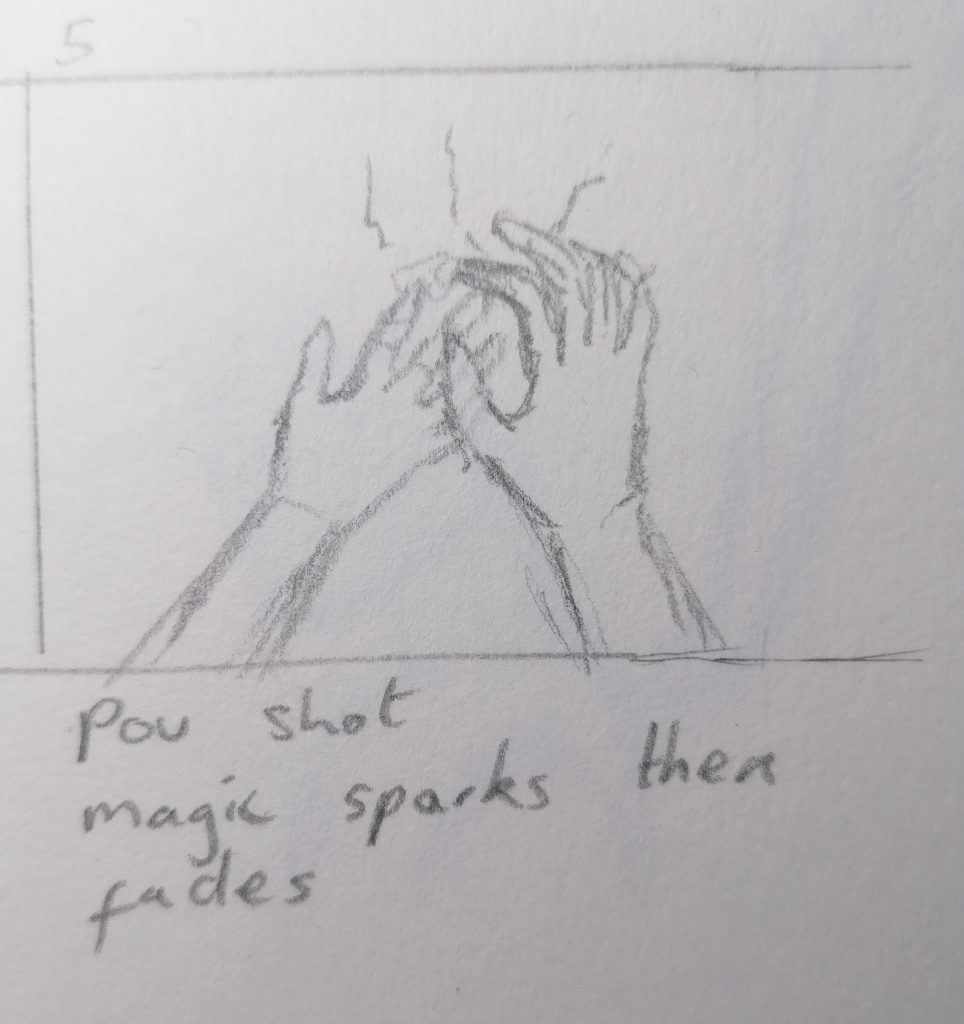
Shot 5 – Close up of hand, 5 seconds with flicker of sparks as magic fails.
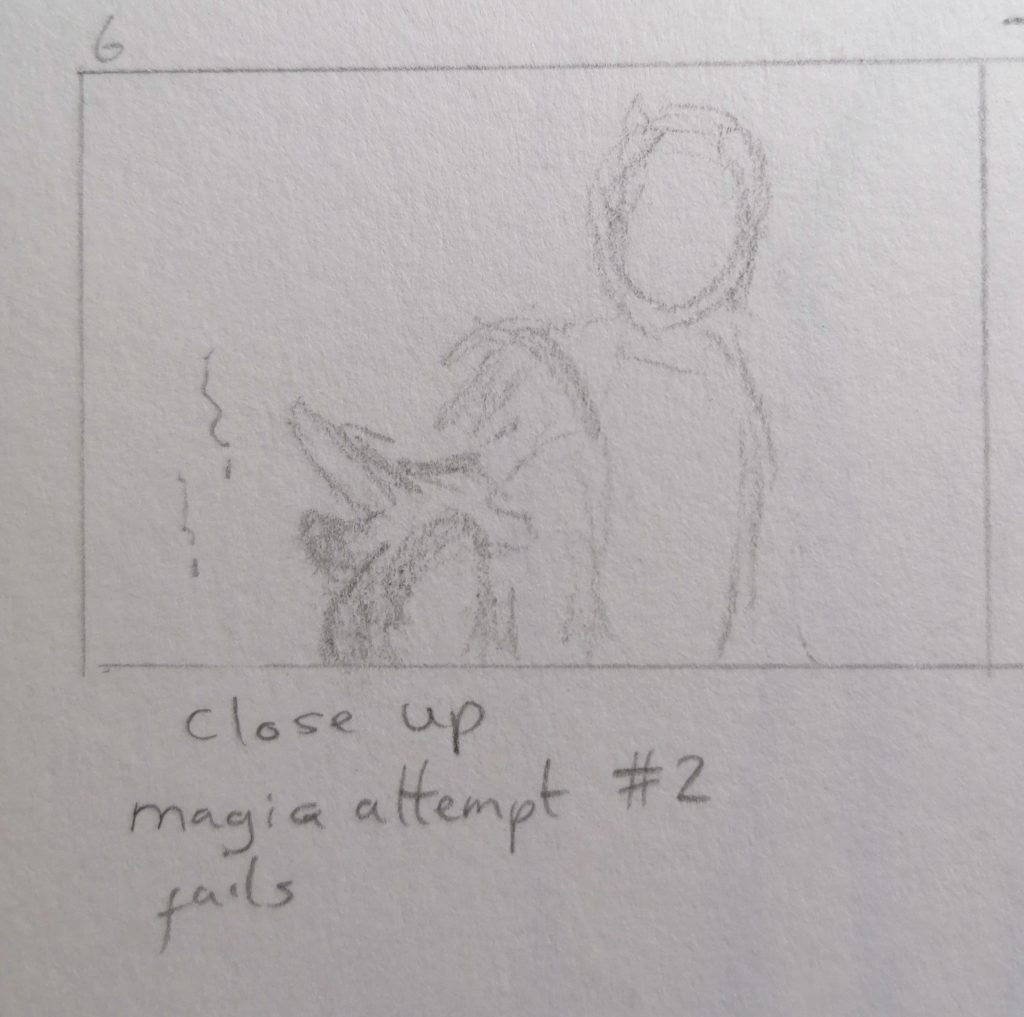
Shot 6 – Medium close up of second magic attempt, 5 seconds.
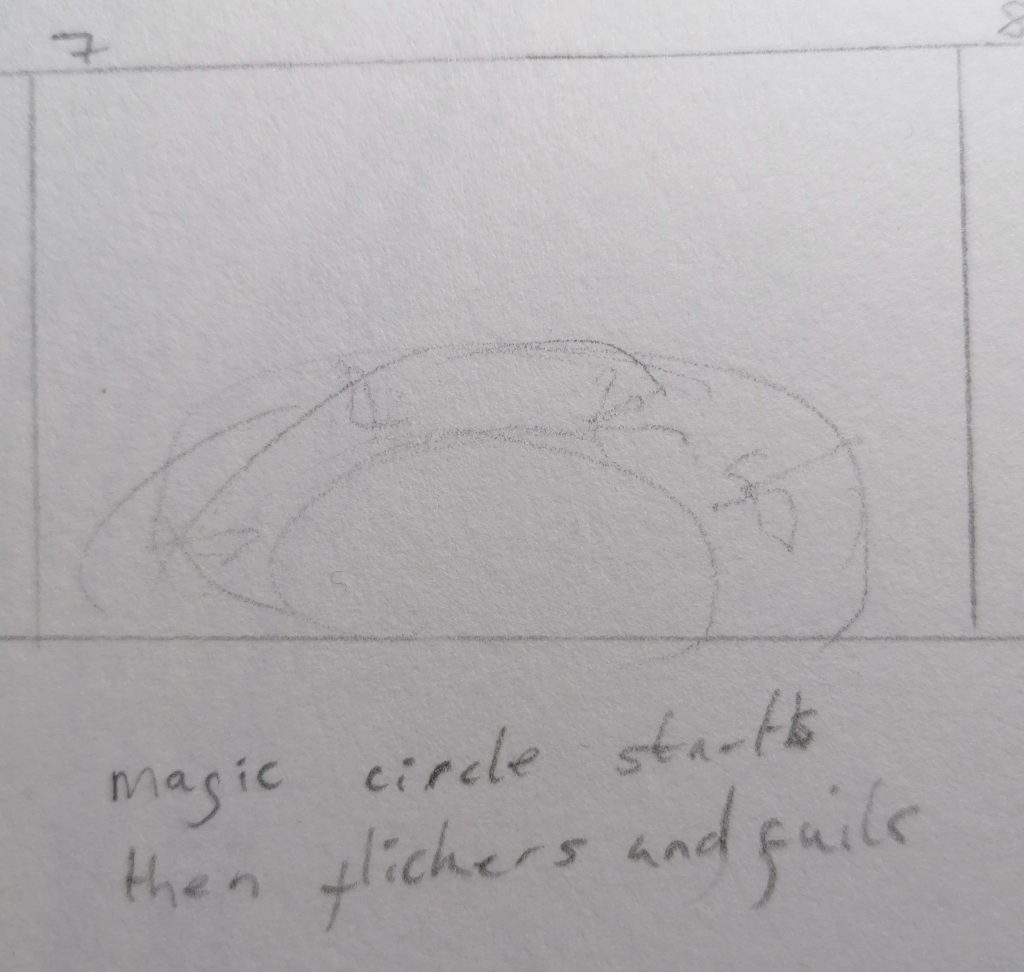
Shot 7 – Magic circle with gaps forming and flickering out, 5 seconds.
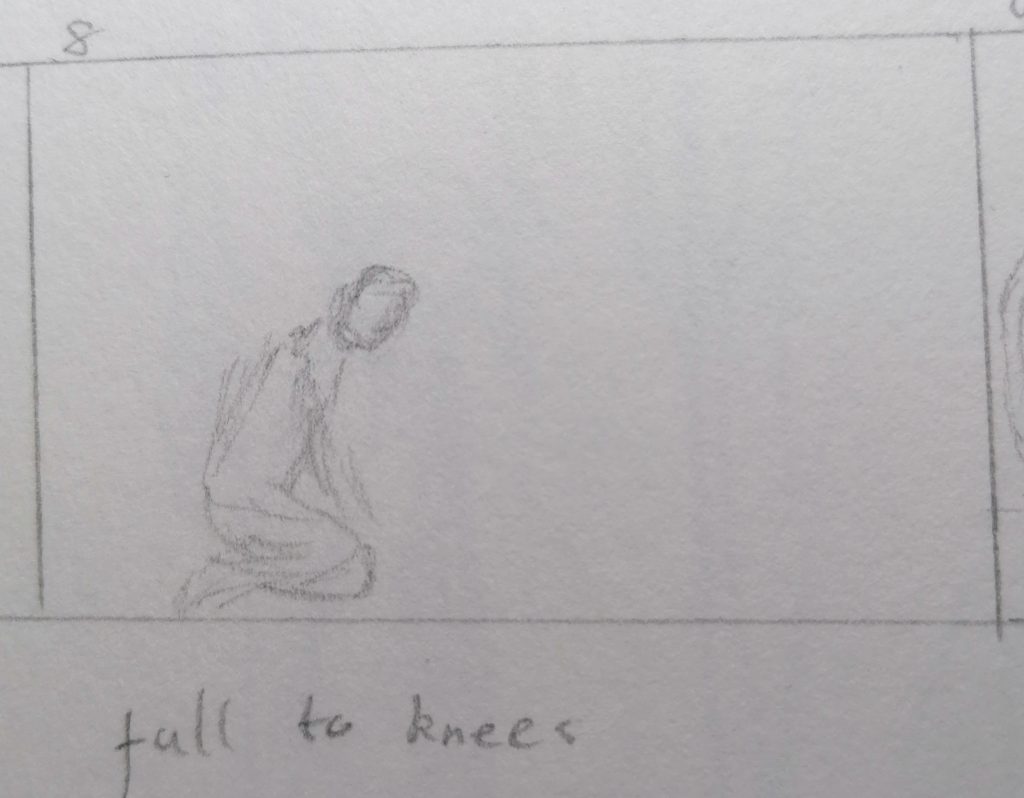
Shot 8 – Long shot as character kneels in defeat 5 sceonds.
Shot 9 – Close up with pan to background, darkening shadows during pan until only glowing eyes are visible in the darkness.

Shot 10 – Wide shot with glowing eyes in the dark.
Process – creating Niagara systems
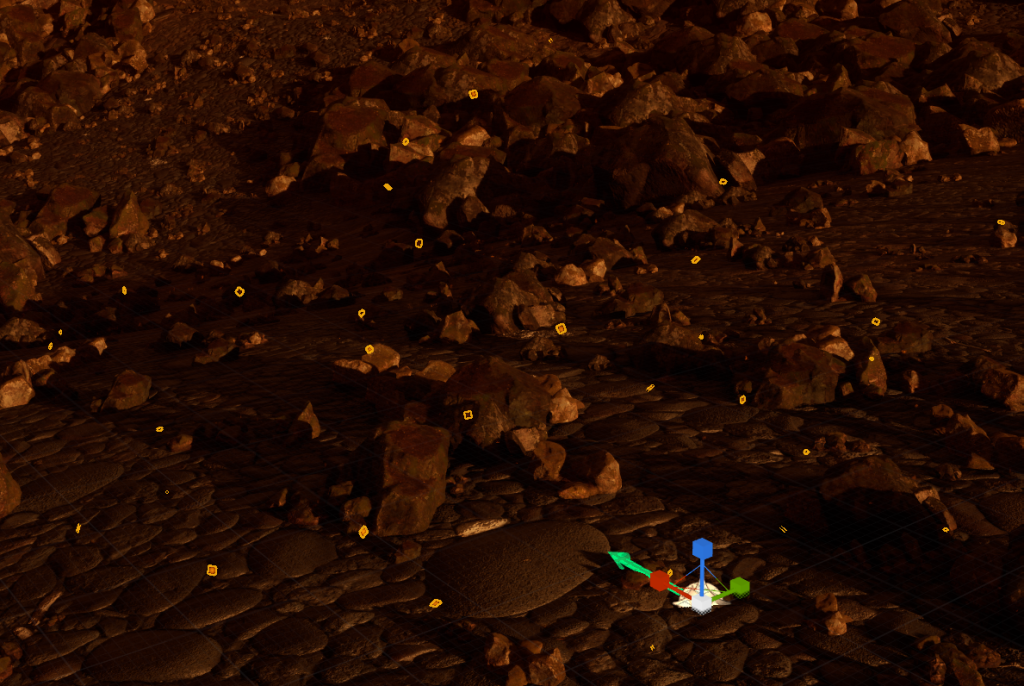
Creating floating embers and ash
I tested the floating particulates and blowing particles Niagara templates and chose to use blowing particles due to the motion and shape looking closer to embers. I added an emissive effect to the to a duplicate of the default sprite material to give the particles a glow effect and adjusted the size of them until it looked like my reference.

I adjusted wind to have upwards wind on the z axis at half the strength of the wind one the x axis so it looks like the embers are floating upwards due to heat from the ground and trimmed the first 3 seconds so there wouldn’t be time with no embers as they spawn in.
The VFX with post production on the camera.
For the ash to make it non emissive I duplicated the embers Niagara system and then adjusted the material by deleting the emissive node and plugging the colour into the base colour node.
I also increased the wind on the z axis so ash moves down while the embers float up.
Making the glowing eyes
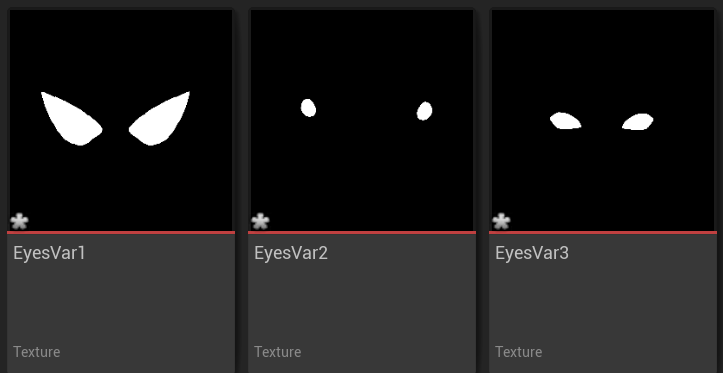
Using a tutorial for reference by UnrealMatter (2021), I started by making a few basic textures for different eyes in photoshop to import into unreal. Using black and white textures with white where I want output and black where I don’t.
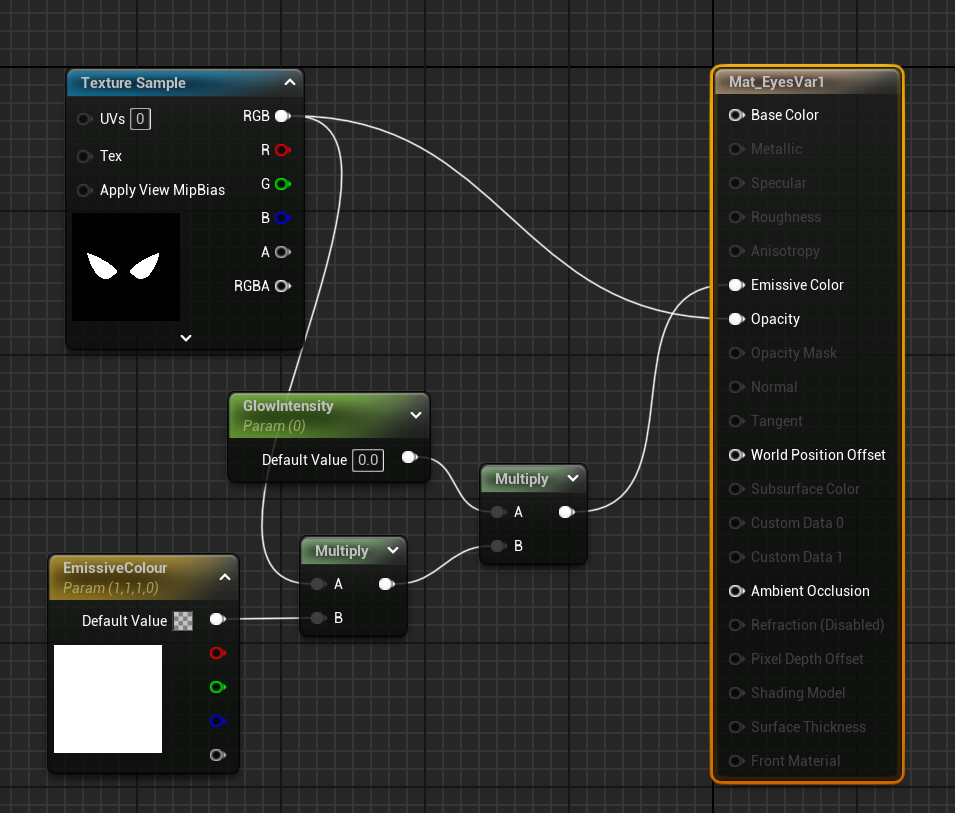
Then creating a material to set the colour and glow intensity. Before adding it to a plane in the environment.
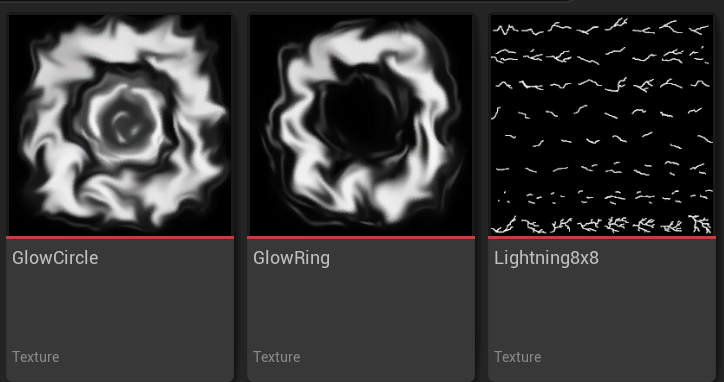
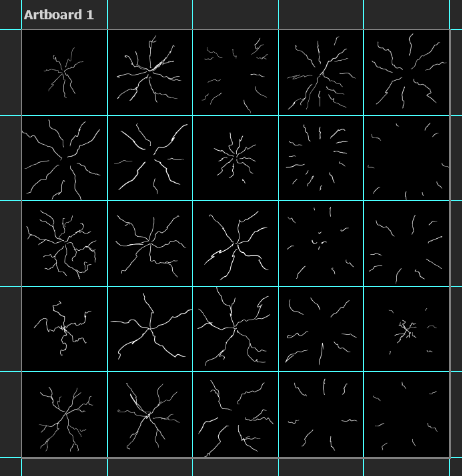
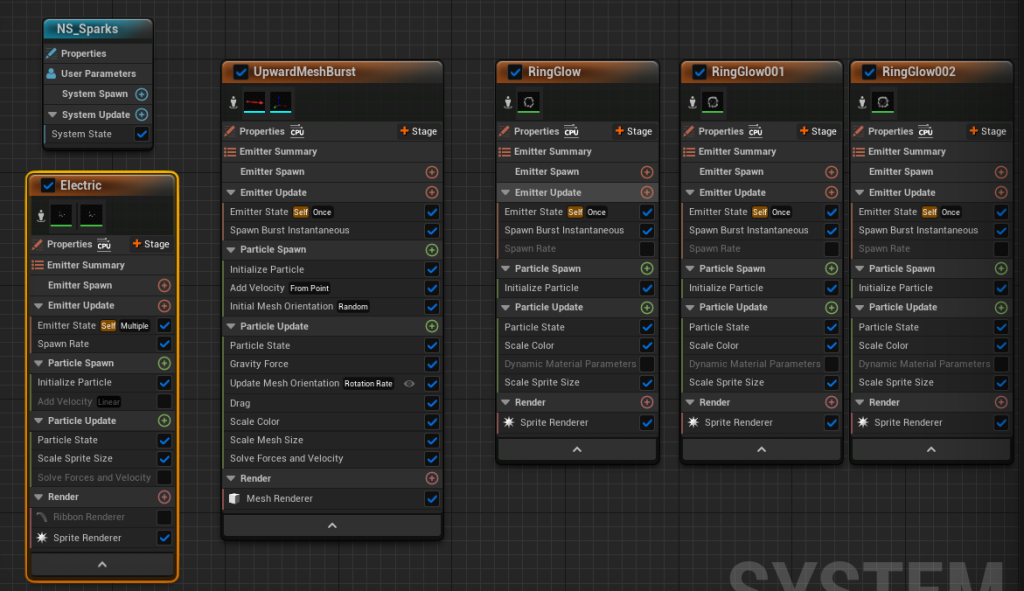
More DIY textures made in Photoshop with two glow patterns made in photoshop using the smudge tool and an 8 by 8 lightning spark sheet.
I started by scaling colour (RGB and alpha) and then scaled sprite size.
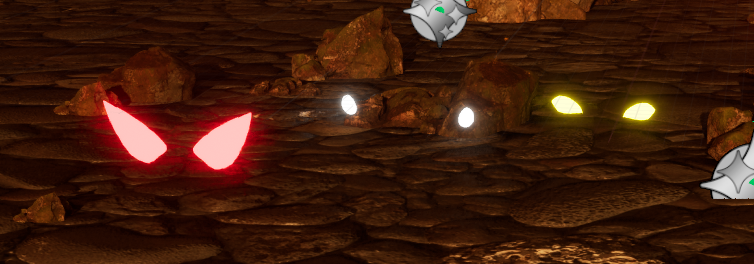
Then I added another layer in green – green to contrast with the red environment using – using a different glow texture and spawned it at a smaller scale then increased its scale by a larger amount on the graph.
Then added a duplicate and made it smaller and another blue shade.
Then increased its end scale so it ends just smaller than the other 2.
I added a larger darker blue ring, starts the same size as the smallest ring but has a 10x scale increase. I reduced it slightly to make them look less disconnected.
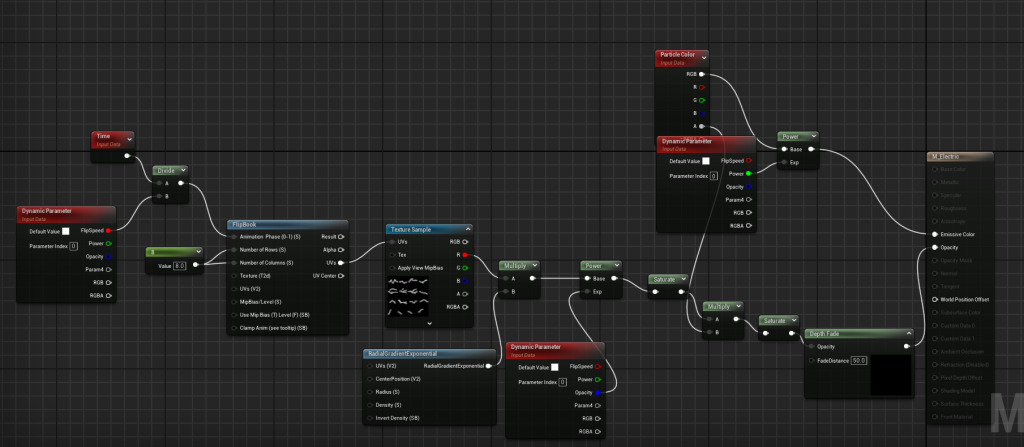
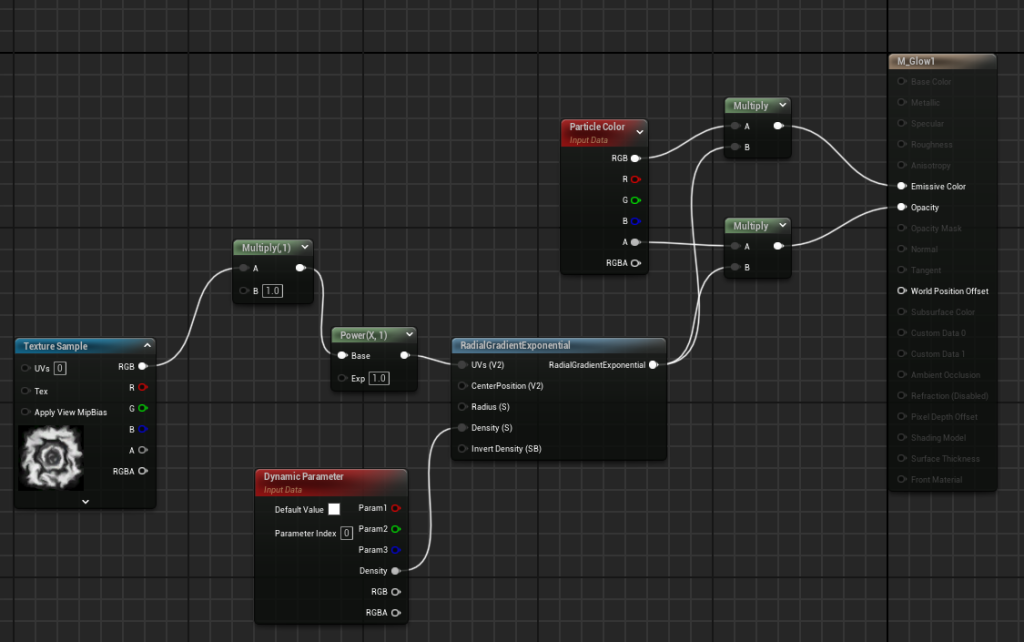
Following a tutorial by Breez-E Game Studios (2023), I made an electric material by using a flipbook node to make it switch between each sprite on the 8 by 8 grid. I made dynamic parameters to adjust the colour strength, opacity on the edges and speed it switches between them.
Material with flipbook
I decided to make new a lightning material with the sparks moving outwards from a central point instead of straight across.
I tested using the straight lightning as a tail with the ribbon renderer but it was too big and didn’t fit with the rest of the effect.
New lightning sheet to fit with effect better.
Decreased spawn for electric effect so it looks more flickery and added blue sparks flying outwards.
I changed the blue spark effect from cone to from point, decreased gravity a ton and velocity as the spread was way bigger than the glow effect.
Then I switched to spawn burst instantaneous, reduced gravity effect on mesh burst so spark sprites would spread out in all directions.
Added particle mesh burst, sprite spawn size much smaller for the glow effects and scaled them by a much larger amount to give a feel of more speed.
Smoke effect
I started with a hanging particles emitter then added the default smoke texture sheet and had to change the sub UV settings to make it spawn as individual smoke particles instead of a grid of them. Then set the alpha to super low so they would blend together and be translucent and smoky.
I also adjusted the wind speed and turbulence and cut the time where the particles spawn in.

DIY Flame Textures
Next I made some of my own flame textures.
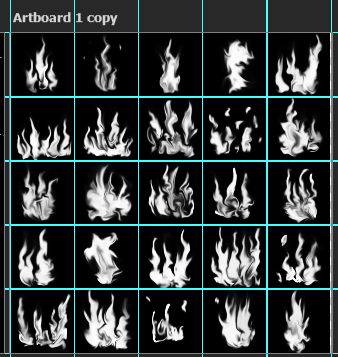
Replaced the default fire texture with my one but the rotation is randomized at spawn or during movement which doesn’t work as well with the textures I made.
Had to swich it to velocity aligned
Added scale alpha by graph, increased particle scale, decreased lifetime and spawn rate.
might try making individual flame textures instead of multi flame ones
I think my flame texture looks too stylised compared to my other effects however when it is not as close to the camera and the specific shapes are less visible I think it looks better than the default textures. I think if each flame sprite didn’t contain multiple peaks it would look better.
Testing camera with and without background smoke.
I like it better without the background smoke as its higher contrast and the foreground smoke is more defined.
DIY magic circle texture
I created two versions of the magic circle texture where one had slightly decayed.
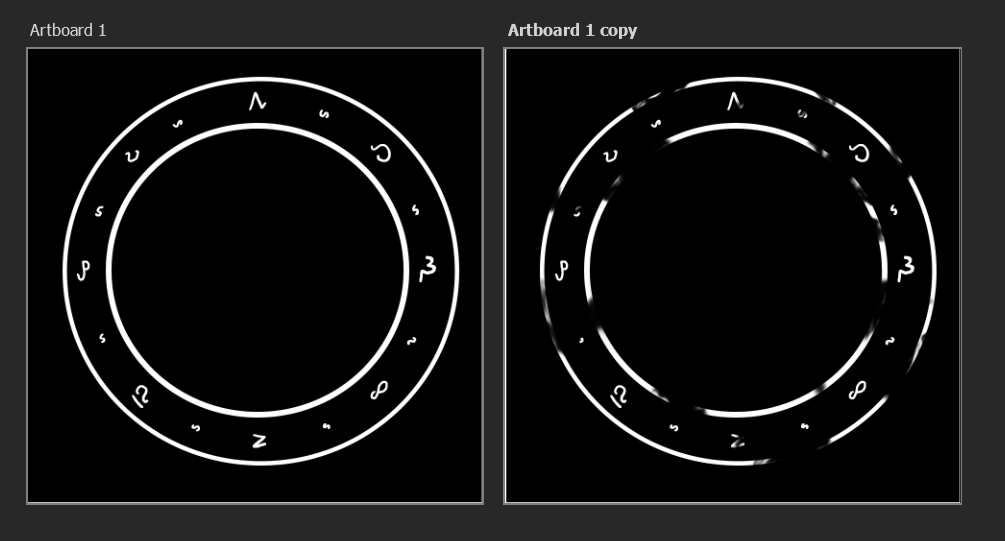
I made these into sprite materials.
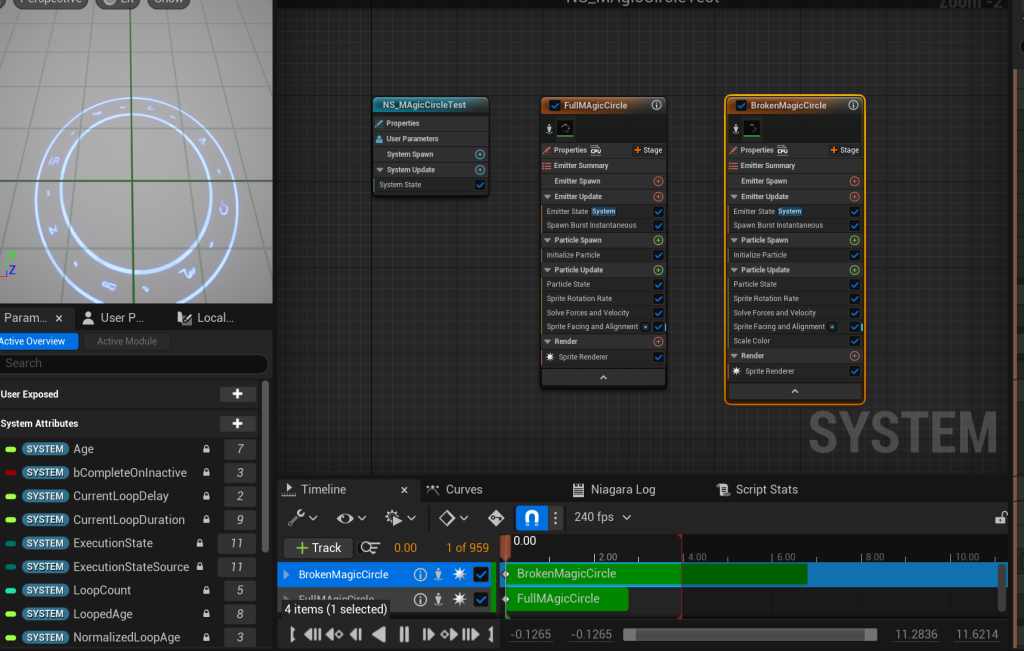
I used single looping particle emitters and added sprite rotation, had to change lifetime from current loop duration to float for the full magic circle.
I duplicated the emitters so they would both spawn in the same place at the same time so the rotation would match when it switched to the broken version of the circle when the full circle’s lifetime ended. This made it look like the gaps opened in the circle.
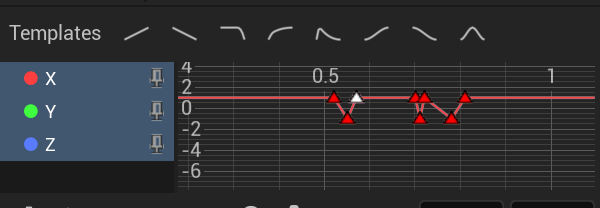
I scaled the RGB over time to make the magic circle flicker and fade. I had to play around with the timings and adjust to get a flicker that looked natural by making each one have slightly different timings.
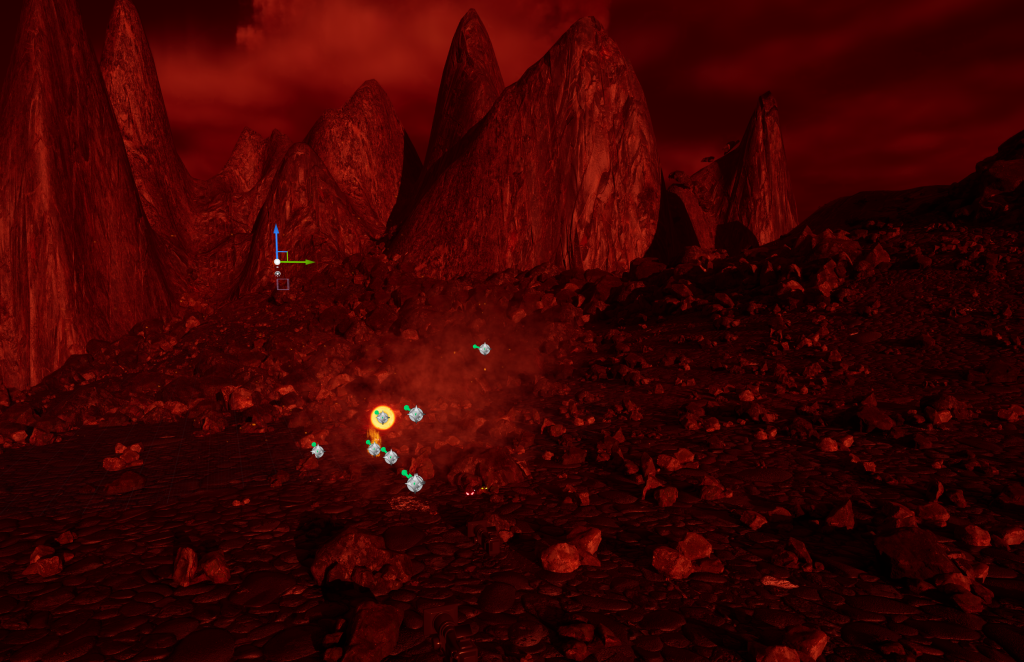
For swirling particles around the magic circle I followed a tutorial to create a curl noise effect (Coreb Games, 2022).
I also added a fountain emitter in a torus shape same as the curl noise effect and turned off gravity so the particles would float straight up.
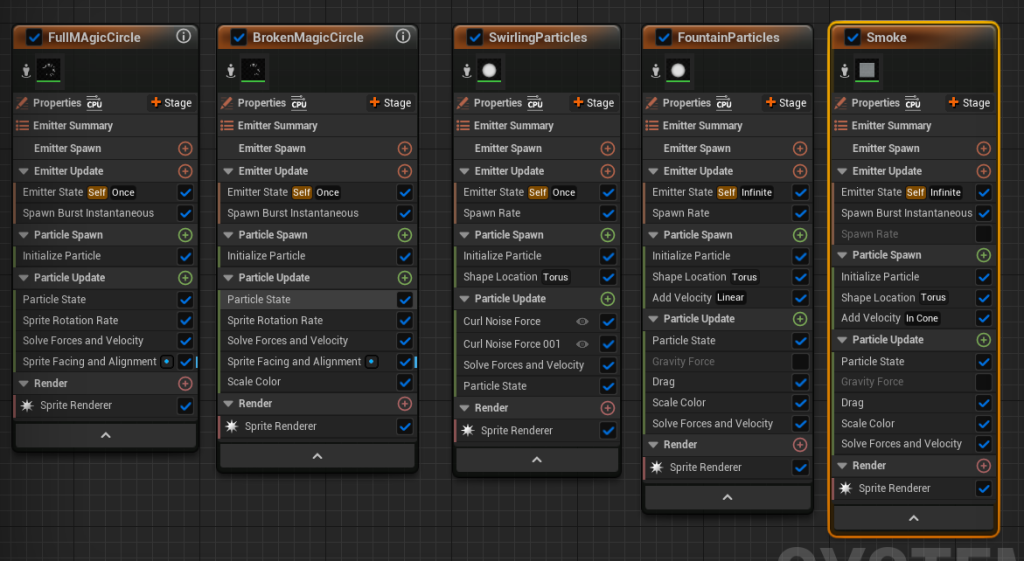
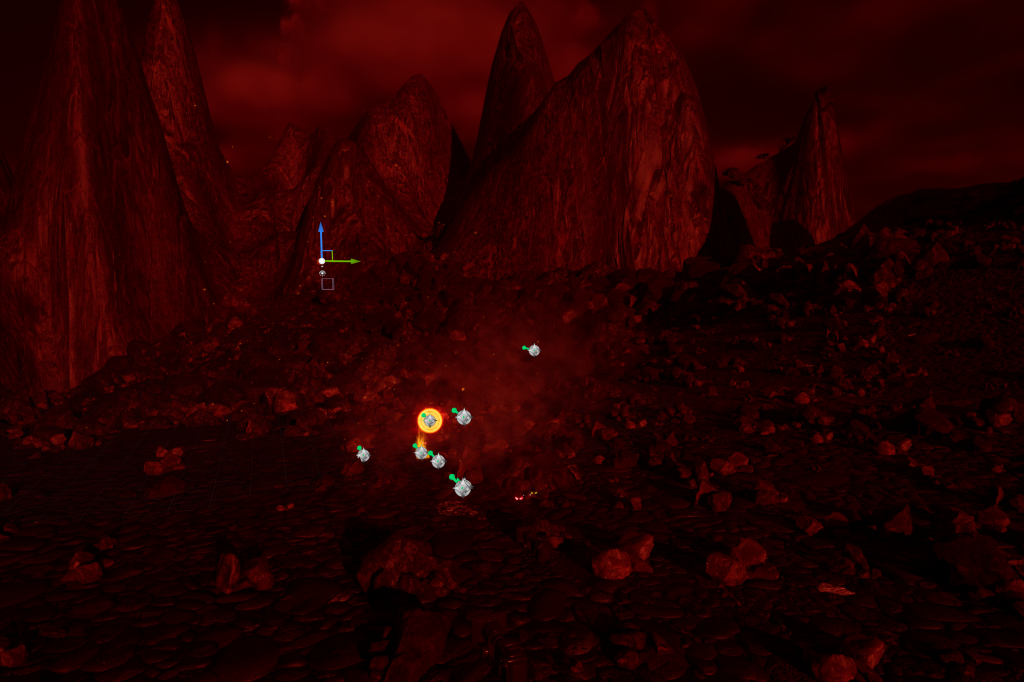
I then added blue smoke for when the magic circle finally flickers out in the same torus shape.
Adjusting environment lighting
From 3 lux to 1.6 lux.
I added post-processing on all cinecameras with higher contrast, temperature and saturation to make the environment really feel hot and fiery.
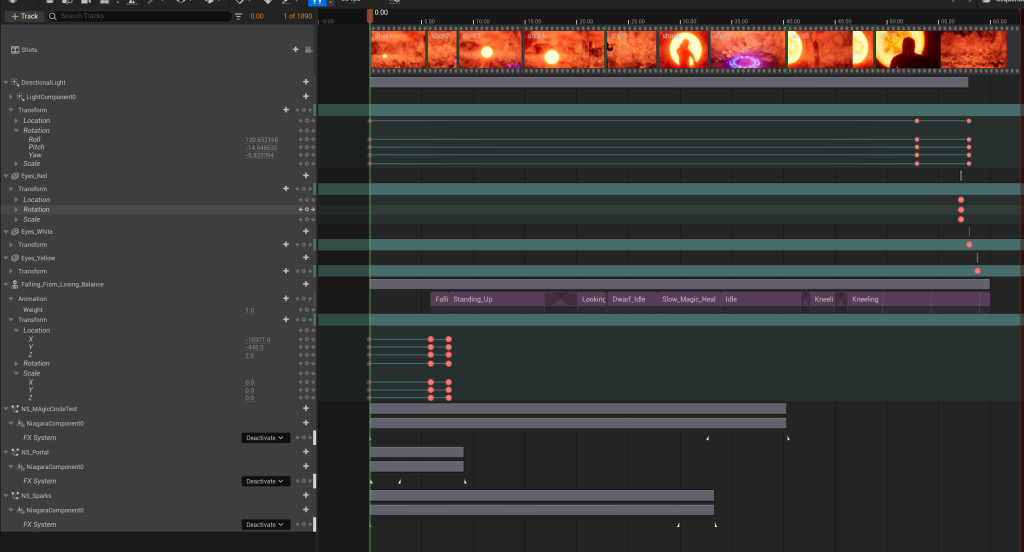
Sequencing
I added Niagara system toggle controls to shot tracks to turn my VFX on and off.
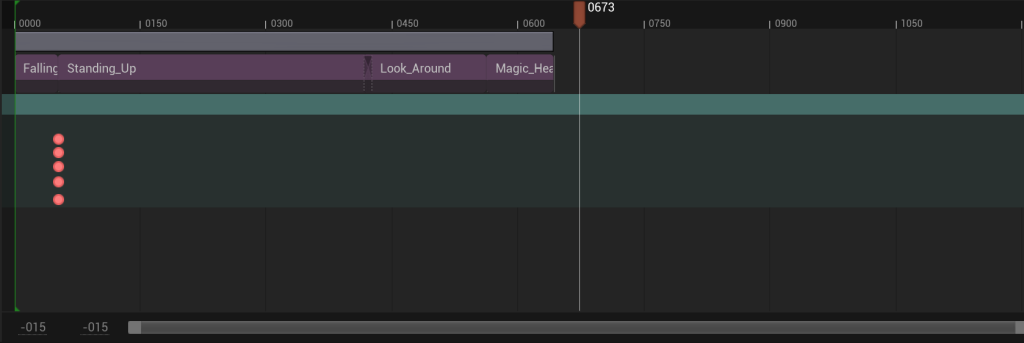
Then added shots and animations sequence to master sequence.
I had issues with the sequence playing each shot correctly, which I fixed by locking the camera to the viewport in each individual shot and turning on auto play on each of them.
I also found that the animation timing was off due to issues with playing two shot tracks at the same time so character animations had to be triggered using trigger box instead of in the sequencer. Meaning I had to check camera alignment with the character and shots syncing with actions by running the master sequence then stopping it to adjust.
I had an issue where the trigger box stopped working to trigger animations so I had to trigger them from the sequencer instead..
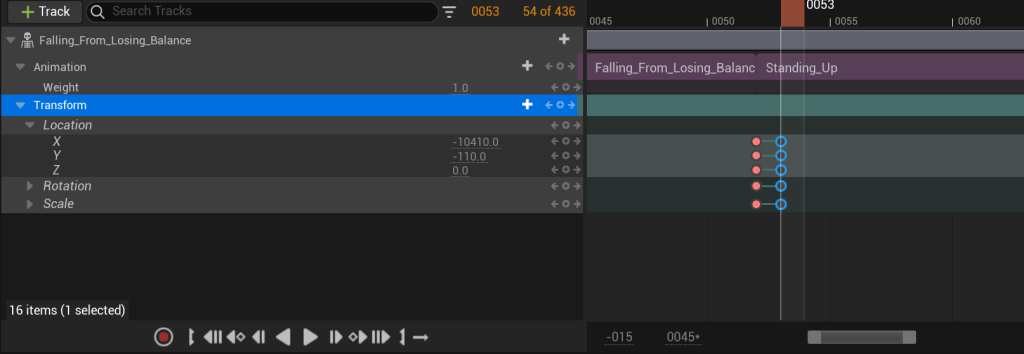
I had to key the transform for the character model as the first animation moved the character away from the character start position. I keyed the two positions and moved them as close together as possible so it wouldn’t be noticeable in the video.
The fades between the different animations doesn’t look good so I might cut and add extra shots between each or cut to close ups during the transitions.
I had to change portal orientation by adding sprite facing value and setting it to y axis instead of facing camera in order for it to stay in the same position when the shot changed from viewing it straight on to viewing it from the side as the character falls out of it.
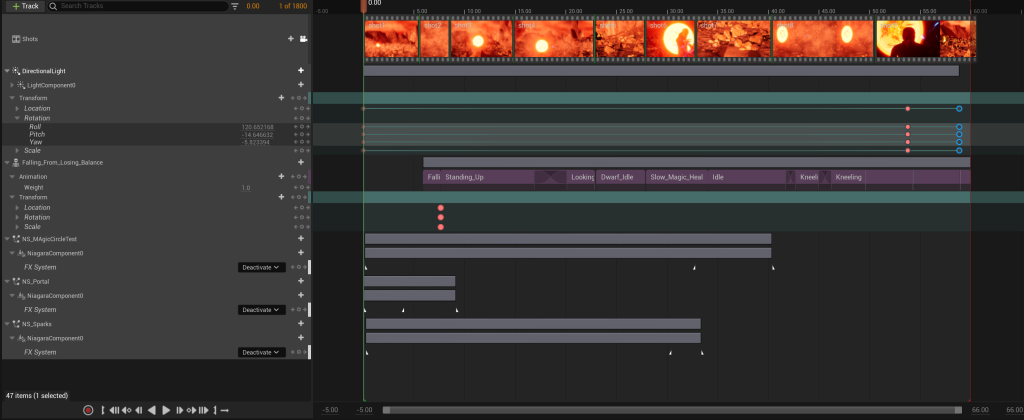
I had an issue with the original master sequence I made where wouldn’t let multiple tracks play due to it not being a sequence from shots and just being a level sequence. So I made a new root sequence and added tracks for the shots, animations, VFX and the directional light so I could have the sun set at the end of the sequence.
Final Video
Music: Unsettling Ambience by Kirk Osamayo via free music archive
Reflection
Unfortunately the video quality is poor due to upload issues with Youtube which does make it hard to see the finer qualities of the background VFX in the final video; I think the smoke VFX caused the issues as the other VFX show up very clearly in the video. In future I would prepare more time to check how each effect looks when recorded and uploaded and use less smoke effects as well as those that cover large areas making them difficult to render.
I think the animation sequence is good and conveys the story. I only had one small aspect of my sequence that I had to change due to not having a good animation for it on Mixamo. I think I did well in sequencing the shots with the cine cameras and the animations. I also applied different art and cinematography techniques to my sequence like the rule of thirds and use of contrasting colours.
I think my layered VFX of the portal and magic effects are and the layers blend together well I would’ve liked to make a few more layered effects for the video but I did manage to make all the VFX I originally planned. I think I should’ve planned a few more ambitious VFX instead of just the environmental smoke, ash and embers as making more magic effects would’ve made it more visually interesting.
References
ActionVFX (2017) Fire embers – Stock Footage Collection from ActionVFX. Available online: https://www.youtube.com/watch?v=emP4Wzb4Chc [Accessed: 15/10/23]
Breez-E Game Studios (2023) Create Electrifying Projectiles: In-Depth VFX Tutorial in Unreal Engine Niagara System [Video]. Available online: Create Electrifying Projectiles: In-Depth VFX Tutorial in Unreal Engine Niagara System – YouTube [Accessed: 13/05/24]
Constantine(2005) Directed by Francis Lawrence [Film] Warner Bros. Pictures
Coreb Games (2022) Circular Curl Noise Effect [Video]. Available online: https://www.youtube.com/watch?v=_Lt5d2Wyy38 [Accessed: 05/05/24]
Delano, J. & Ridgeway, J. (1988) John Constantine, Hellblazer. Vertigo
JohnJohnPhenomenon (2017) Magic Circle VFX – Unreal Engine 4 [Video]. Available online: Magic Circle VFX – Unreal Engine 4 – YouTube [Accessed: 05/05/24]
Osamayo, K. (2022) Unsettling Ambience [Streamed] Available online: https://freemusicarchive.org/music/kirk-osamayo/season-two-black/unsettling-ambience/ [Accessed: 29/05/24]
retroklips (n.d.) Bat’s Eyes Glowing In The Dark Video [Screenshot]. Available online: Bat’s eyes glowing in the dark | Stock Video | Pond5 [Accessed: 01/05/24]
Ri Science (2017) Withstanding a blast of electricity from a huge Tesla coil using a Faraday cage [Tumblr] 24 April. Available online: Ri Science — Withstanding a blast of electricity from a huge… (tumblr.com) [Accessed: 01/05/24]
Star Wars: Rebels (2014) Directed by Dave Filoni [TV Programme] Disney XD, 13 October.
UnrealMatter (2021) How to make NEON SIGNS in Unreal Engine [Video] Available online: How to make NEON SIGNS in Unreal Engine (youtube.com) [Accessed: 01/05/24]