Initial Ideas and Research
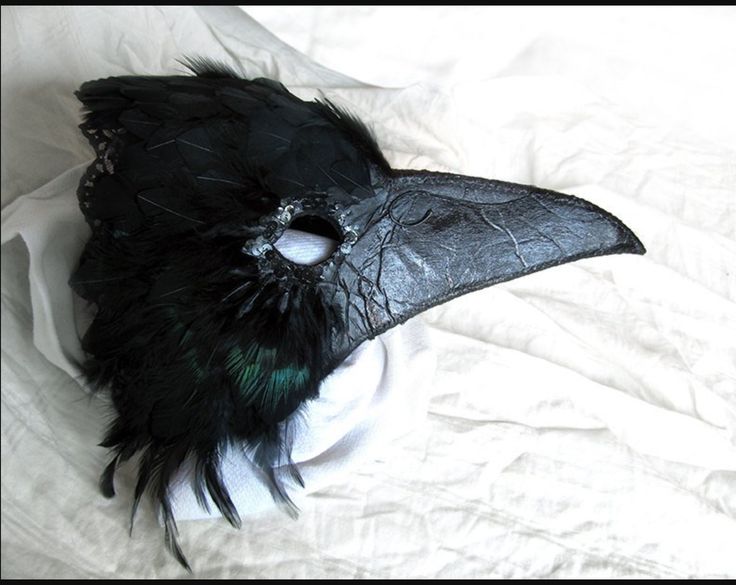

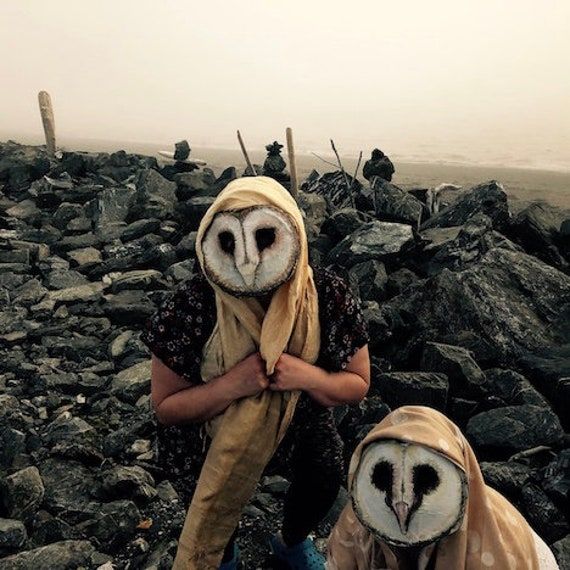
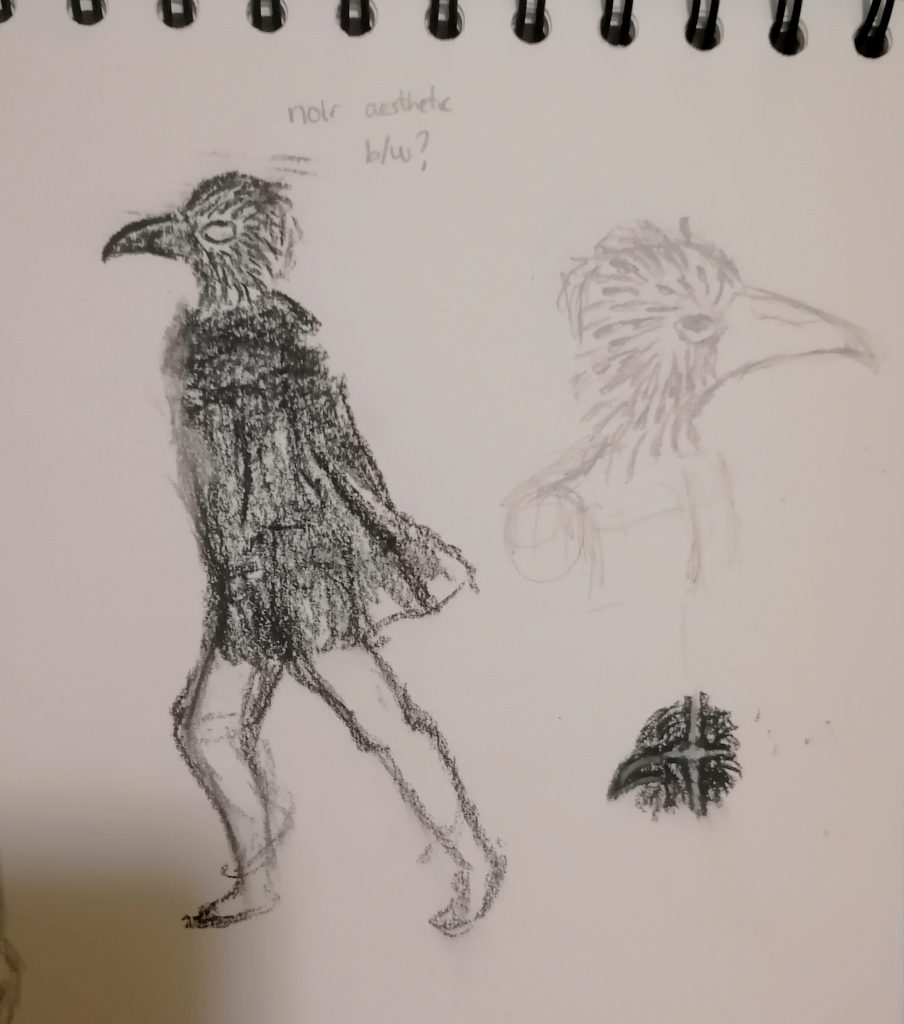
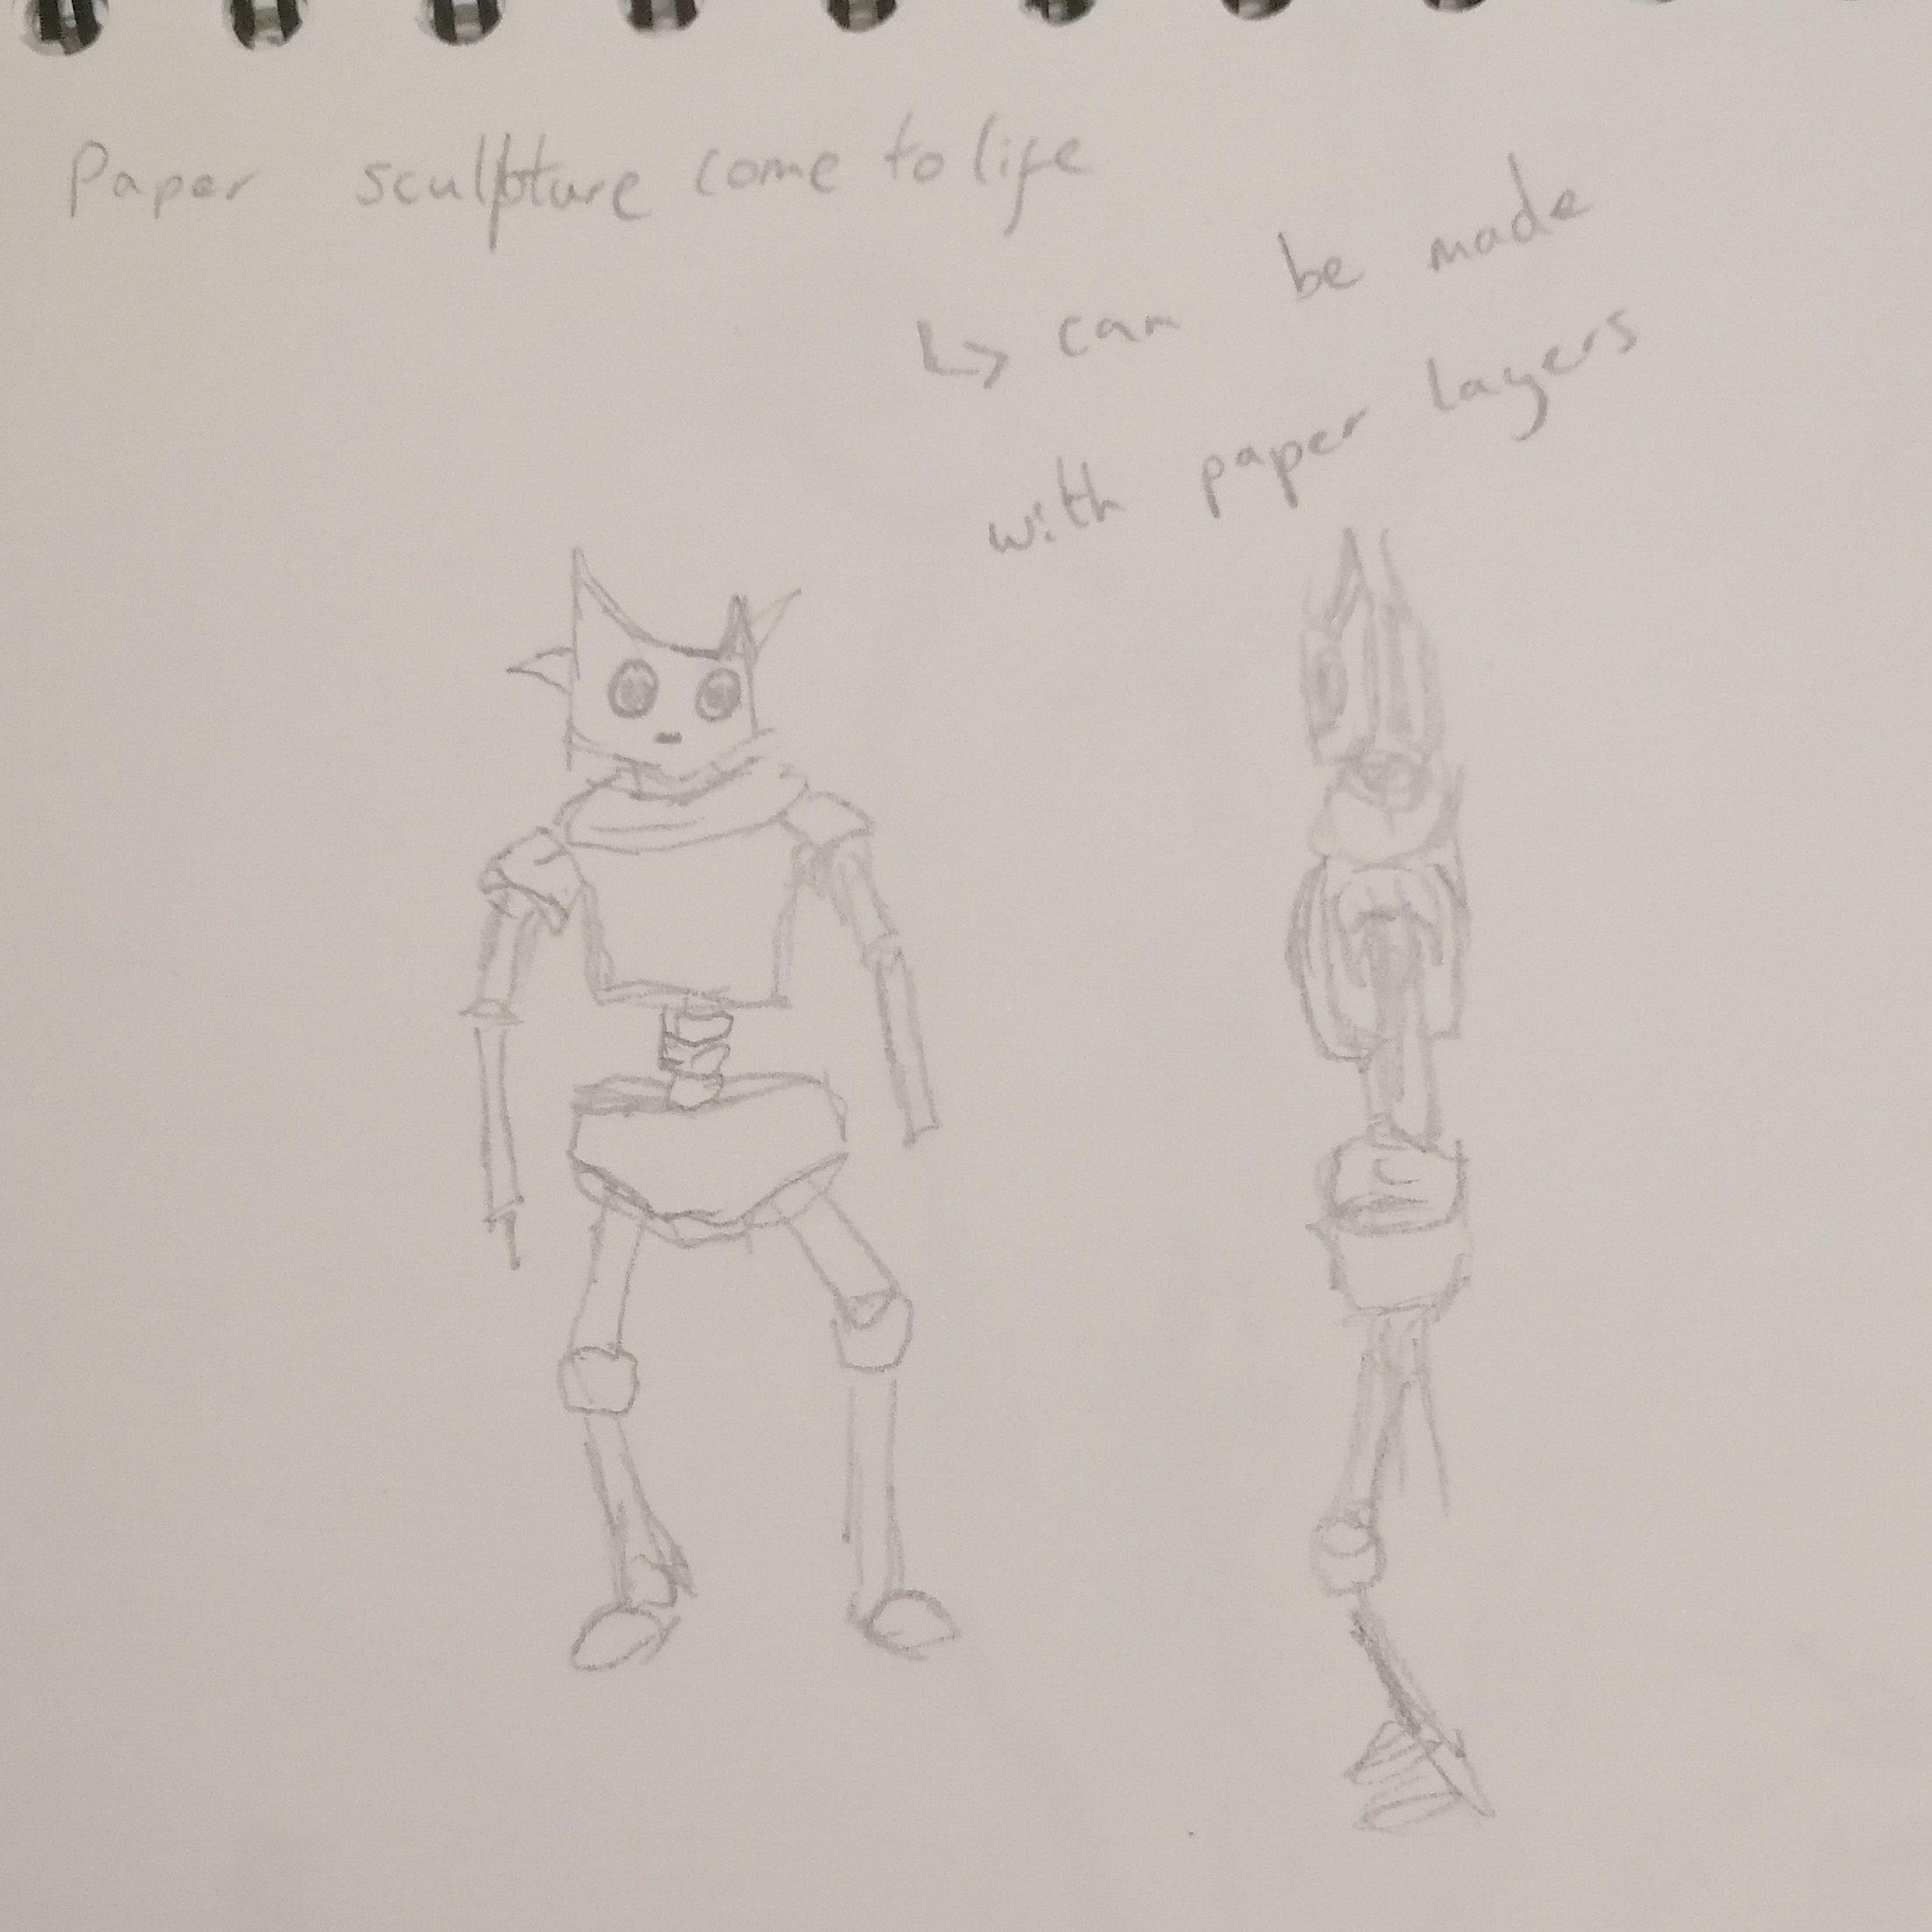
Some of my initial ideas included a character wearing a bird mask of a crow or owls head. I did some sketches using graphite and charcoal pencils to explore the idea.
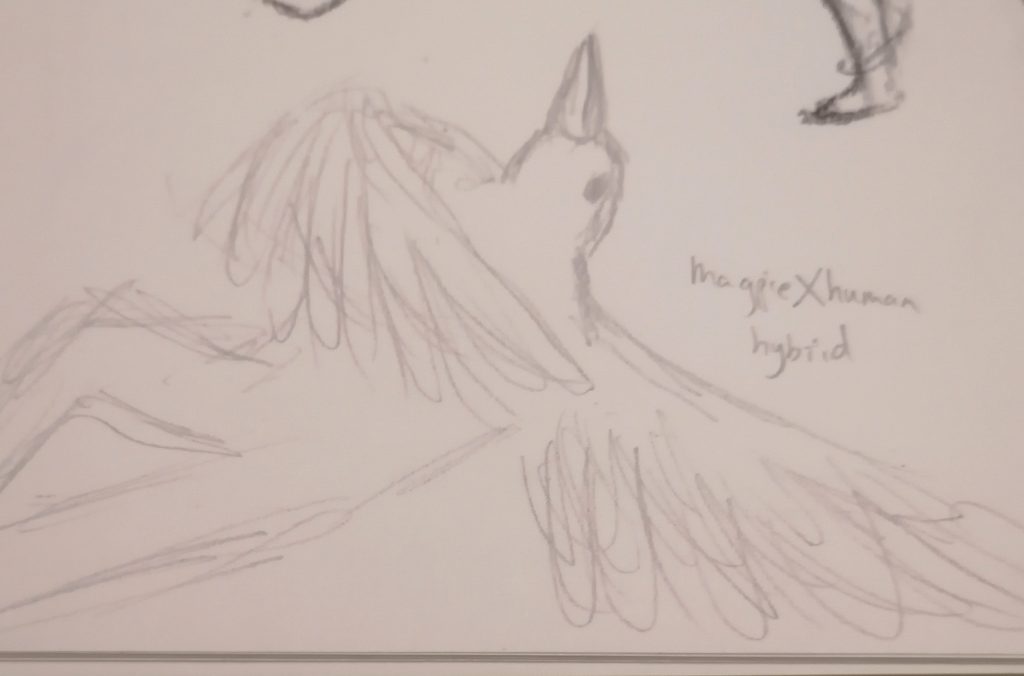
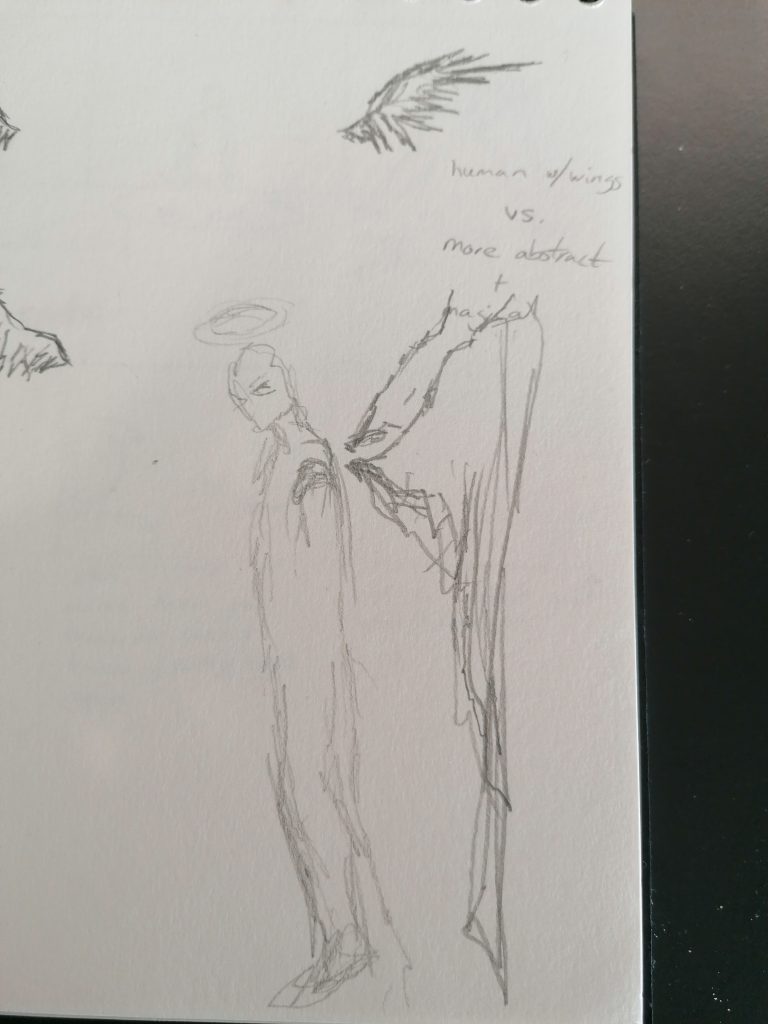
I also thought about a human-bird hybrid character with wings instead of arms and produced a rough sketch of what it could look like.
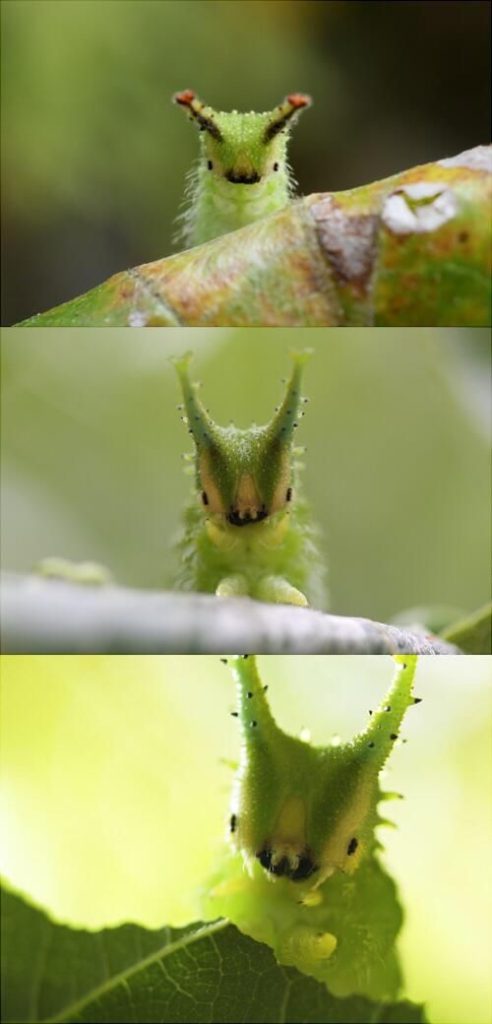
Another idea I had was inspired by this caterpillars head shape; I thought it would make an interesting head or helmet for a more abstracted character.
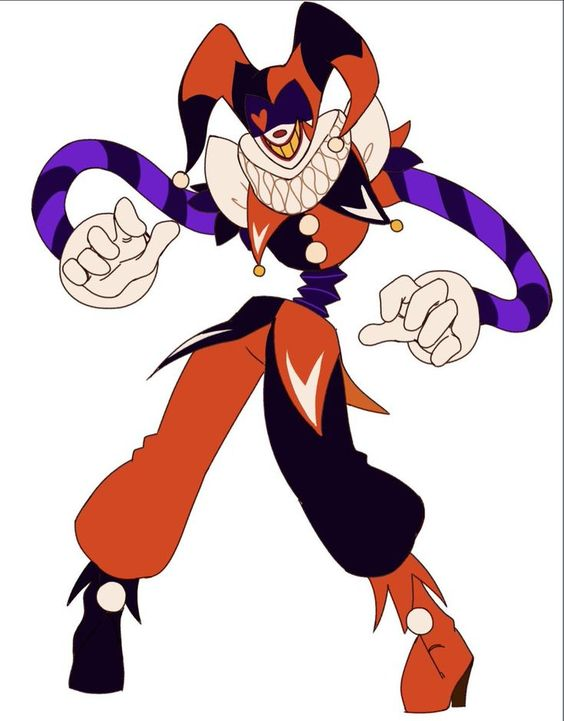
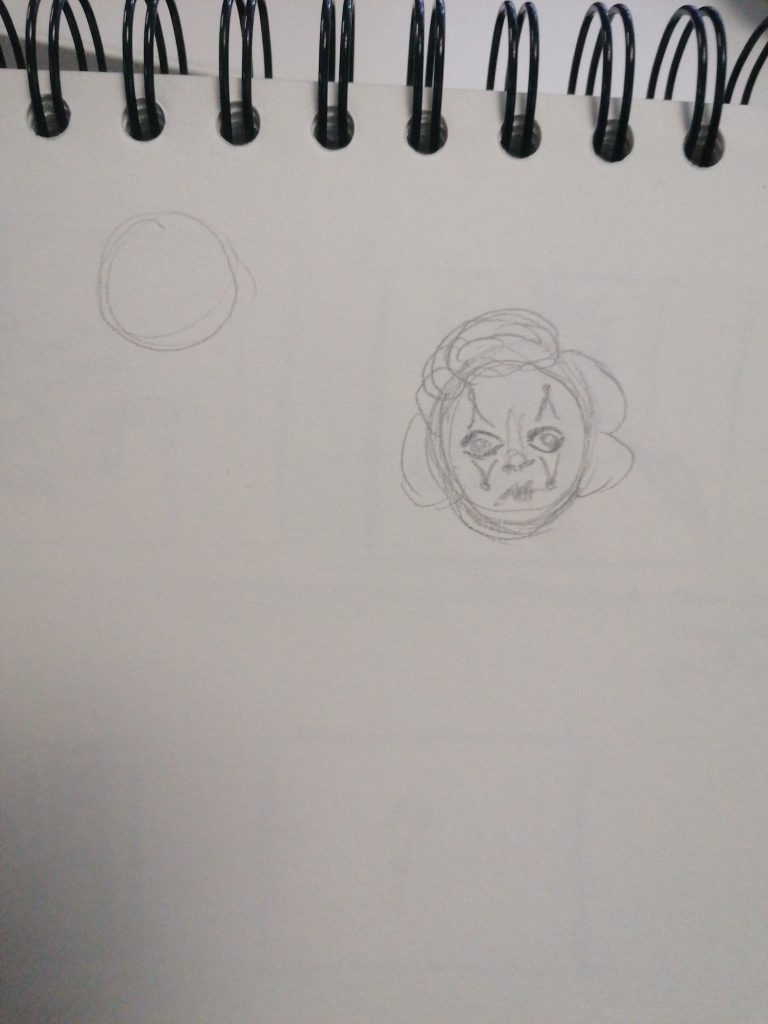
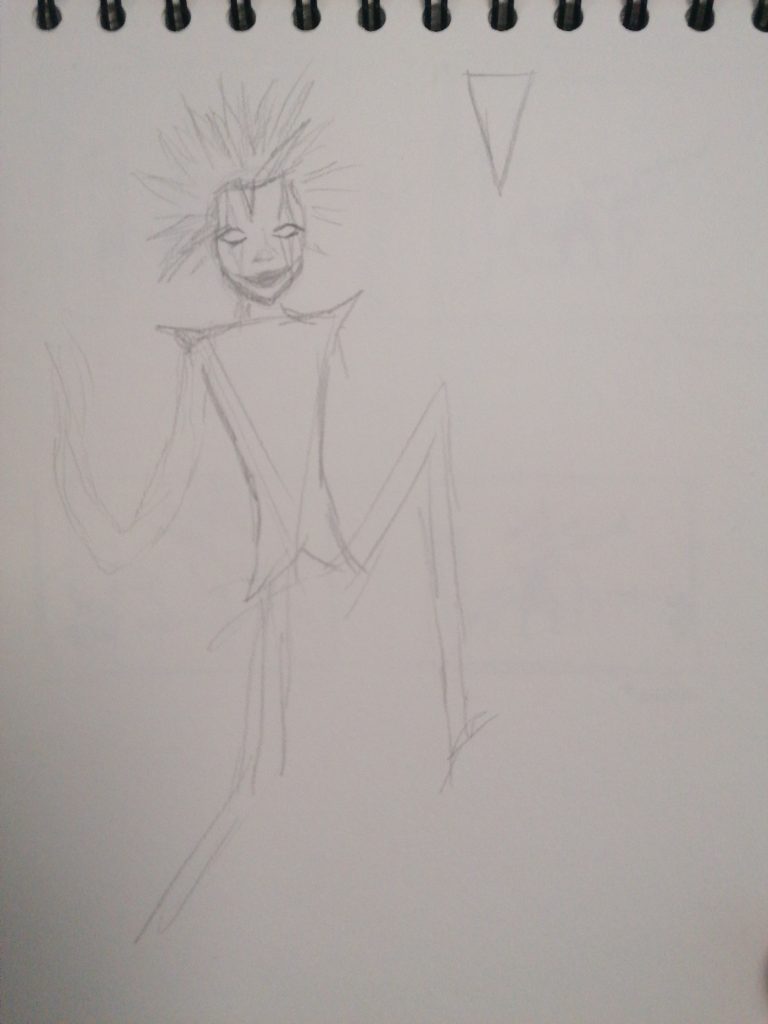
I also wanted to try to create characters heavily influenced by shape theory so I experimented with clown designs however I think my overuse of the shapes by making the characters entirely of one shape was excessive.
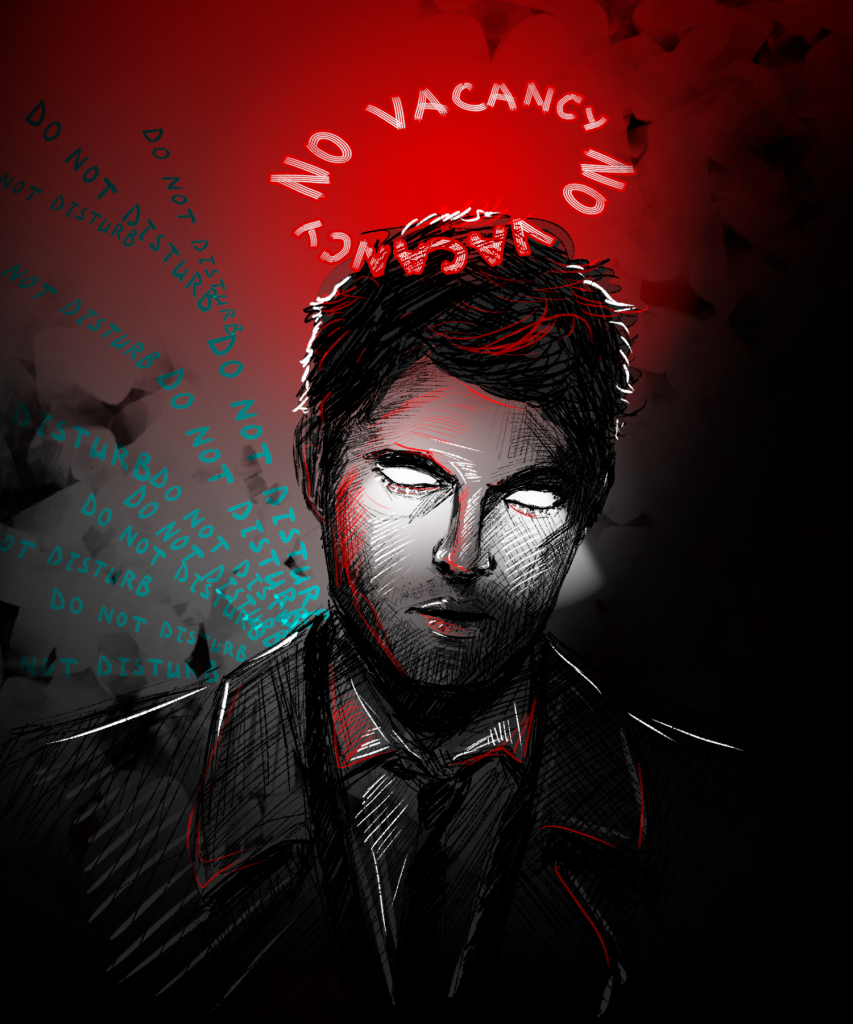
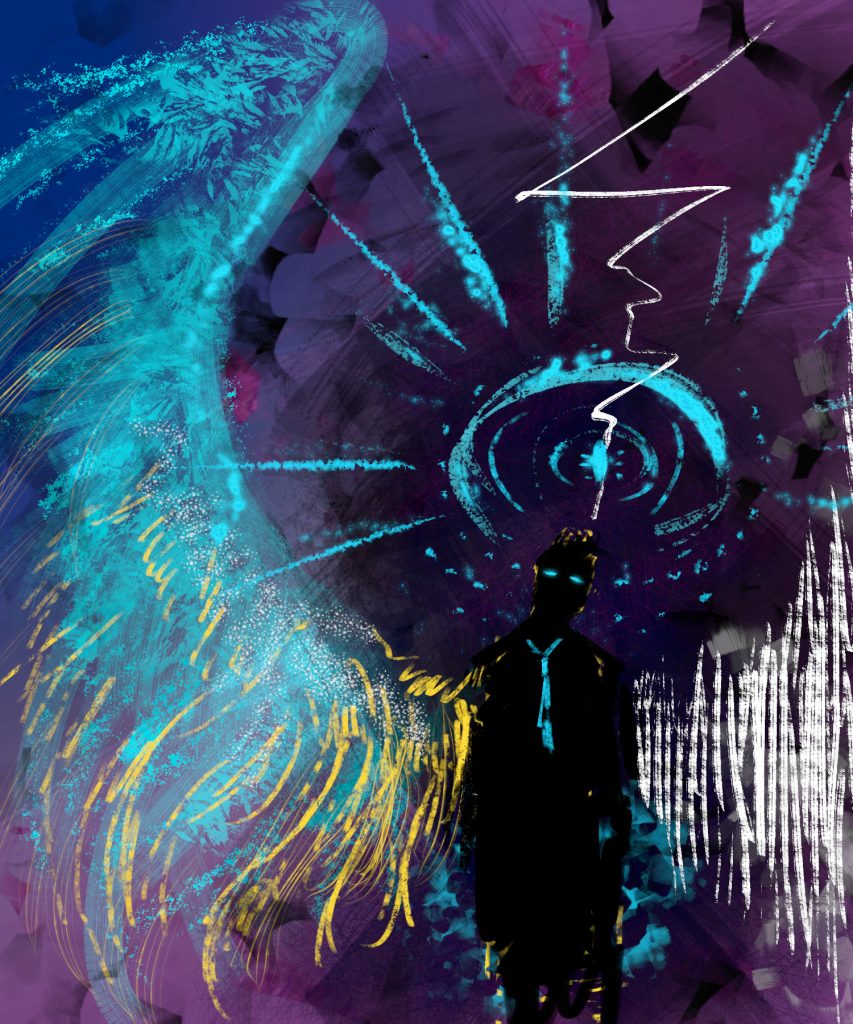
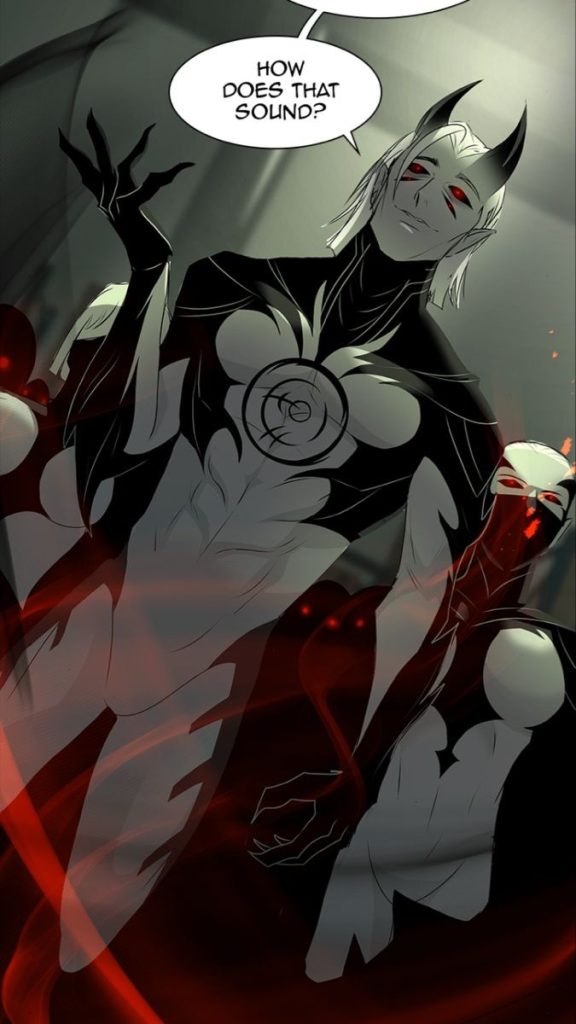
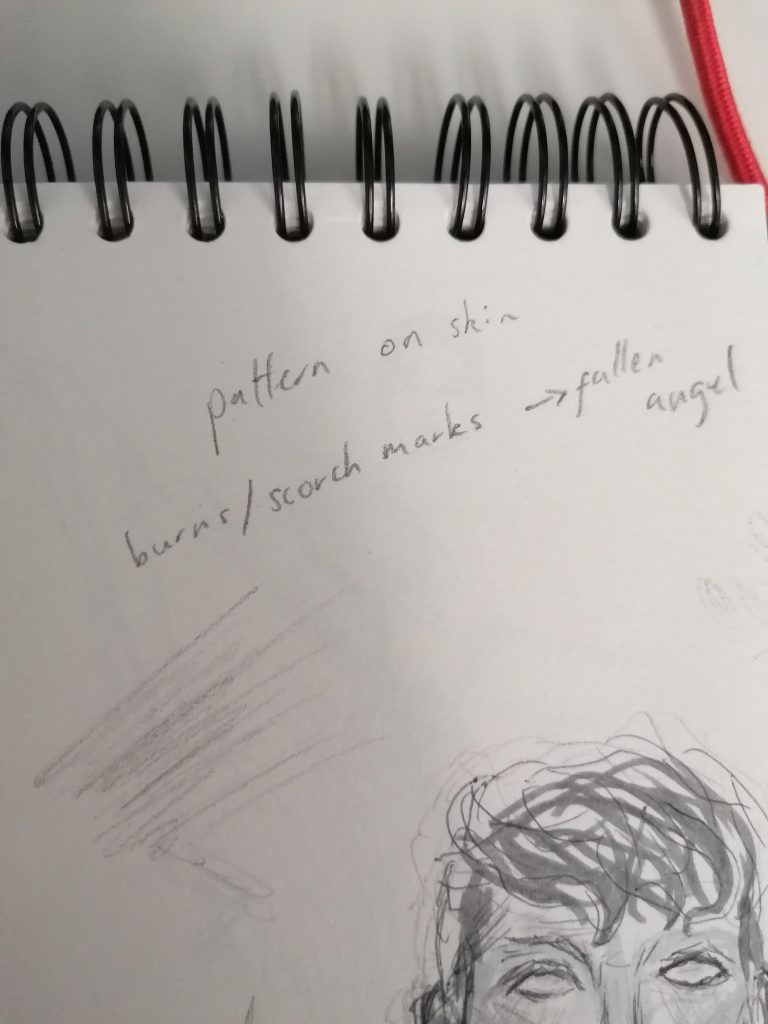
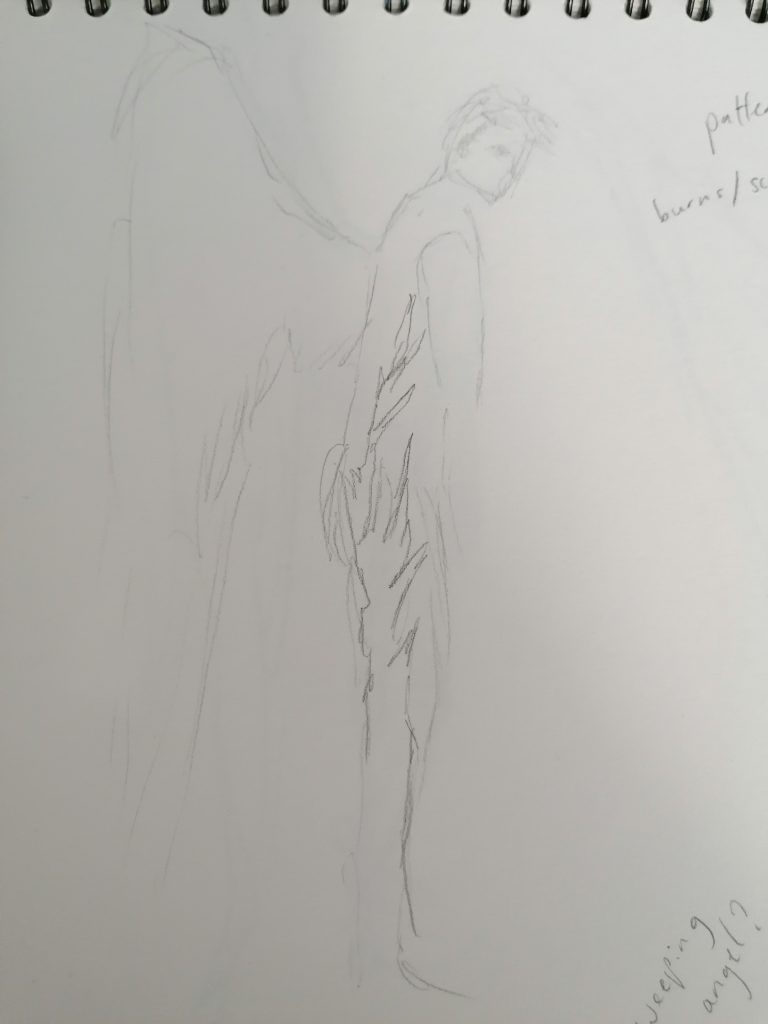
From the bird ideas and these pieces of art I saw on social media I was inspired to create an angel character; mainly thinking about a fallen or darker version of an angel leaning into the dark fantasy genre.
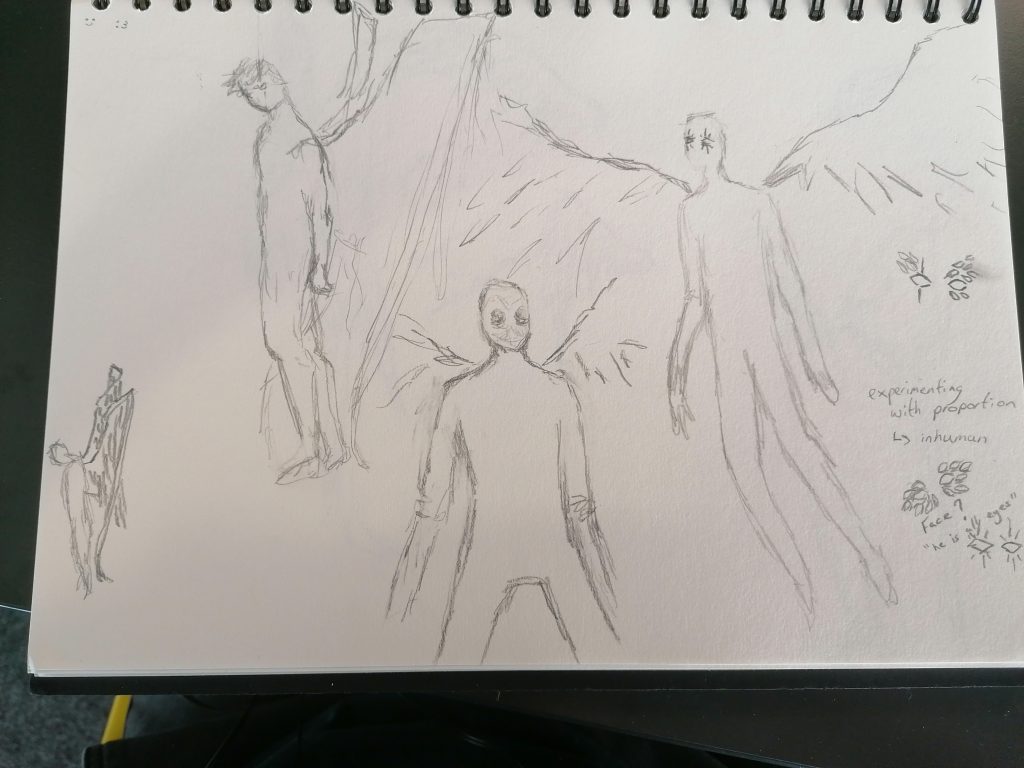
After deciding on an angel I wanted to explore different ways I could show the character as supernatural and inhuman while still keeping a mostly human body except for wings. I started exploring ideas of using uncanny valley or playing with proportion to make the character inhuman. I looked at more monstrous versions of angels and supernatural creatures based on peer feedback but decided to stick with a more humanoid version as the others had much less solid forms with many of them being made out of light or smoke. I also thought about biblical angels and giving him many sets of eyes but decided against it as it felt like the eyes should be floating around him instead of part of the model.
Since the model was going to have realistic anatomy i wanted to look at less realistic concepts for the texturing, thinking about the colour palette and materials. I thought about using black and white for the character like the art that inspired this design. I thought using an unnatural colour palette on the character like grey or white skin would create the inhuman feel I was looking for.
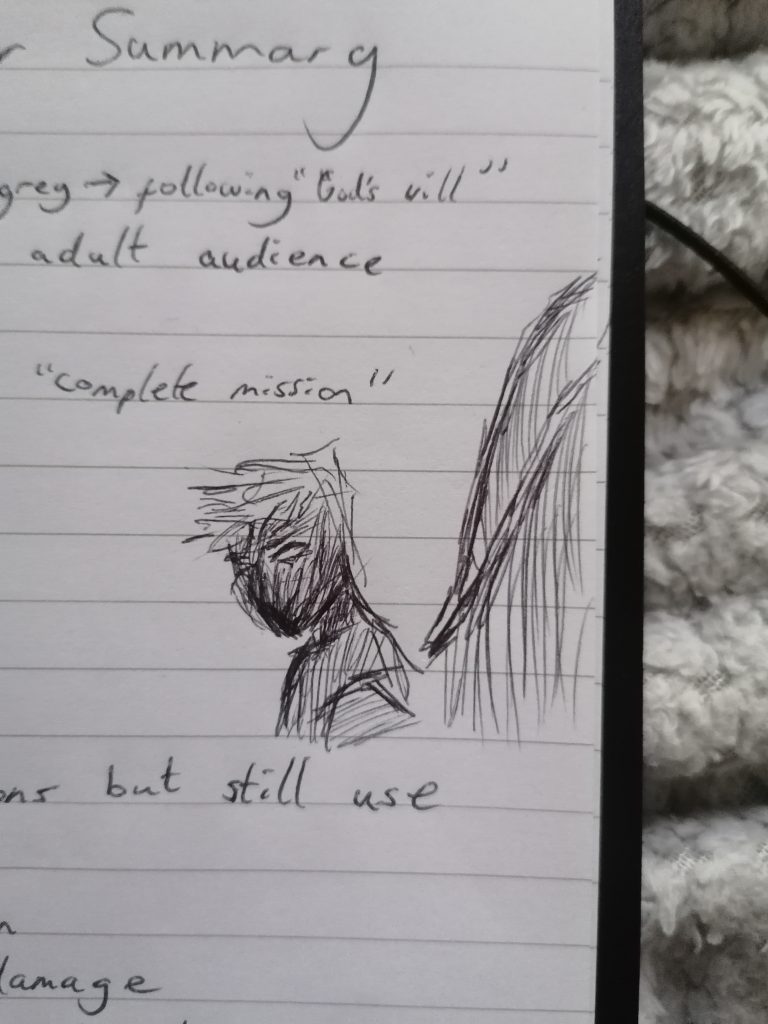
While creating the character I had few different ideas for his backstory. One was that he was a fallen angel who was still trying to to do the job he was assigned before he fell like a robot just following a faulty protocol and carry out God’s will by harming people to rid the earth of sin or impurity.
I also thought about him being an angel of death who comes to end the persons life when their time is up.
I thought since he’s a dark fantasy twist on an angel he probably wouldn’t have free will and would simply be a servant of a higher power. Since I was thinking about how to make him fit a horror-fantasy genre I like the idea that he’s almost unstoppable with power from a monotheistic God. I also thought that maybe his lack of free will is a curse to him and that he doesn’t necessarily want to do what he does but he has no choice or it’s instinctual. I think combining this idea with the fallen angel concept is really compelling and sinister.
Refining Final Design
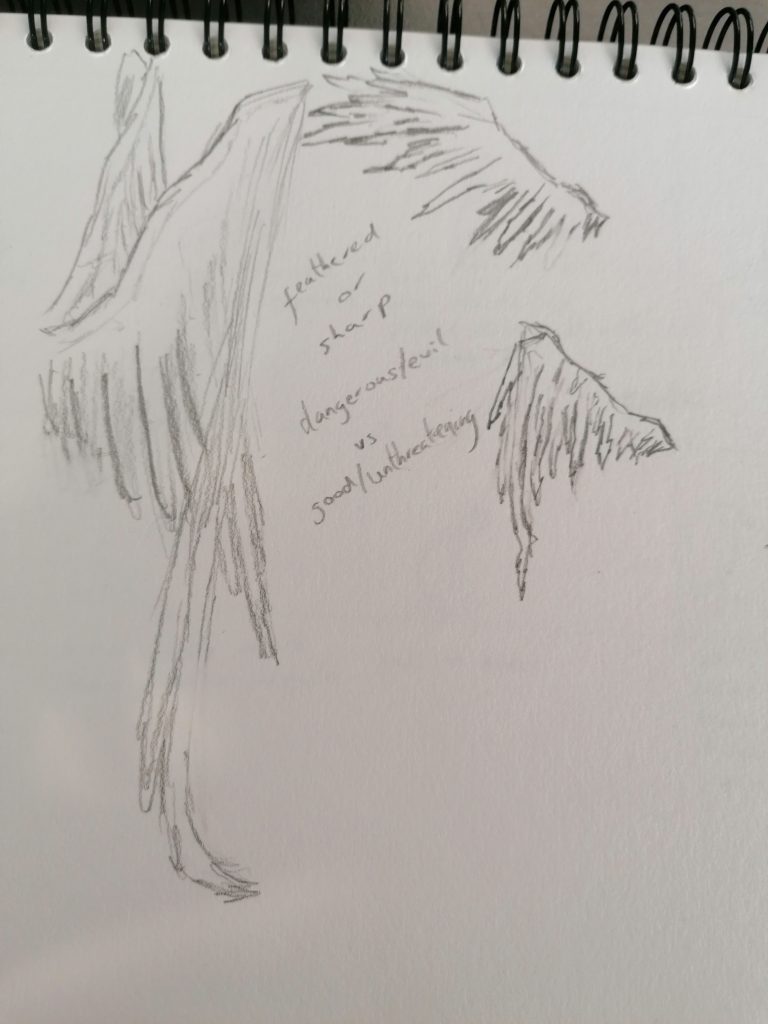
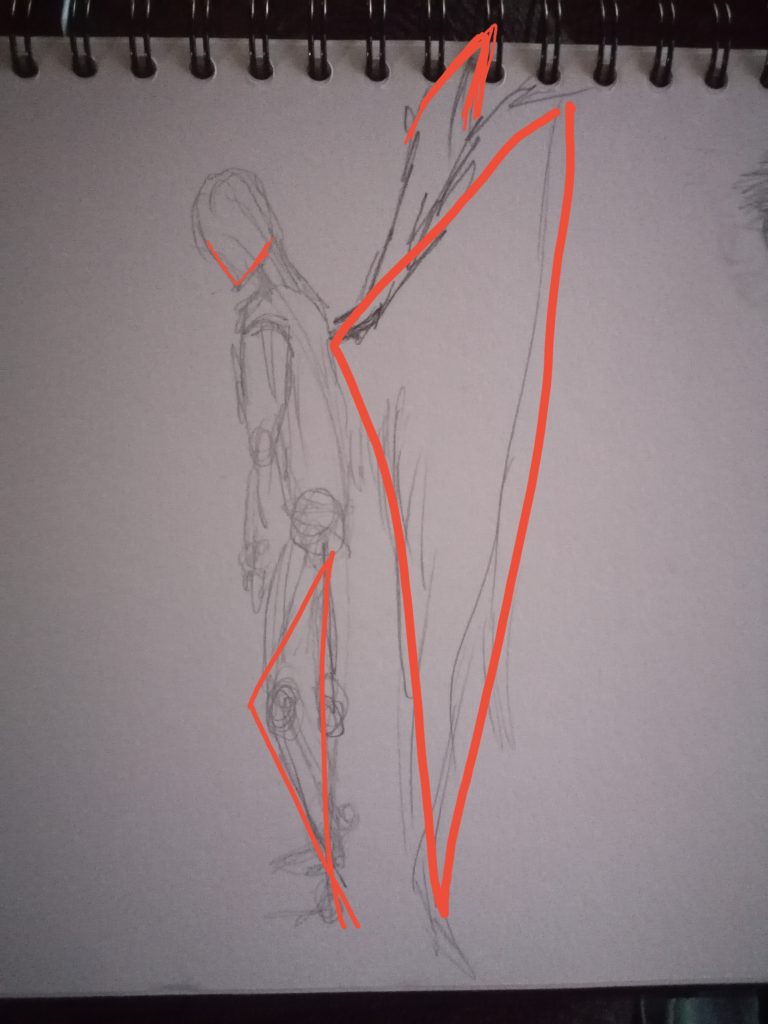
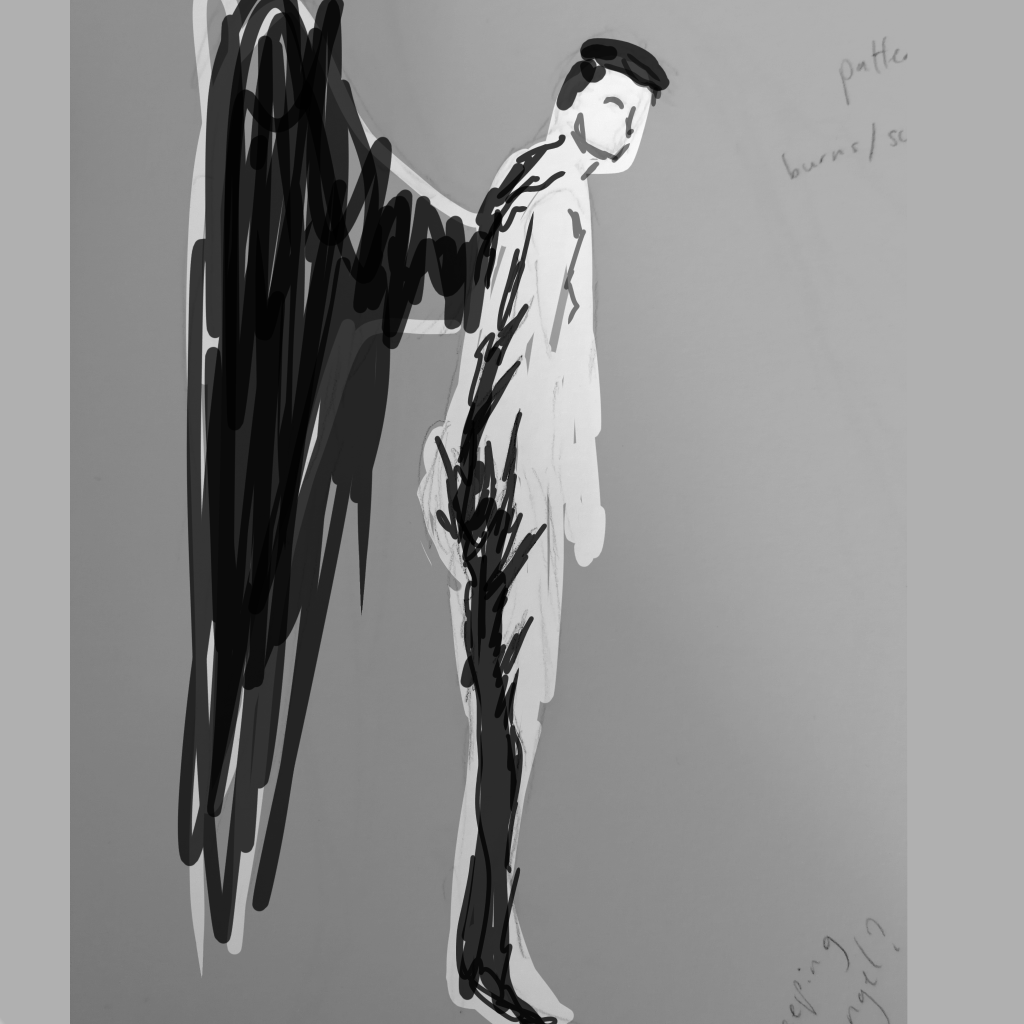
I wanted him to have angular features to make the character have more triangles in his design so he would come across as dangerous so i sketched some sharper wings and ways to have triangles in his pose instead of his actual anatomy.
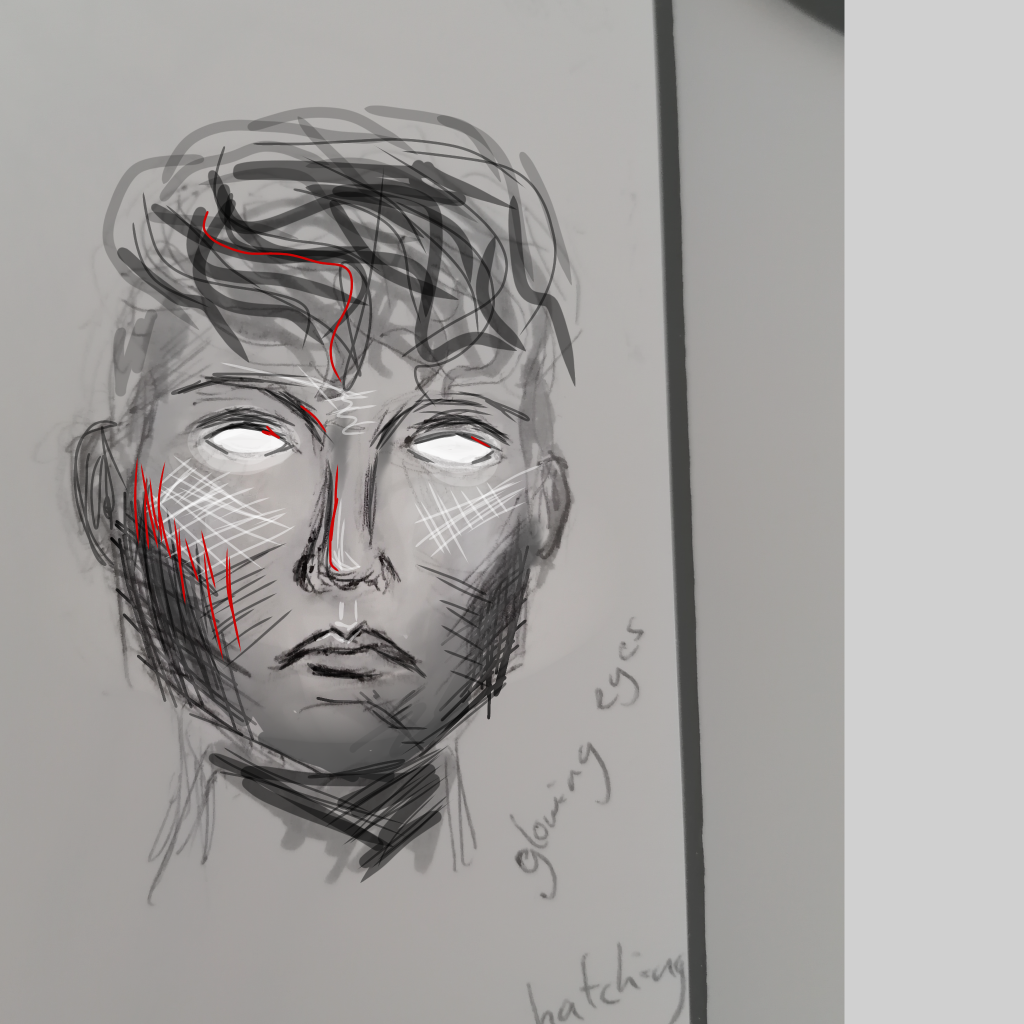
A test sketch with cross hatching and a colour scheme inspired by the piece of artwork that gave me the idea to create this character.
After thinking for a while about what clothes would suit the character, thinking about historical clothing or draped fabric like in traditional religious paintings I eventually decided I didn’t think any clothes really fit the character so I decided to instead give the skin an interesting pattern inspired by demon characters in the Covenant webcomic.
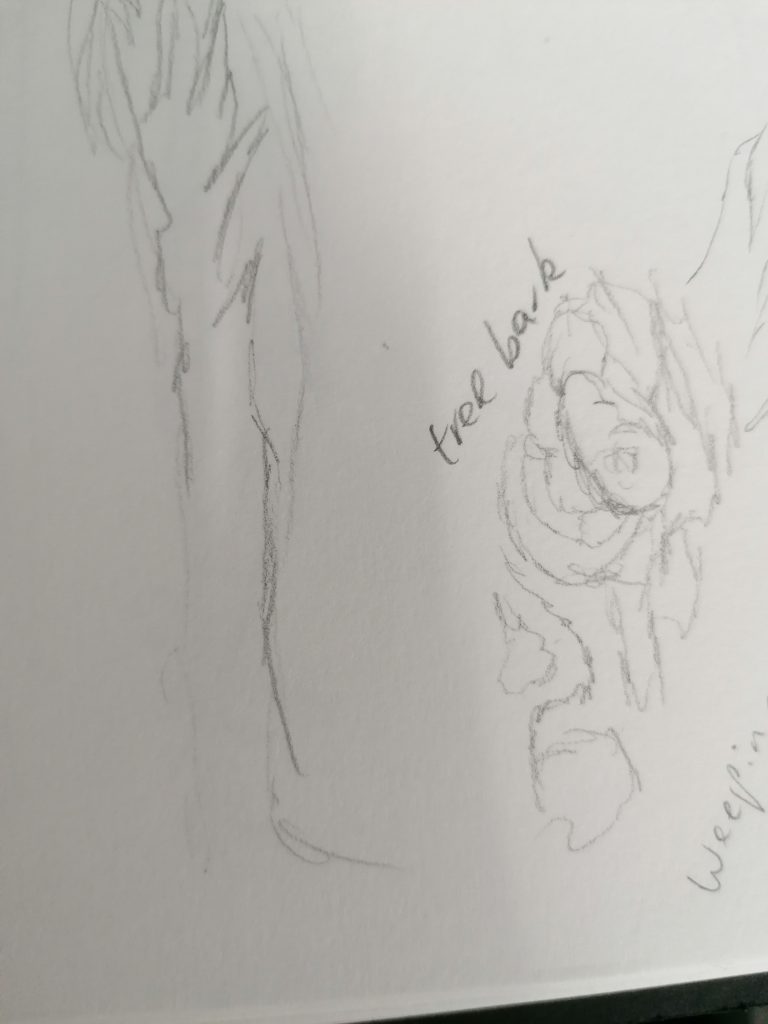
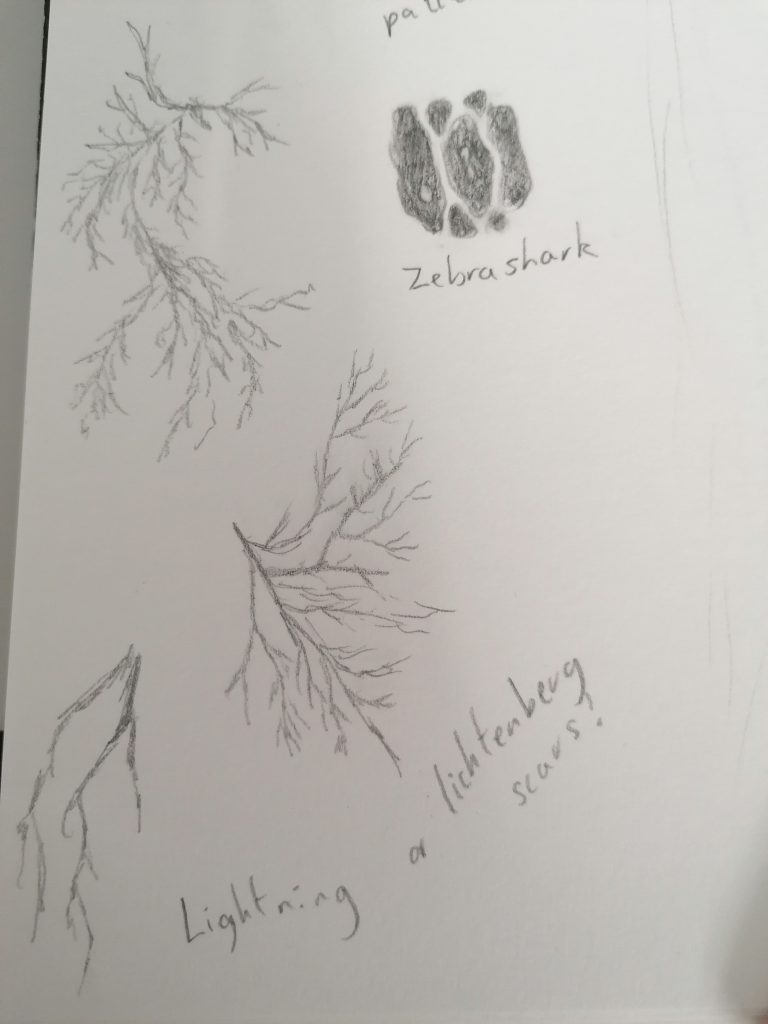
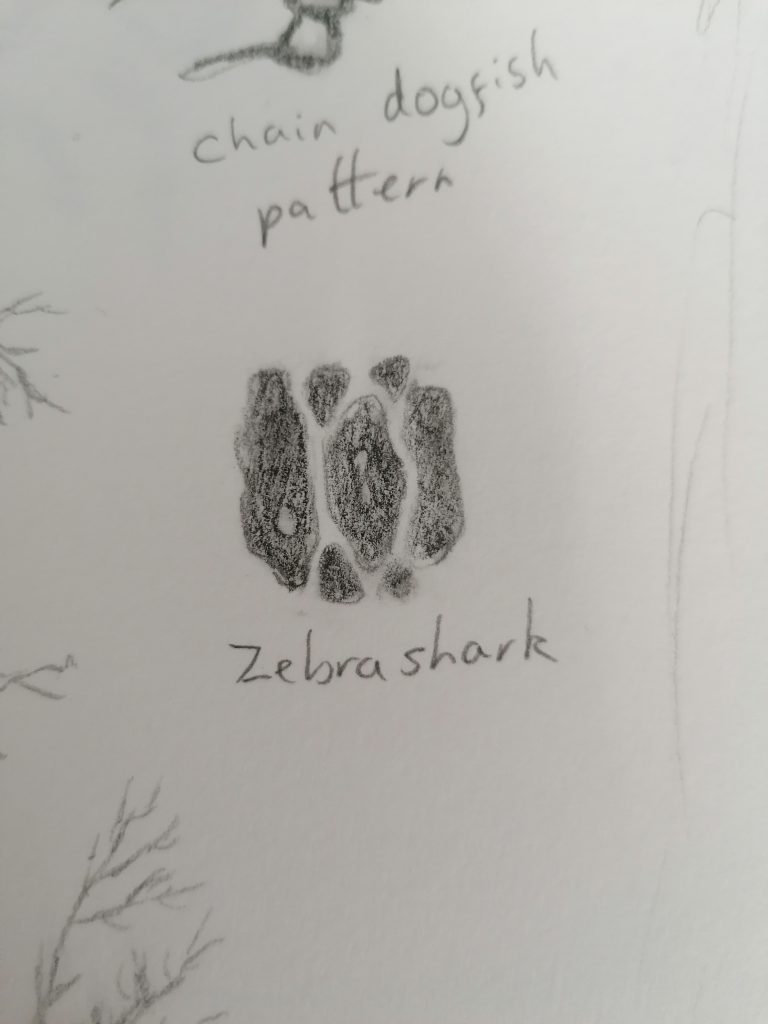
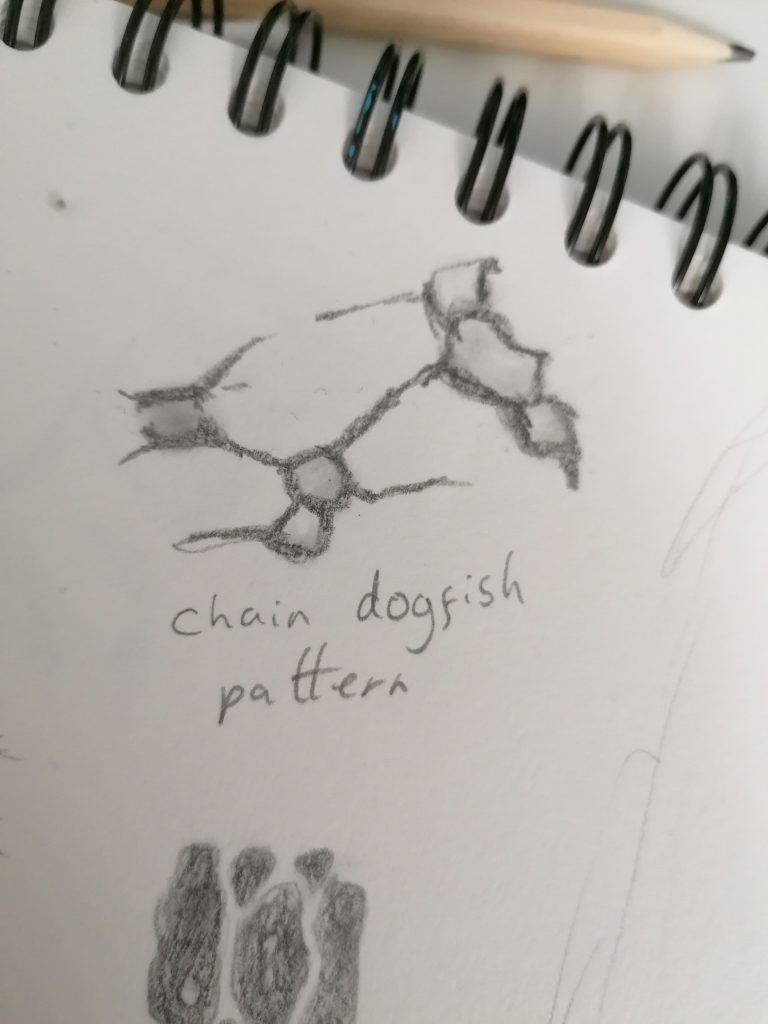
I sketched some different ideas for patterns on the body, I took inspiration from different patterns in nature as I imagined an angel might be made up of different parts of God’s creations. I looked at references from fish, bark and Lichtenberg scars.
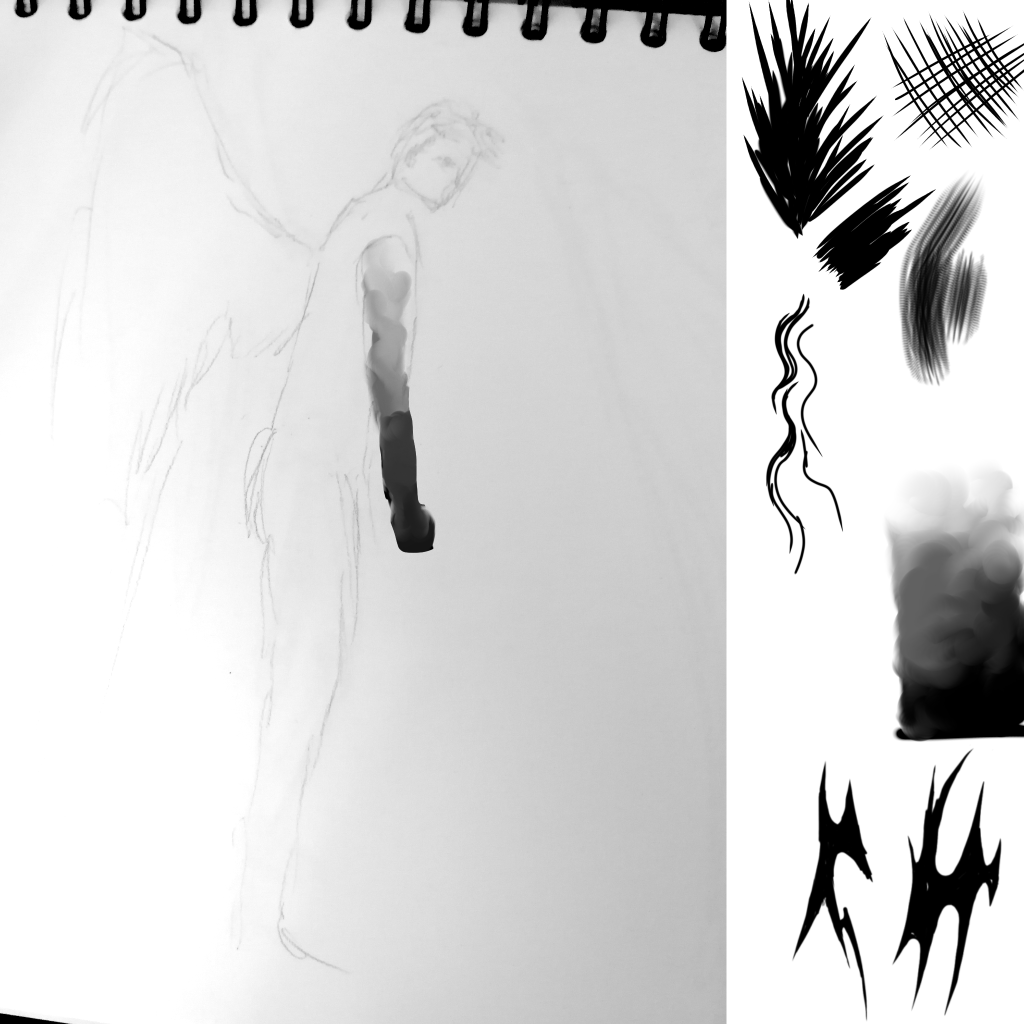
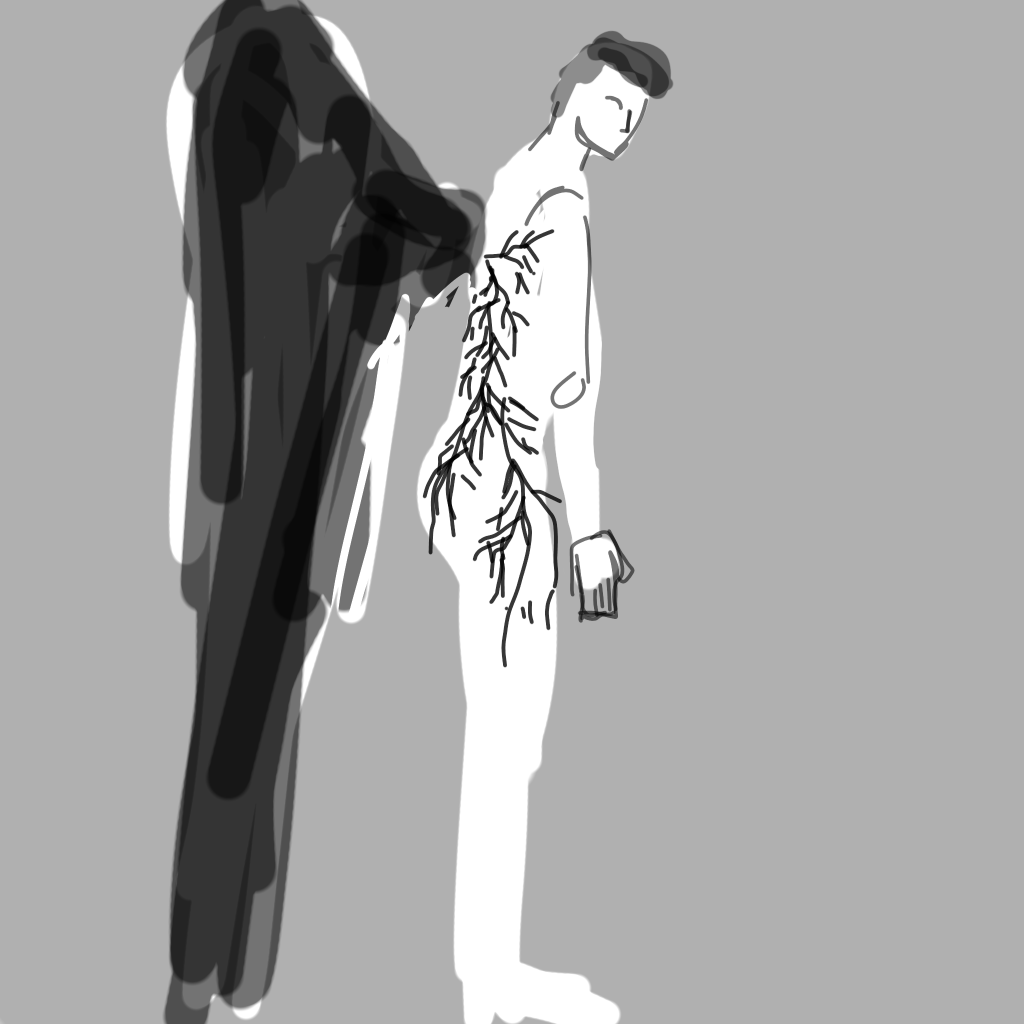

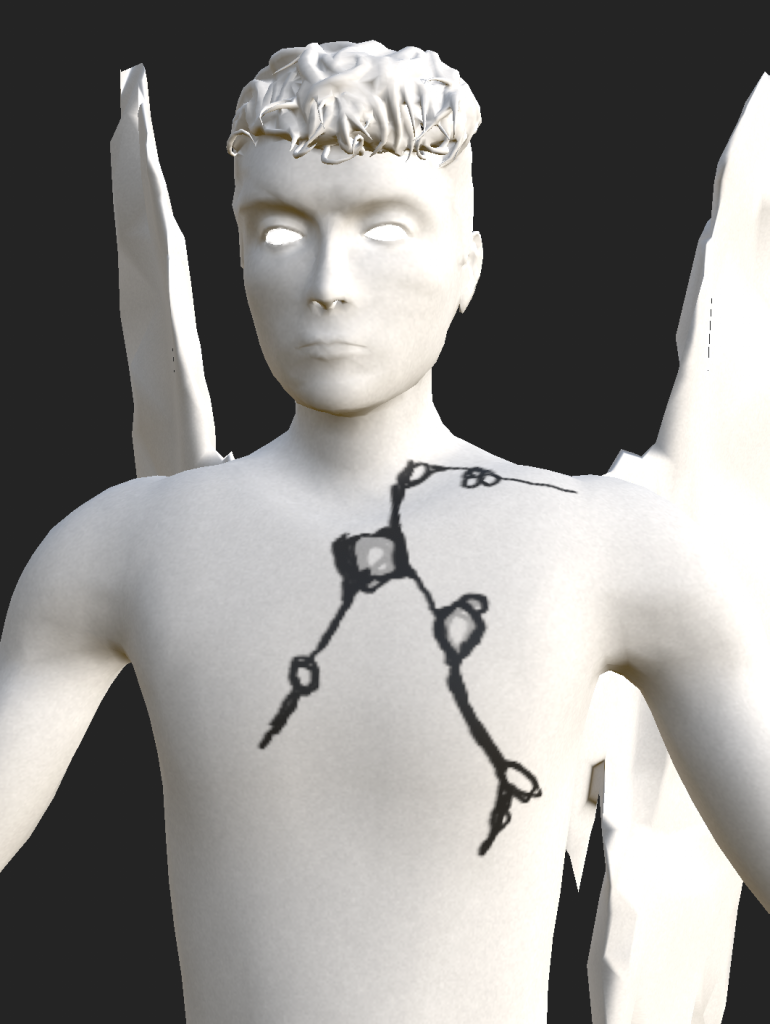
Testing different patterns on the body, my favourite is the last one because it looks almost like burn marks which would fit with a fallen angel story – burning up in the atmosphere. I also like the jaggedness as it adds nice sharp points to the character that are missing in the realistic anatomy.
Sculpting in ZBrush
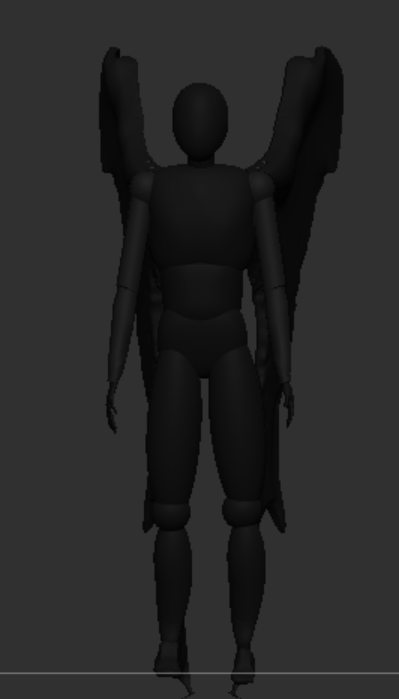
I started modelling in ZBrush by making a basic blockout by inserting basic shapes as new subtools and adjusting them with the move brush to make them fit the basic forms of the body. First I made the ribcage which I originally tried to make with a cube before changing it to a sphere due to the unnatural sharp edges that were mostly unaffected by the move brush on the cube. The limbs are made with spheres at the joints and long cylinders
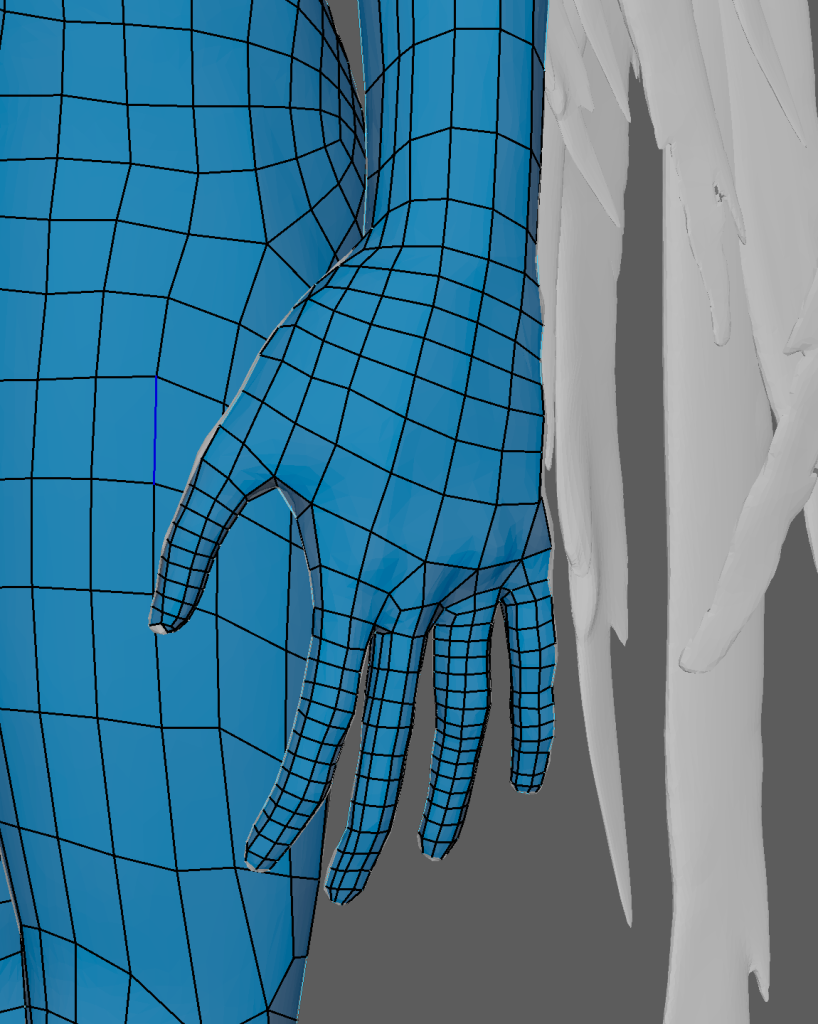
I used polygroups on the hands to keep each segment of the finger separate and allow for precise sculpting of just one area at a time.
When I used dynamesh on the hands the resolution was too low and it merged all the finger together so I had to adjust the resolution in its settings to be higher and it smoothed the hand.
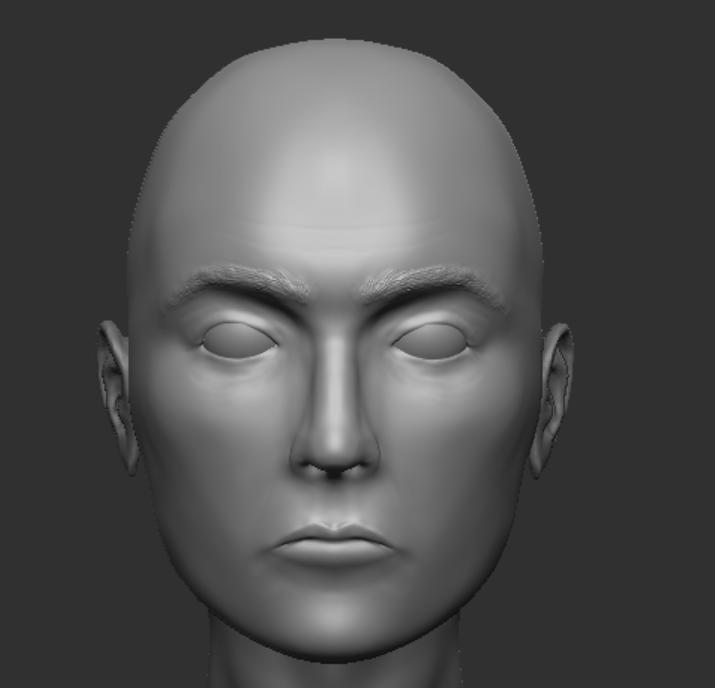
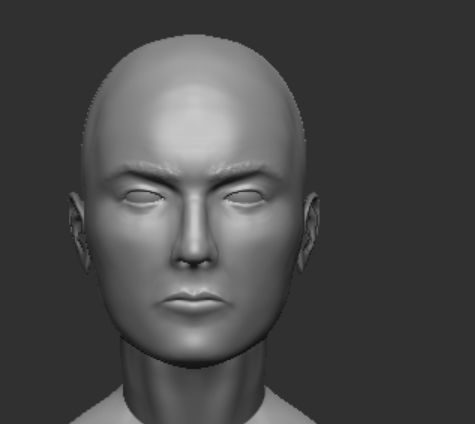
From there I added in the basic anatomy using the clay build-up brush starting with the bony landmarks – the places on the body where the bones are visible like the collarbones and joints.
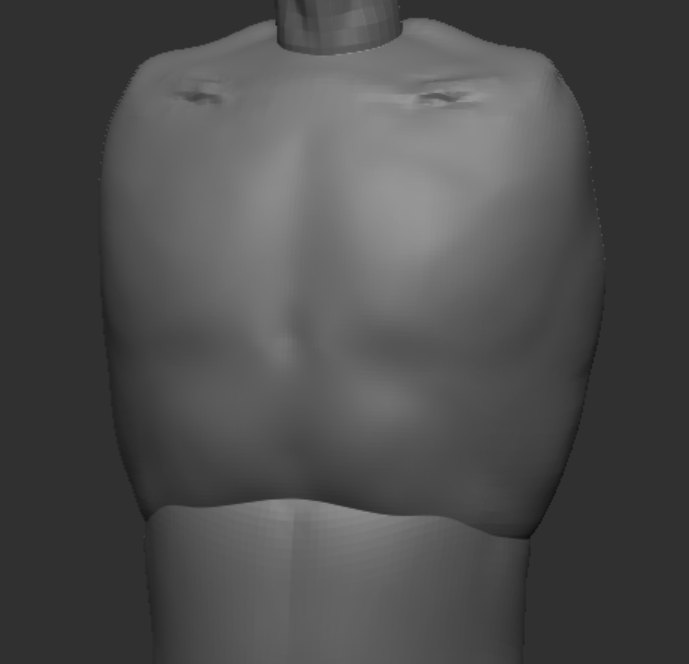
After this it was a process of refining the anatomy and making sure everything was proportionate. I made a few adjustments to the proportions using the eight heads anatomy rule and then added in the muscles using the clay build up brush.

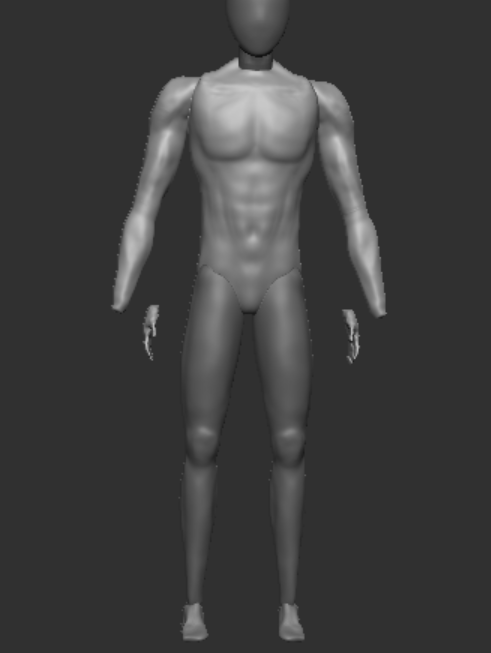
After adding the muscles I decided that I didn’t want my character to look too buff as he’s supposed to be a supernatural entity so I thought they wouldn’t really need to build muscle and could probably be supernaturally strong without having large muscles which would also make it more scary. So I scaled down the width of the arms and torso and used the inverted clay build up brush to remove some of the muscle.
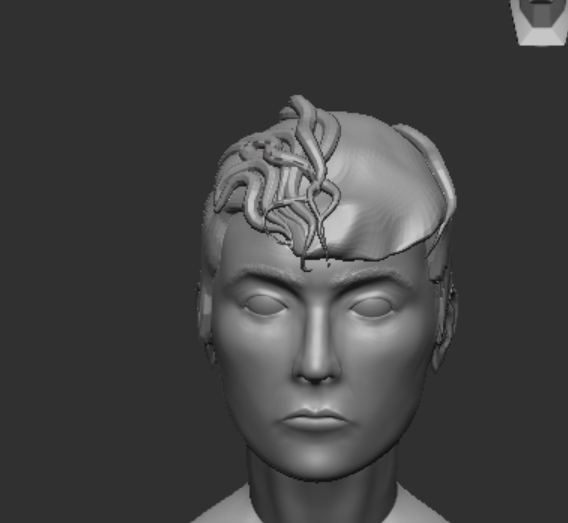
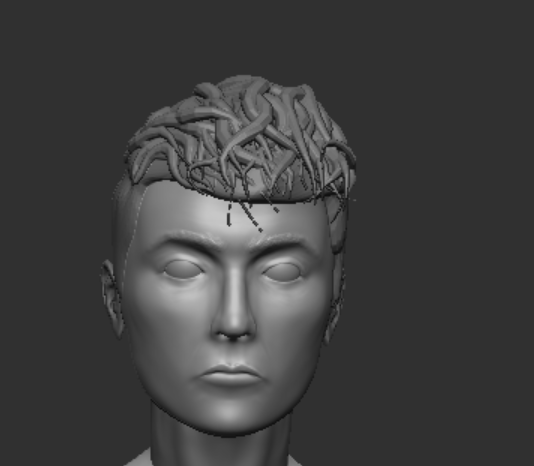
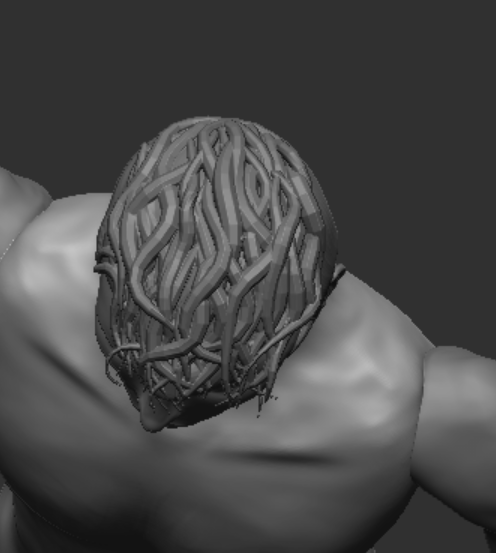
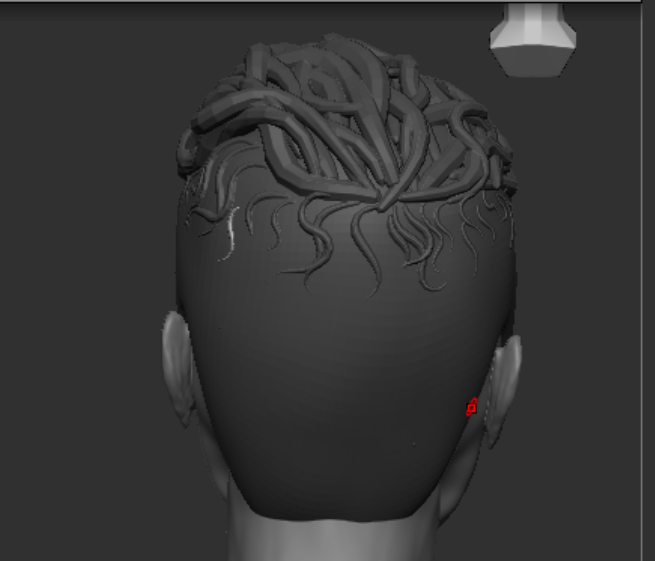
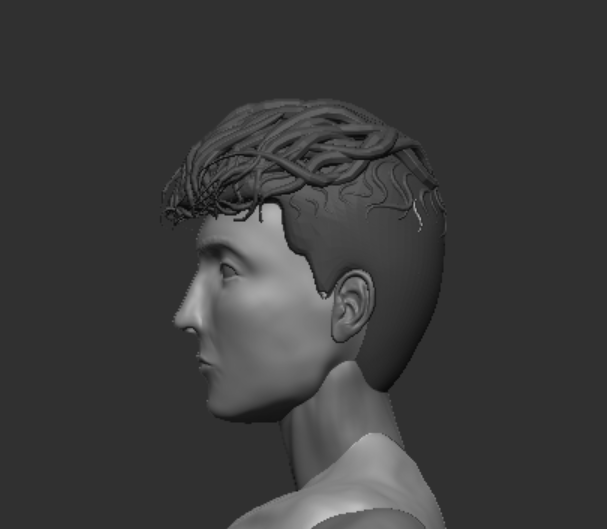
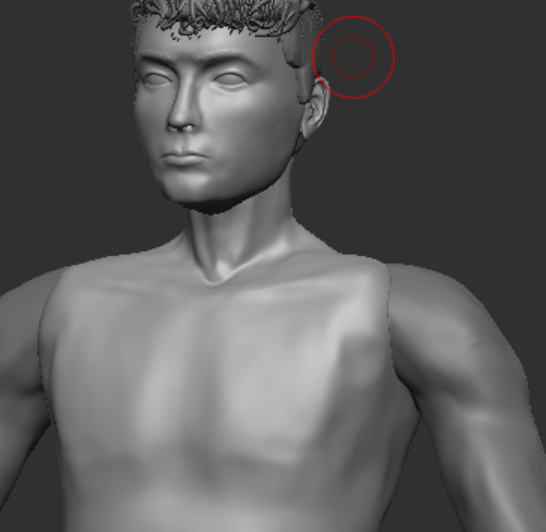
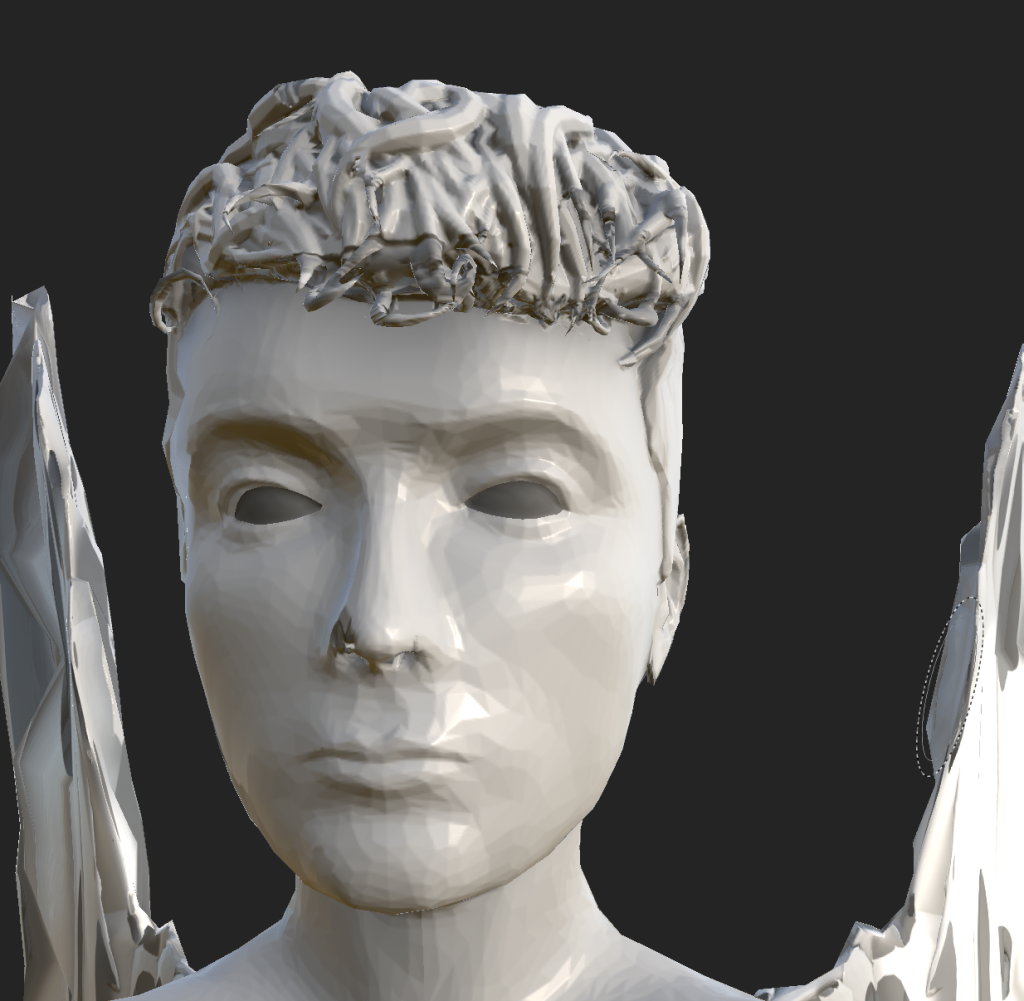
Following a tutorial on stylised hair (Ana Carolina Art, 2021), I used the clay tube snap brush and adjusted its stroke settings so it would be thinner at the start and end of each brush stroke
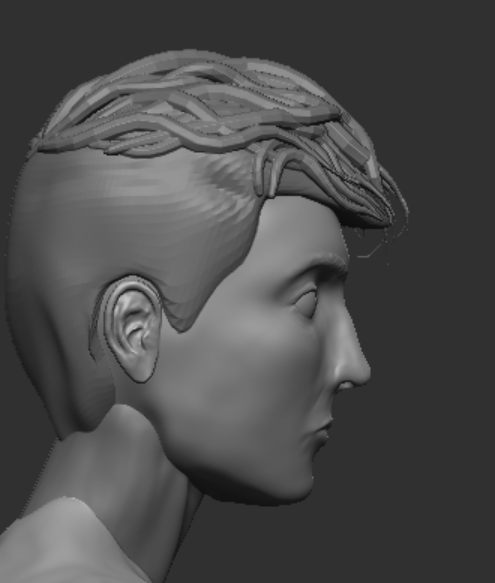
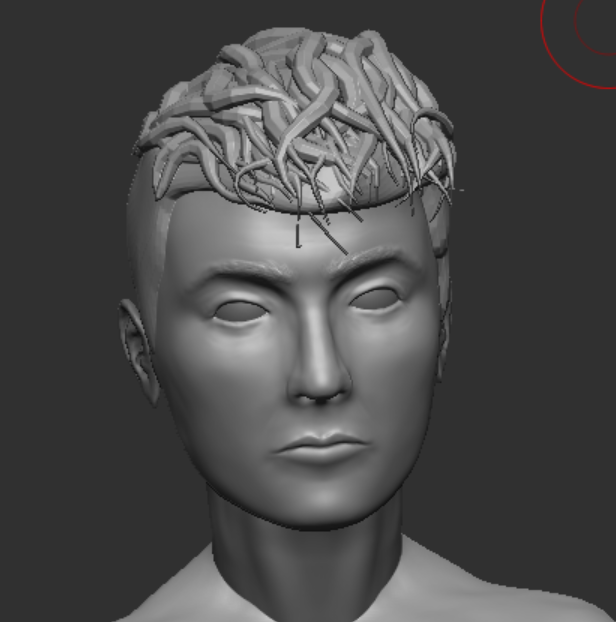
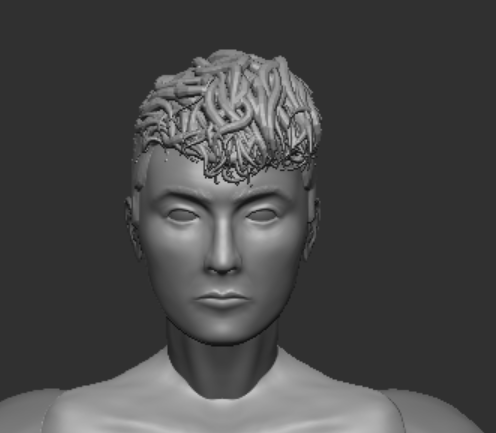
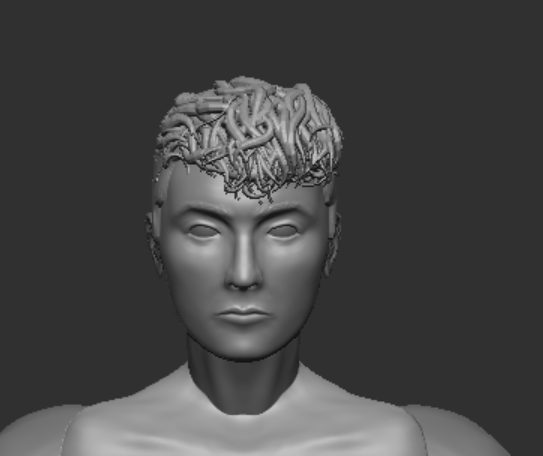
I used the move brush to flatten down the top of the hair slightly as the stacked tubes had given it a lot of volume and it was making the proportions look off and the head look too long.
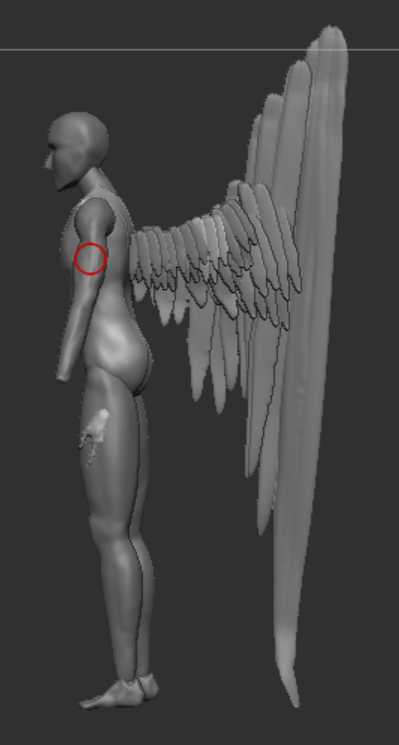
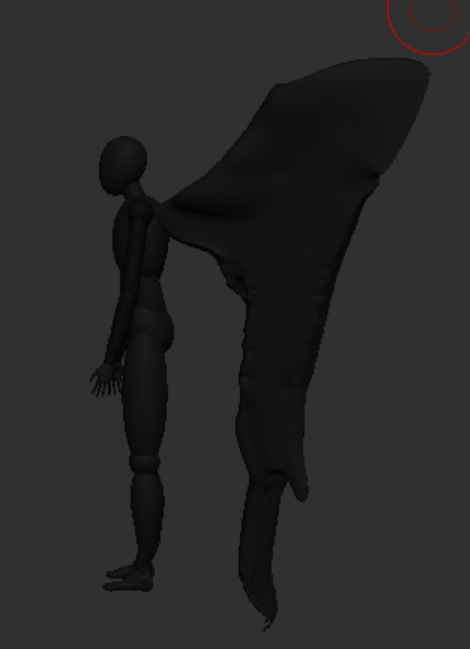
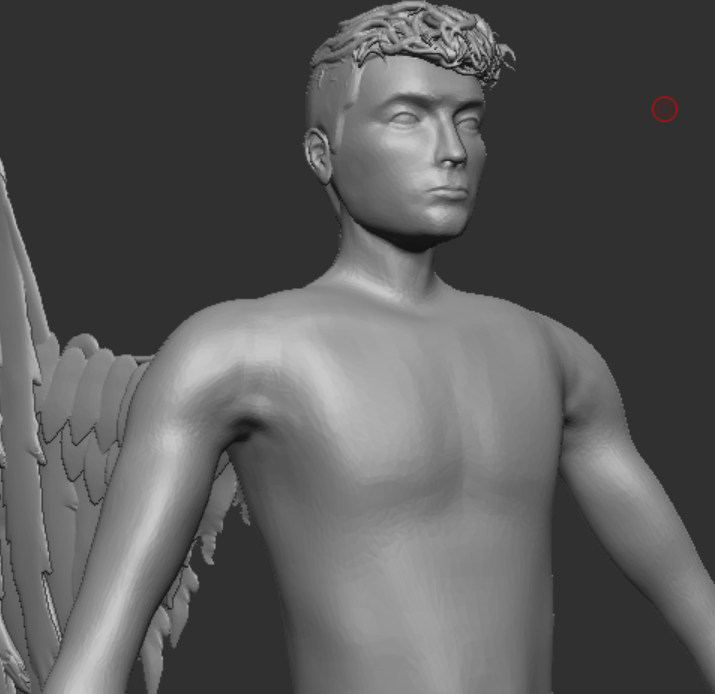
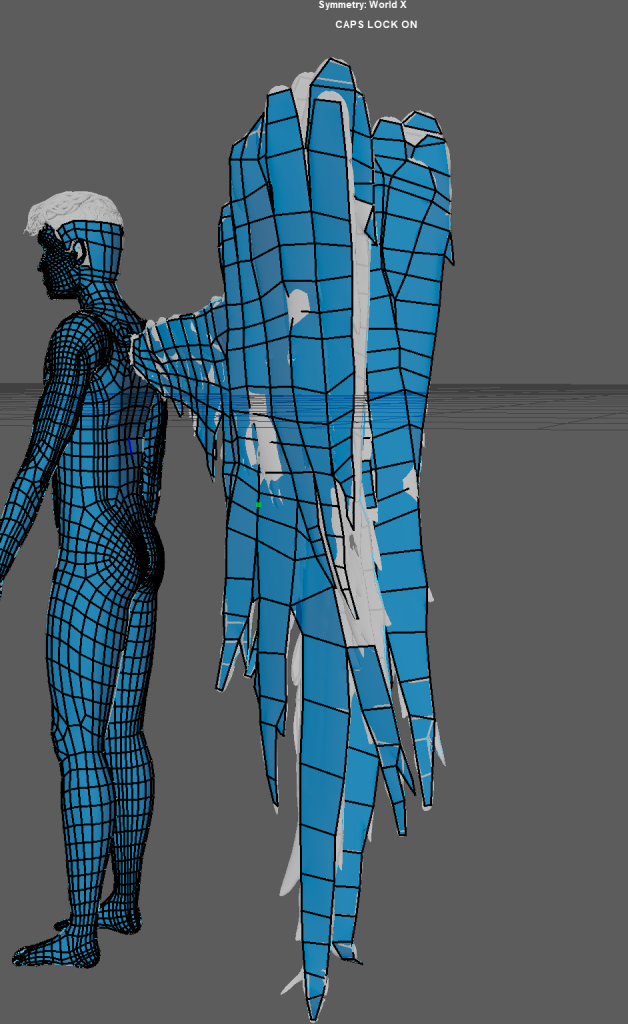
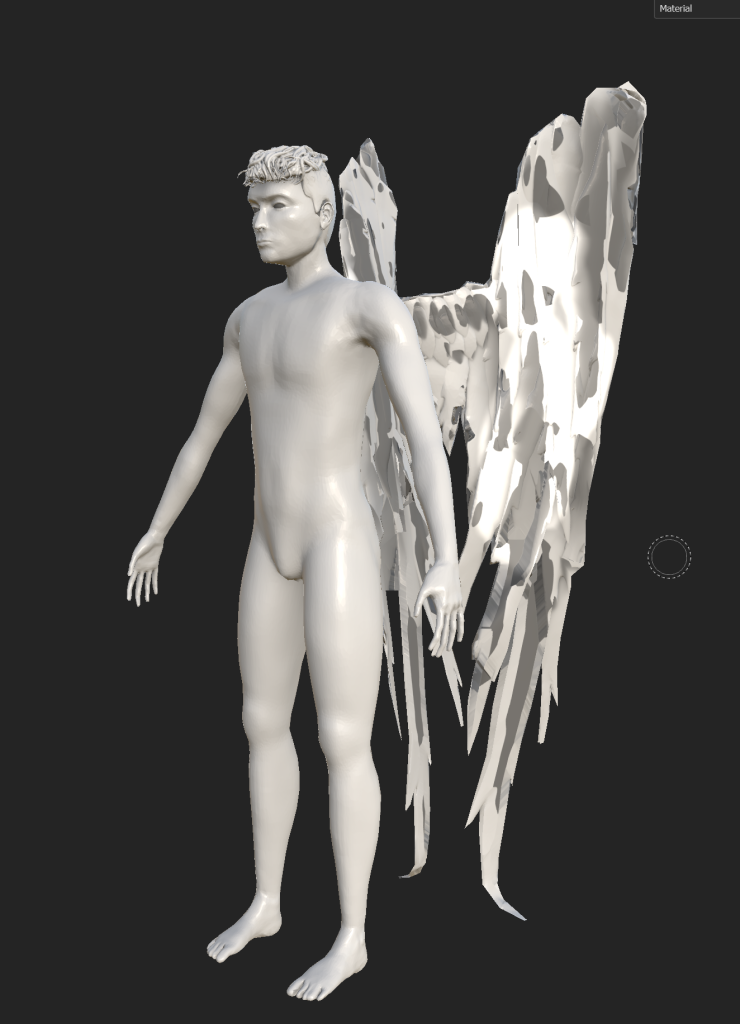
I sculpted a feather and then duplicated it and adjusted the other one to look slightly different so there would be variation in the feathers. I started making the wings by placing the largest feather as a guide to follow when placing the rest of the duplicated feathers. When sculpting the feathers I used a back-face mask to stop the thin object from deforming due to the brushes.
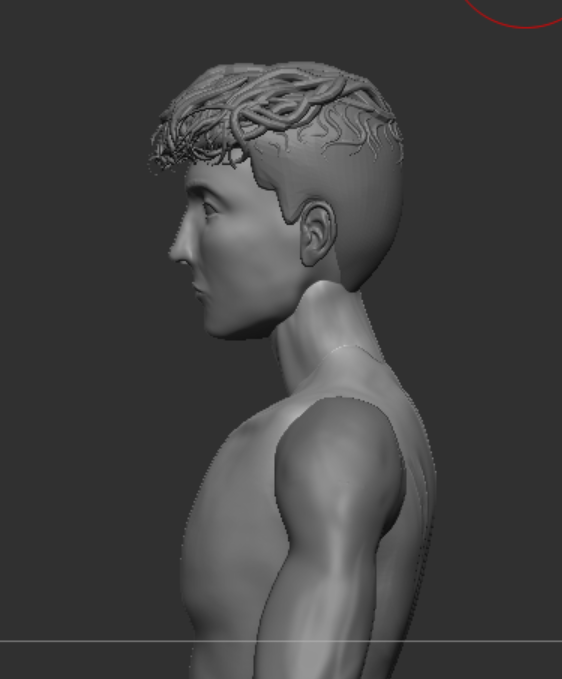
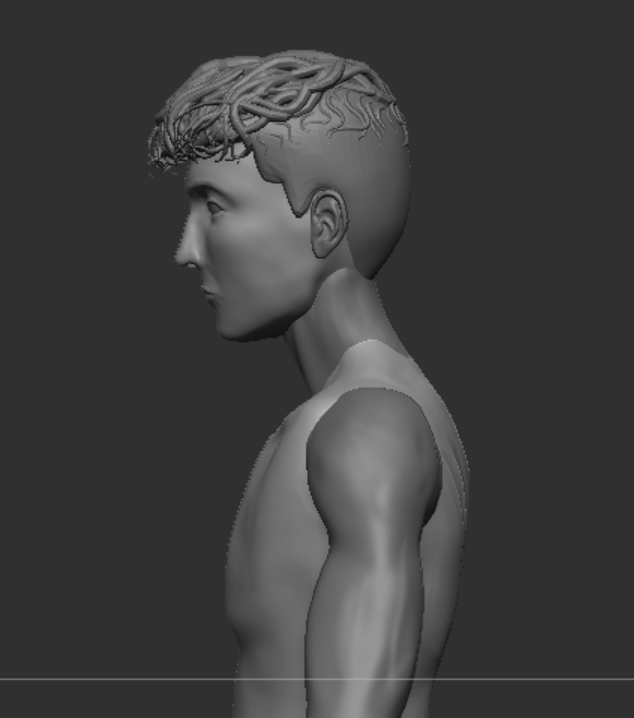
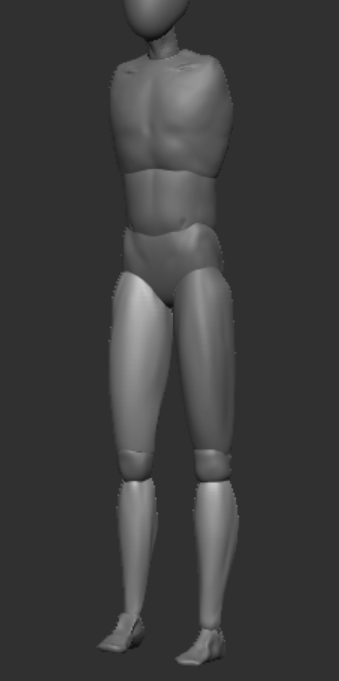
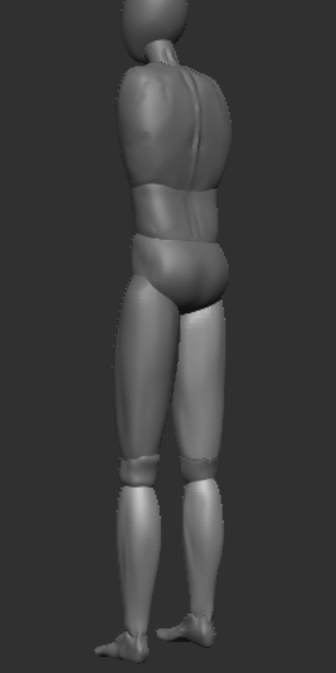
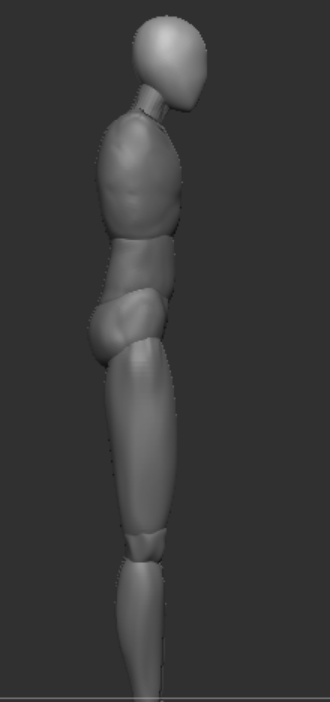
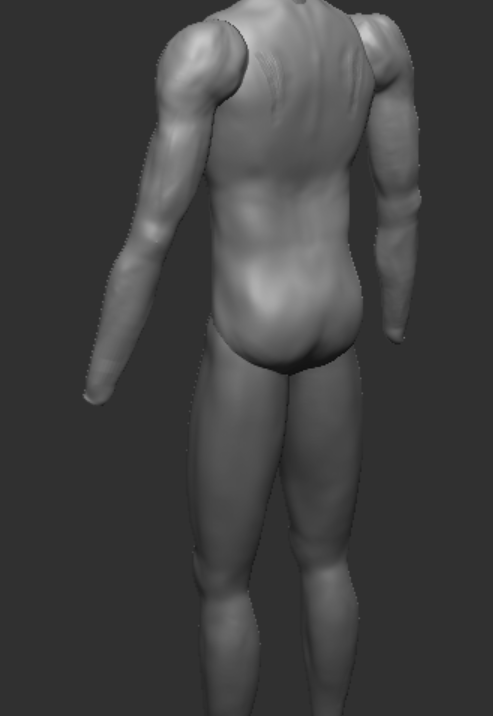
This is the before and after of adjusting the chest to stick out less and making the posture slightly more upright to make the anatomy more accurate.
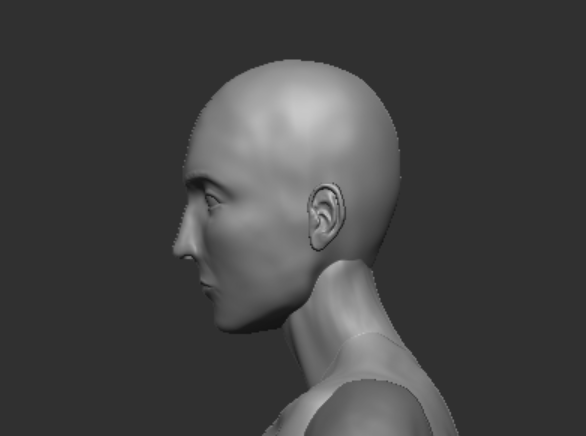
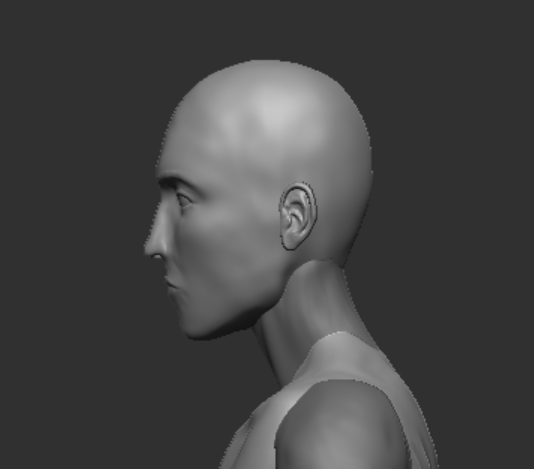

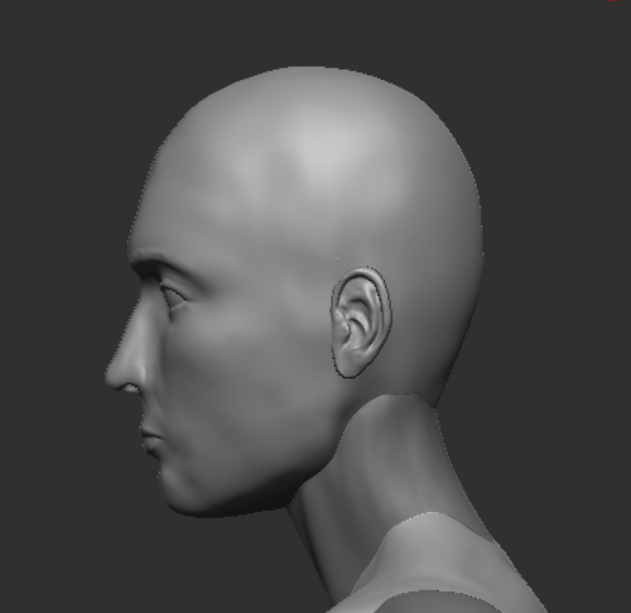
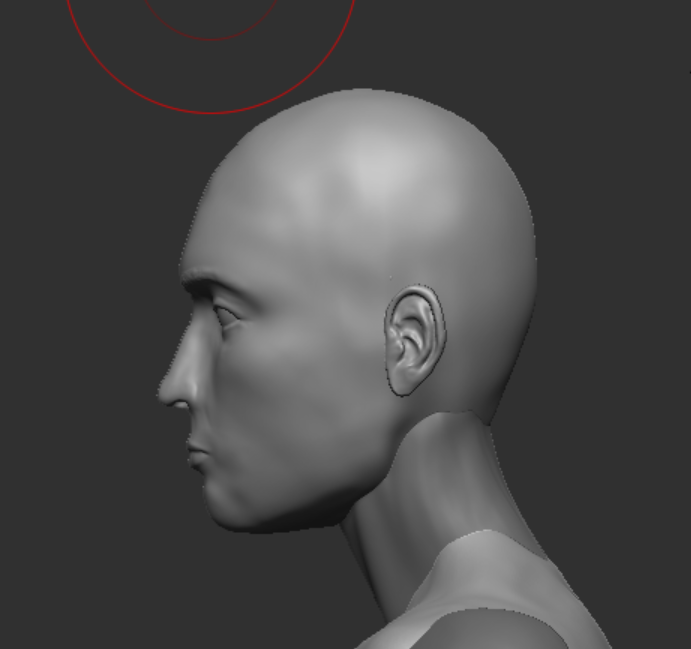
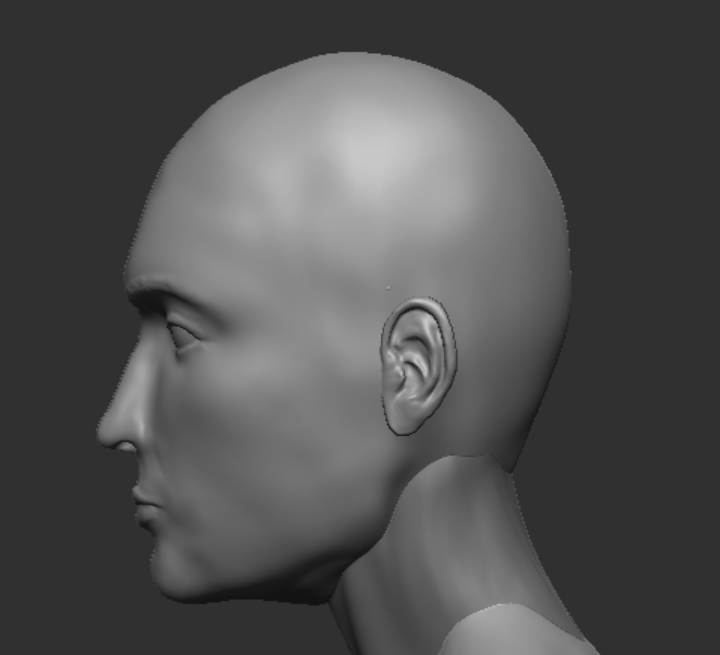
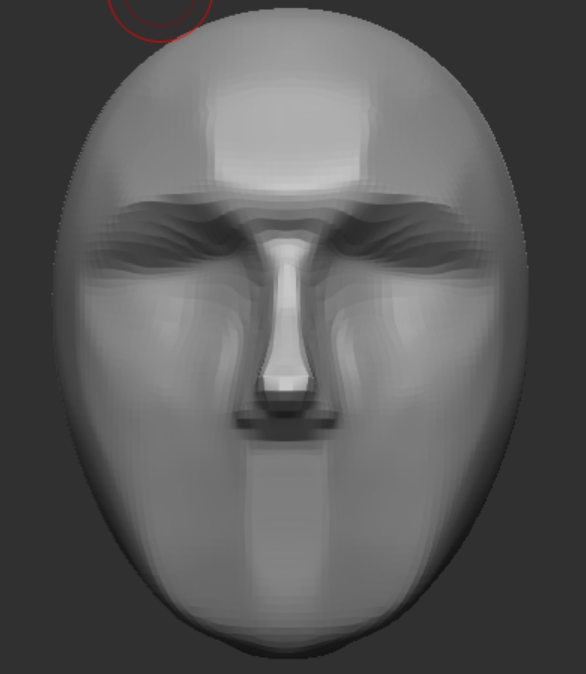
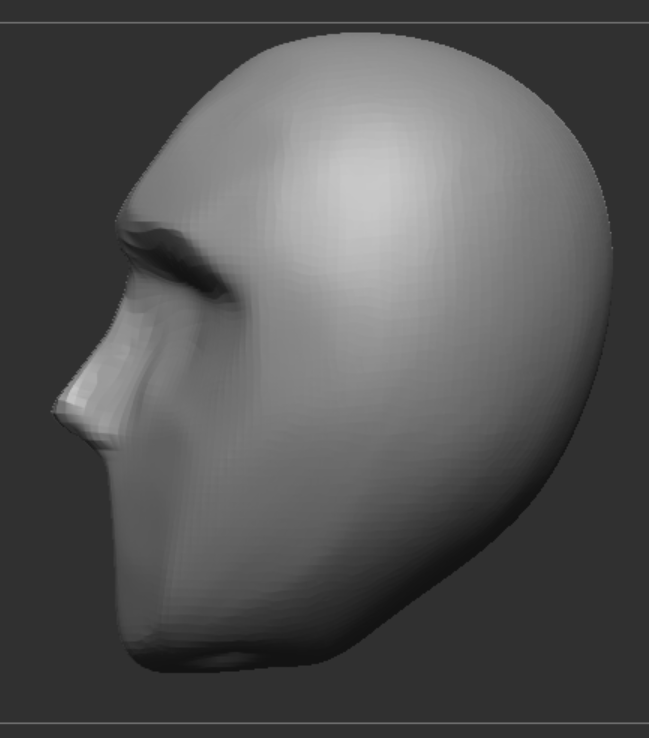
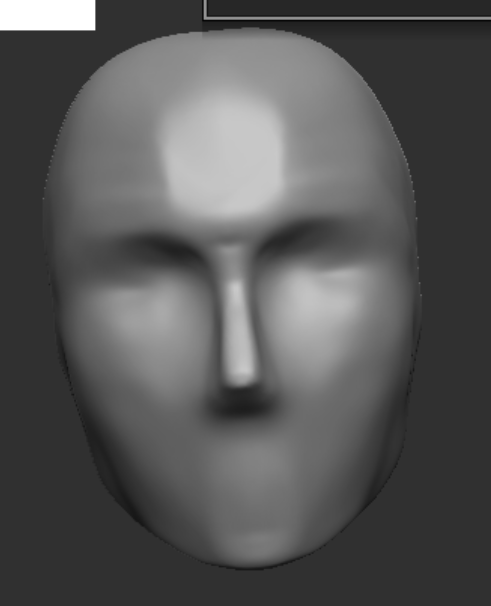
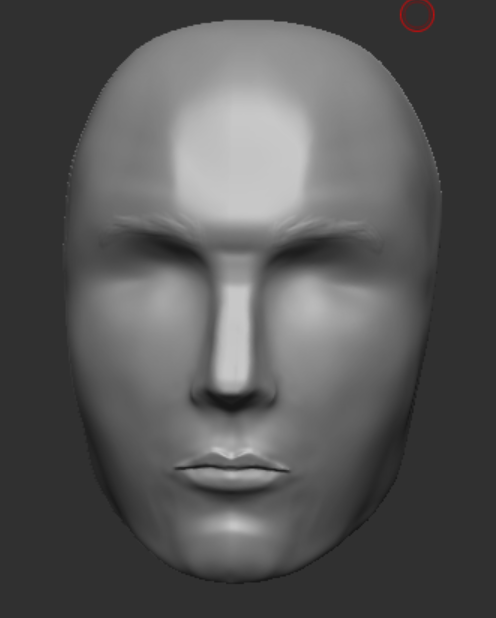
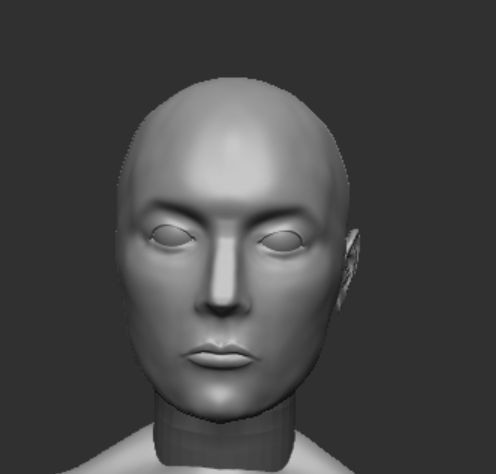
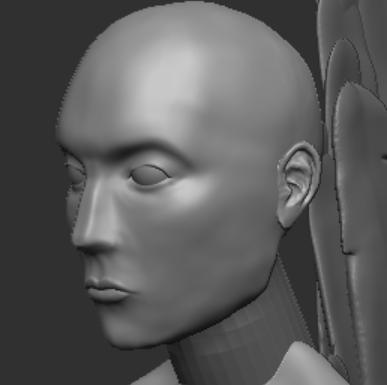
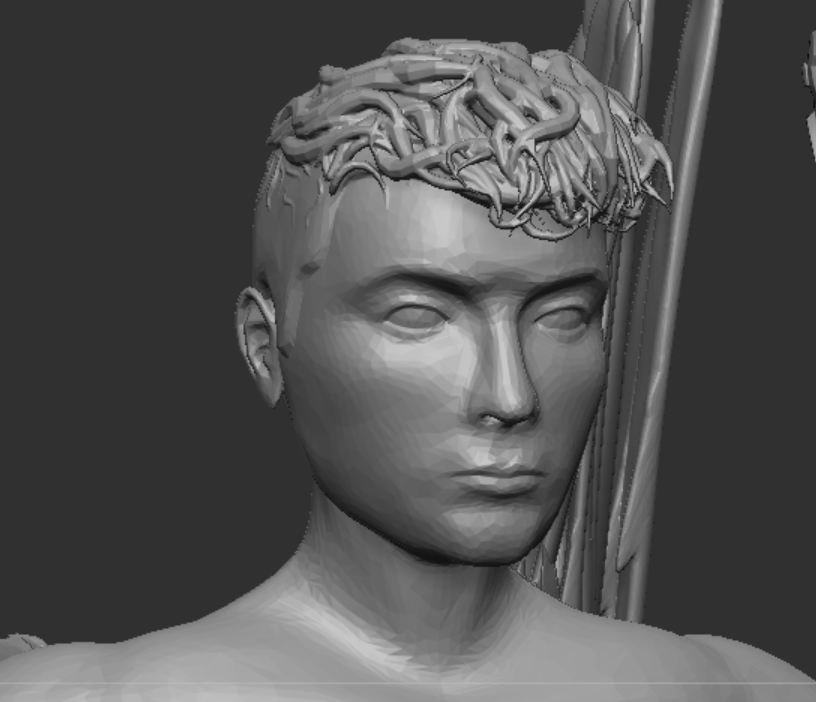
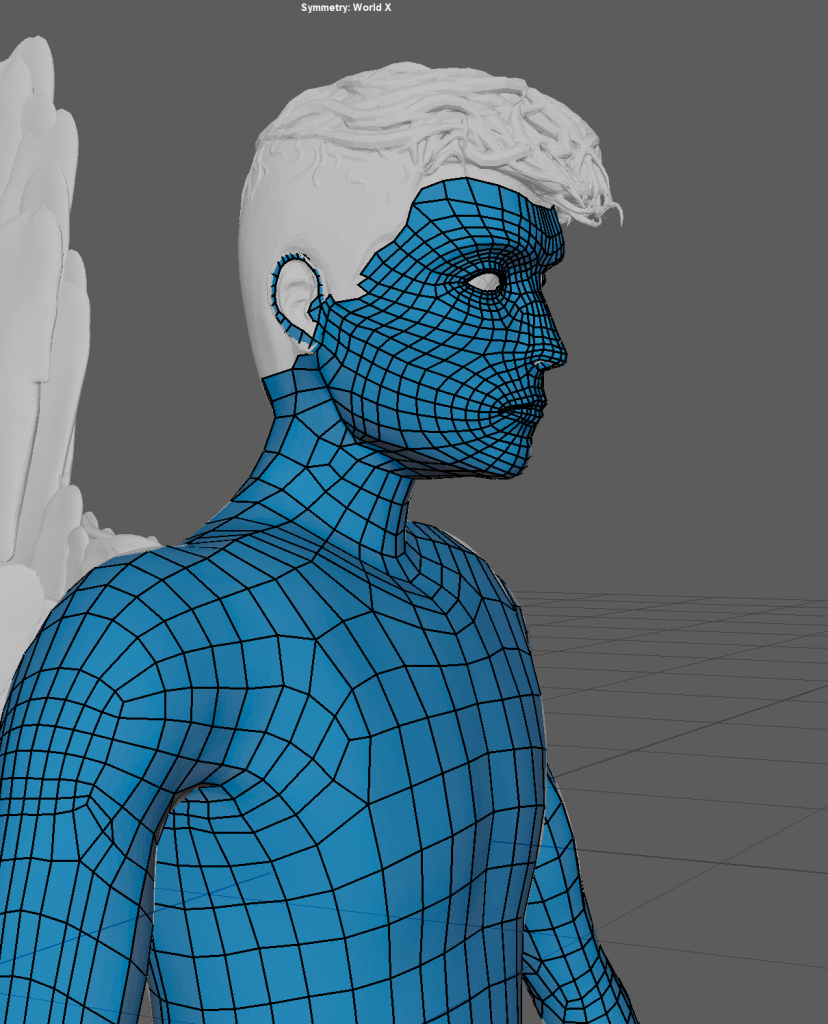
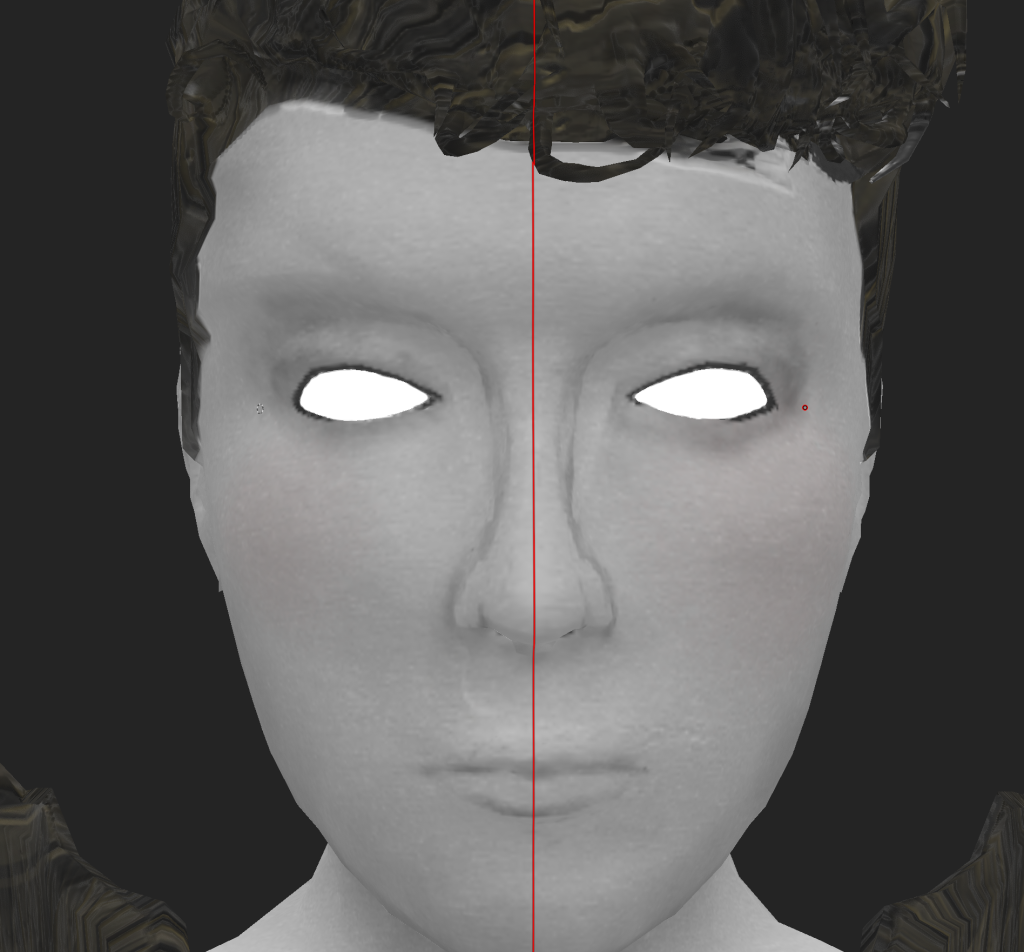
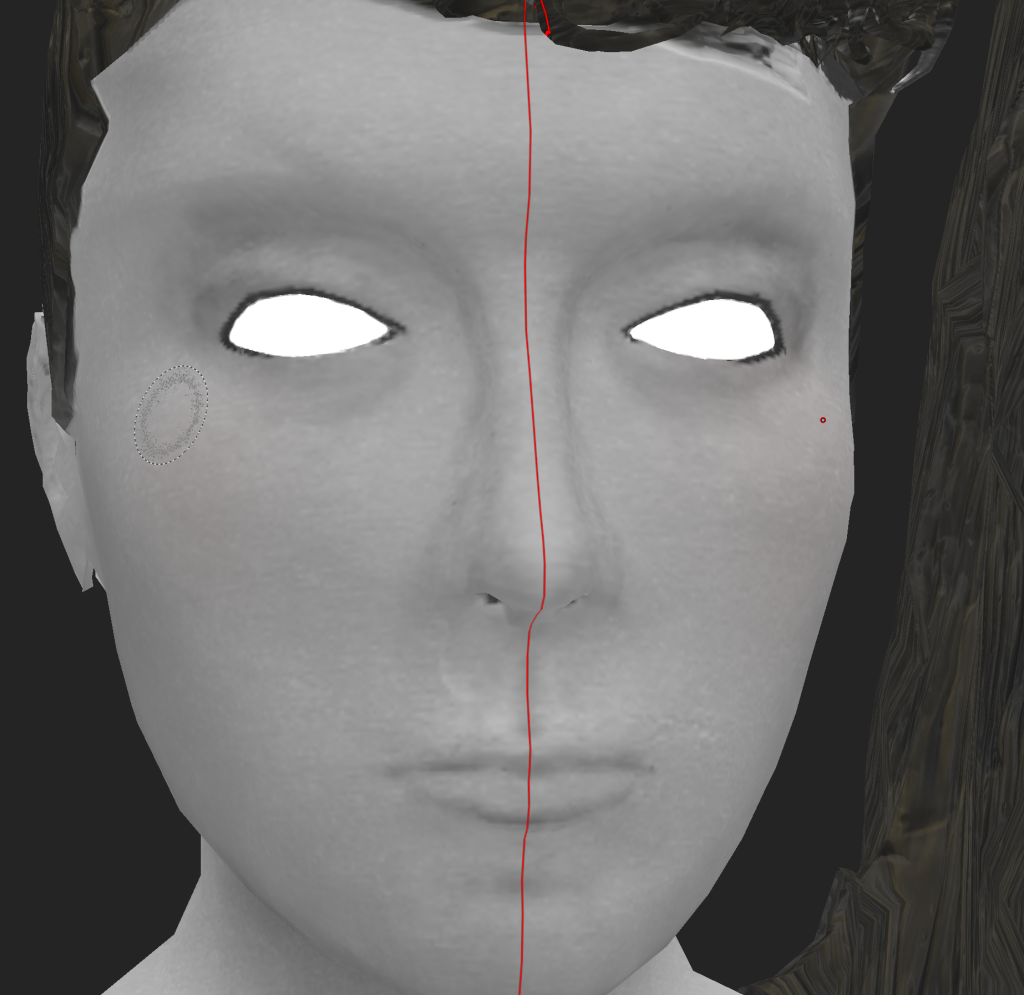
I also made a lot of adjustments to the head and face with the move brush on a very large size to move the whole face without warping it too much and then making it smaller to make minor adjustments to the jawline as originally the face sat too low on the head and looked uncanny and the chin sat too low.
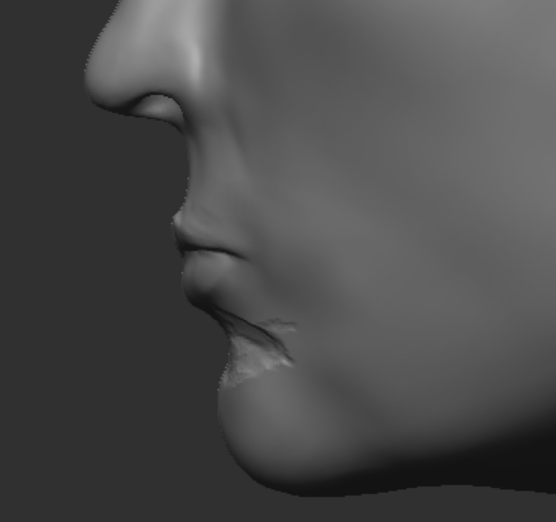
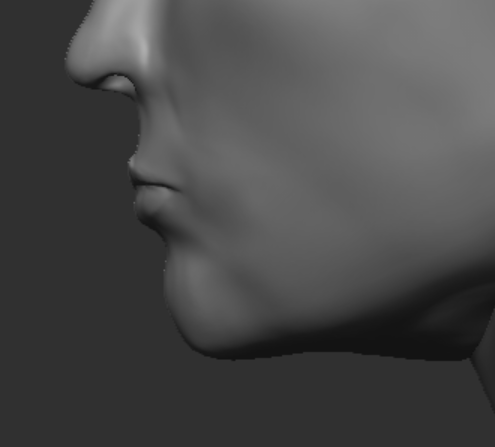
I also noticed the chin did not have enough of an indent so by inverting the clay build up brush by holding alt I created a harsh indent above the chin before smoothing it down to create more realistic anatomy.
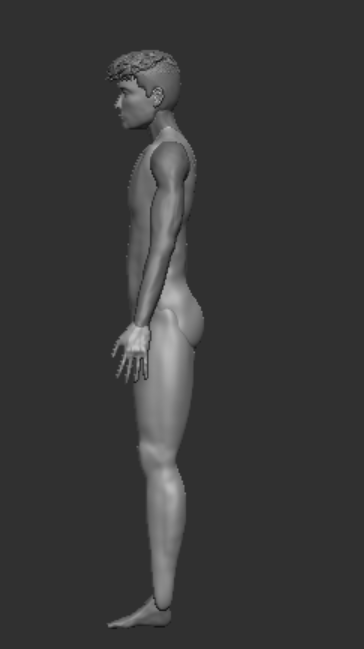
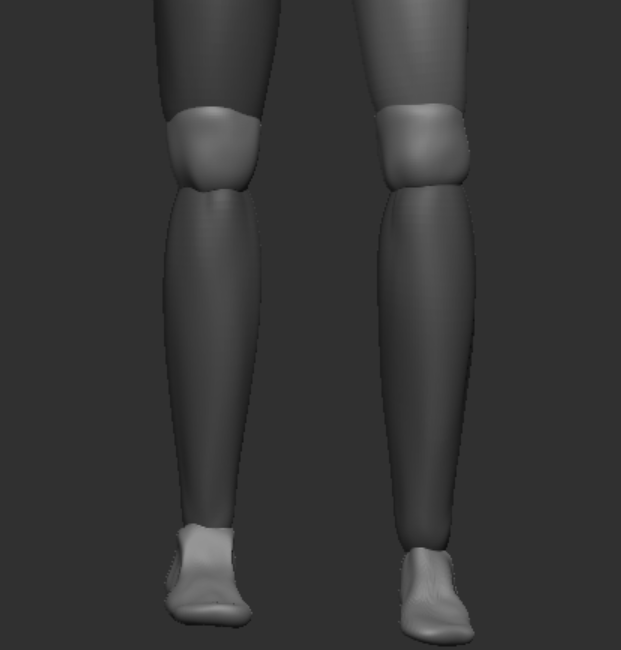
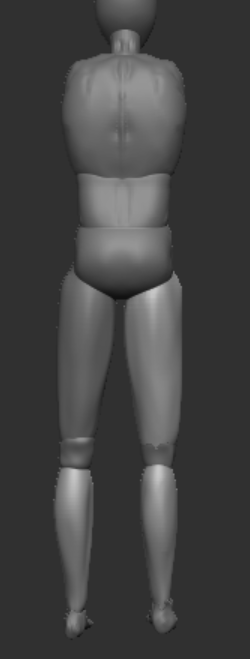
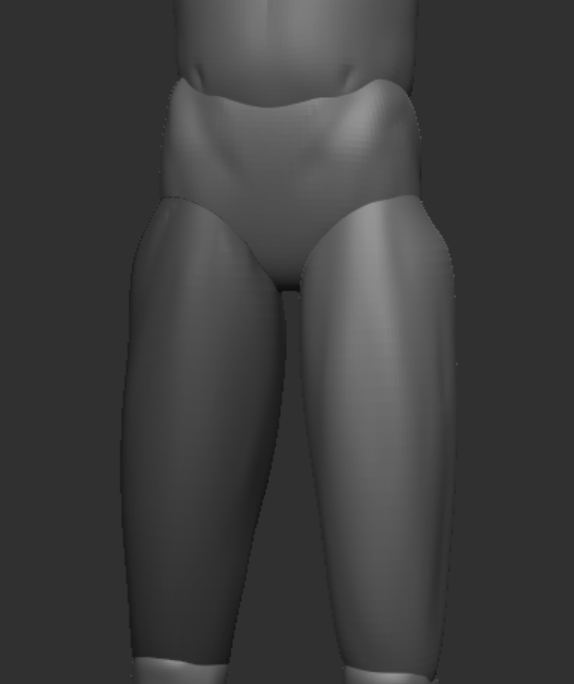
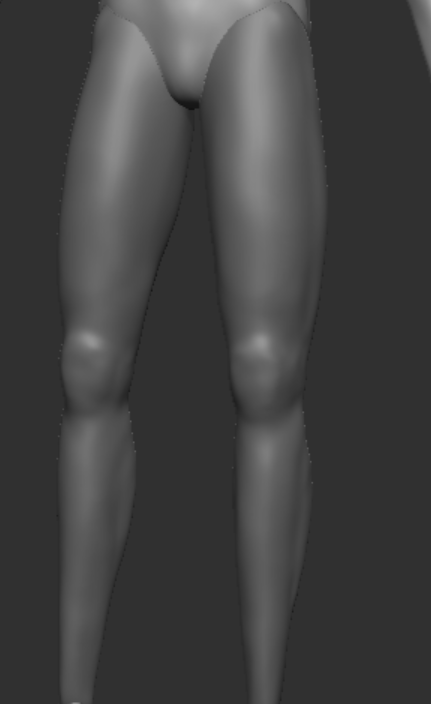
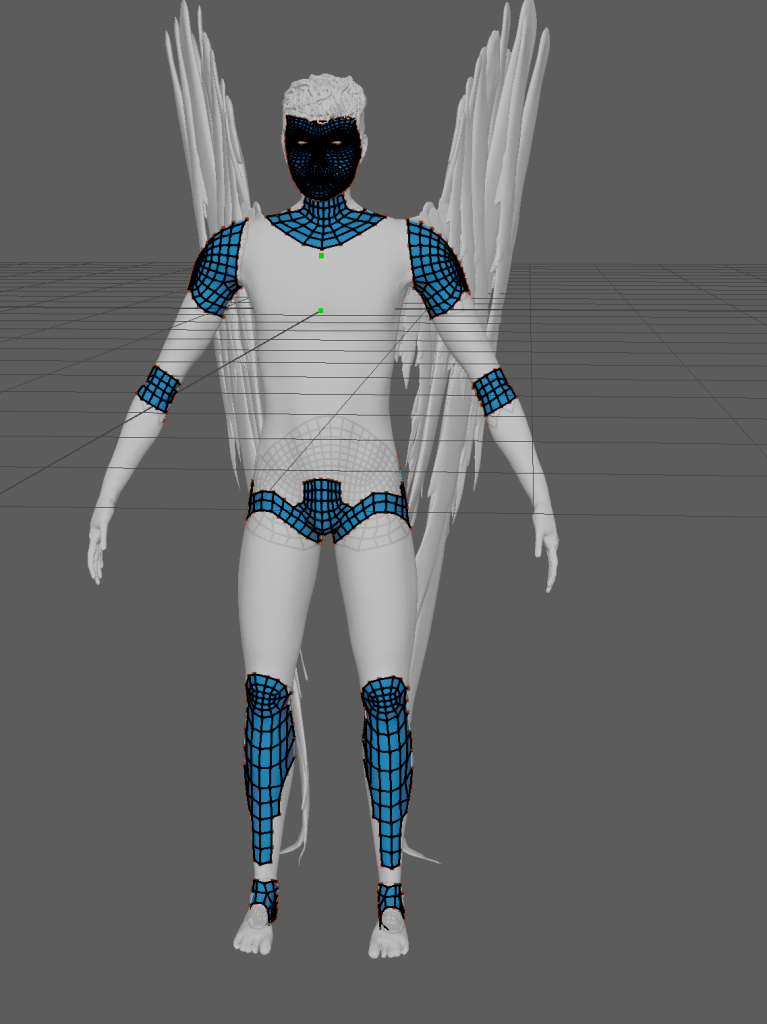
Before merging the subtools that made up the body into one mesh I had a final look at the posture and anatomy using references and anatomy rules and made a few adjustments to the position of the legs by pulling them back and upwards as before the muscles in the legs and butt looked too disconnected.

Merging the body parts together and dynameshing before using the clay build up and smooth brush to smooth the seams where they used to be separate subtools.
Unfortunately in this step I merged the hair, eyes and wings into the main body which would have allowed for easier texturing and retopologising later on but I don’t think it had that negative of an affect on the end product.
Decimation
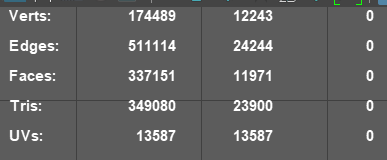
The first time I decimated my mesh the percentage if decimation was too high so it took a few tries experimenting to find the right percentage that would make my mesh have a poly count of 500k so that it wouldn’t be too large to work on in Maya.
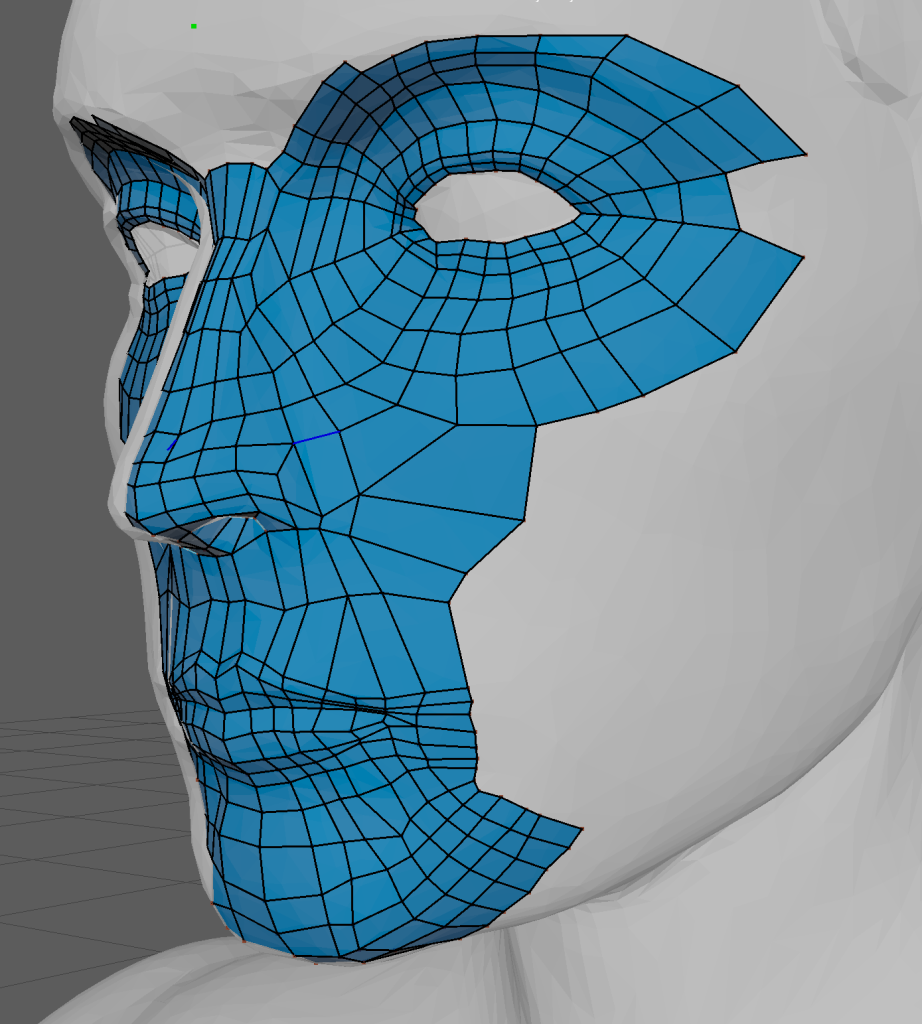
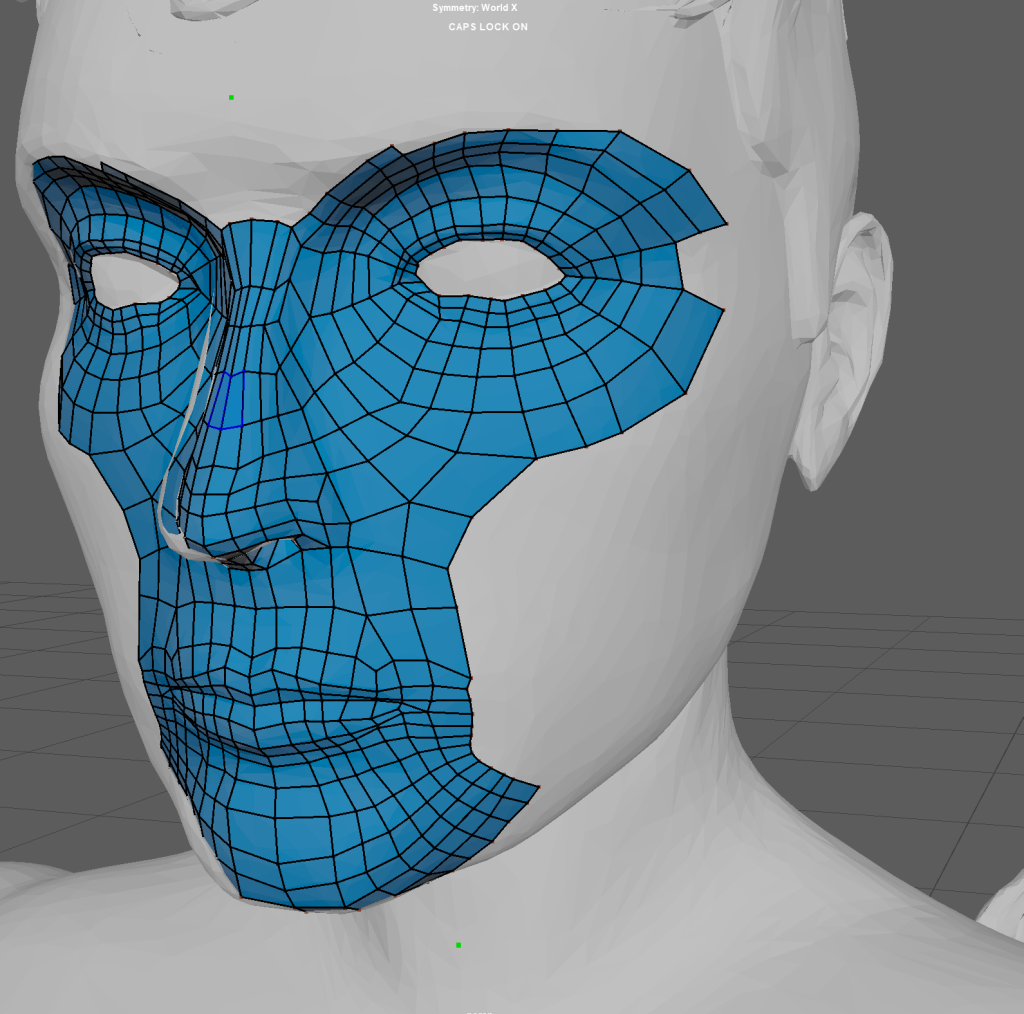
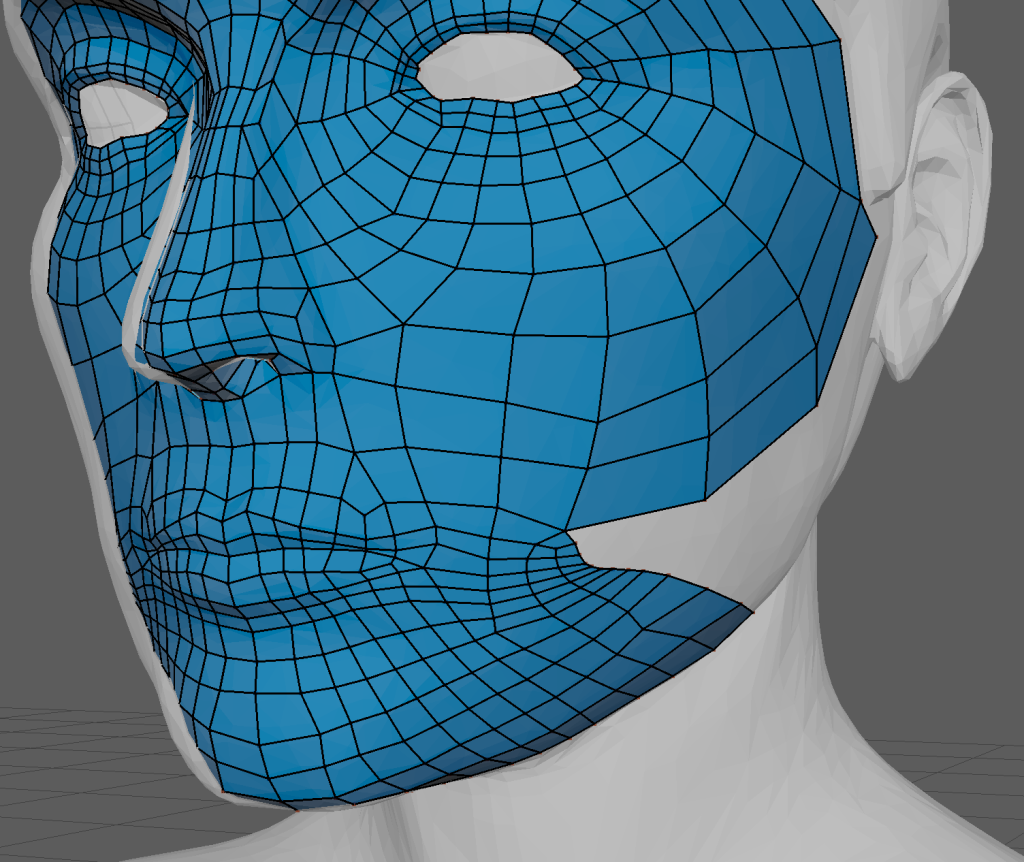
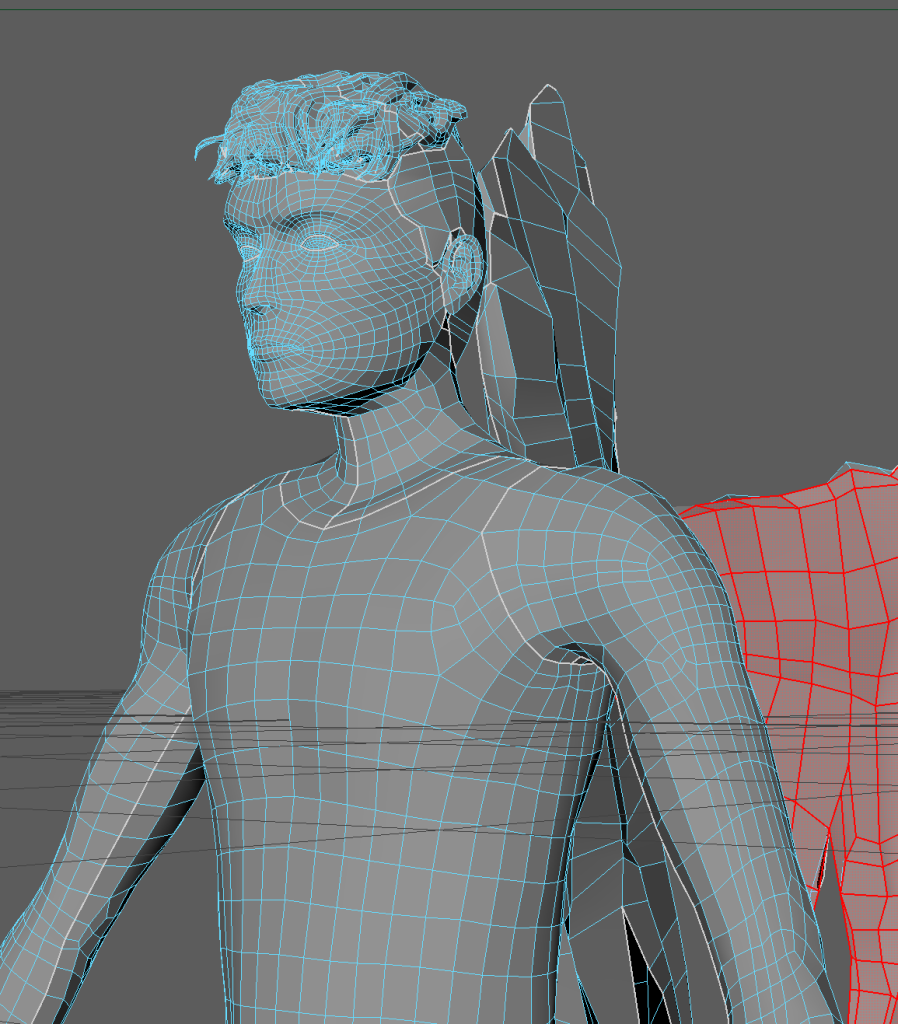
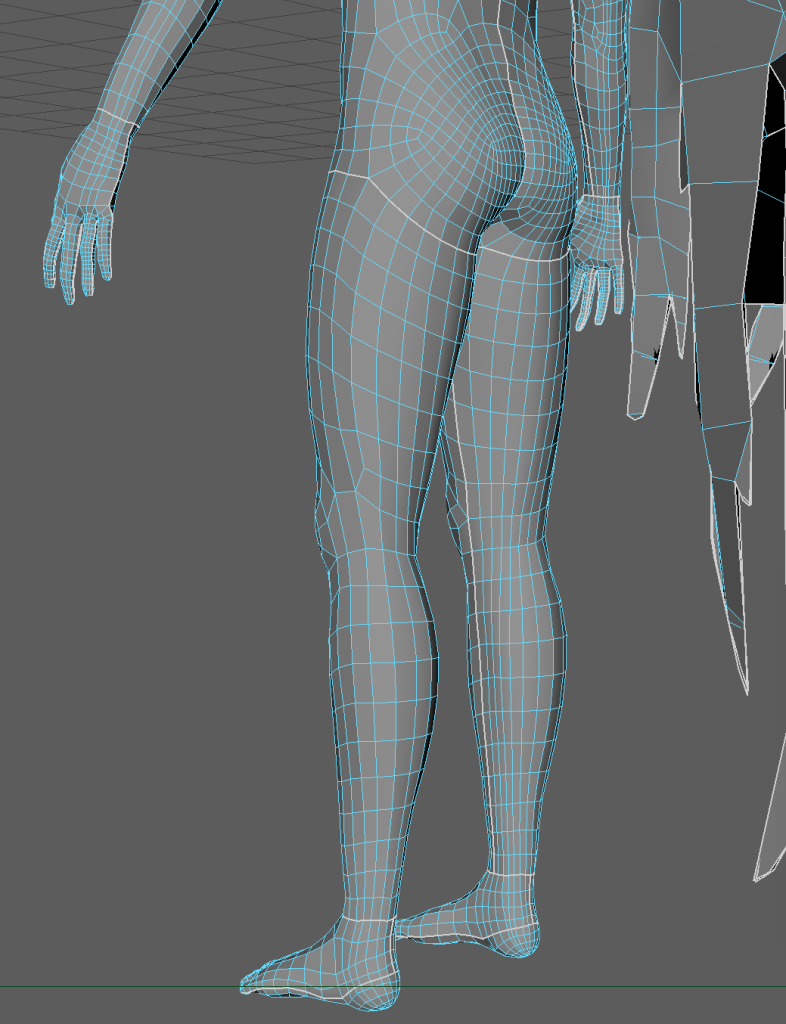
Retopology
Retopology is important as it allows a high poly model to have its polycount reduced enough to be animated or take up less processing power in game.
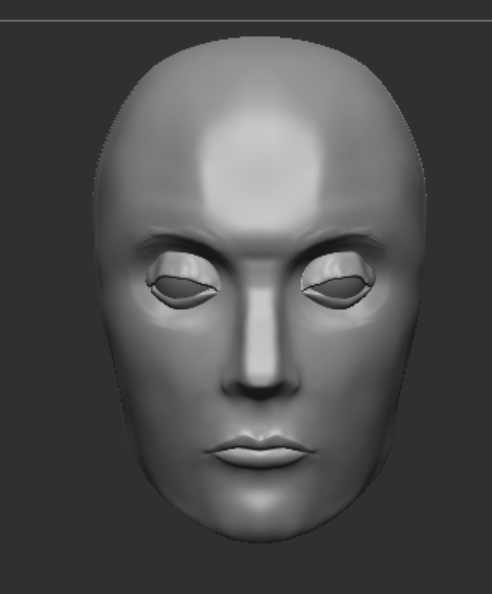
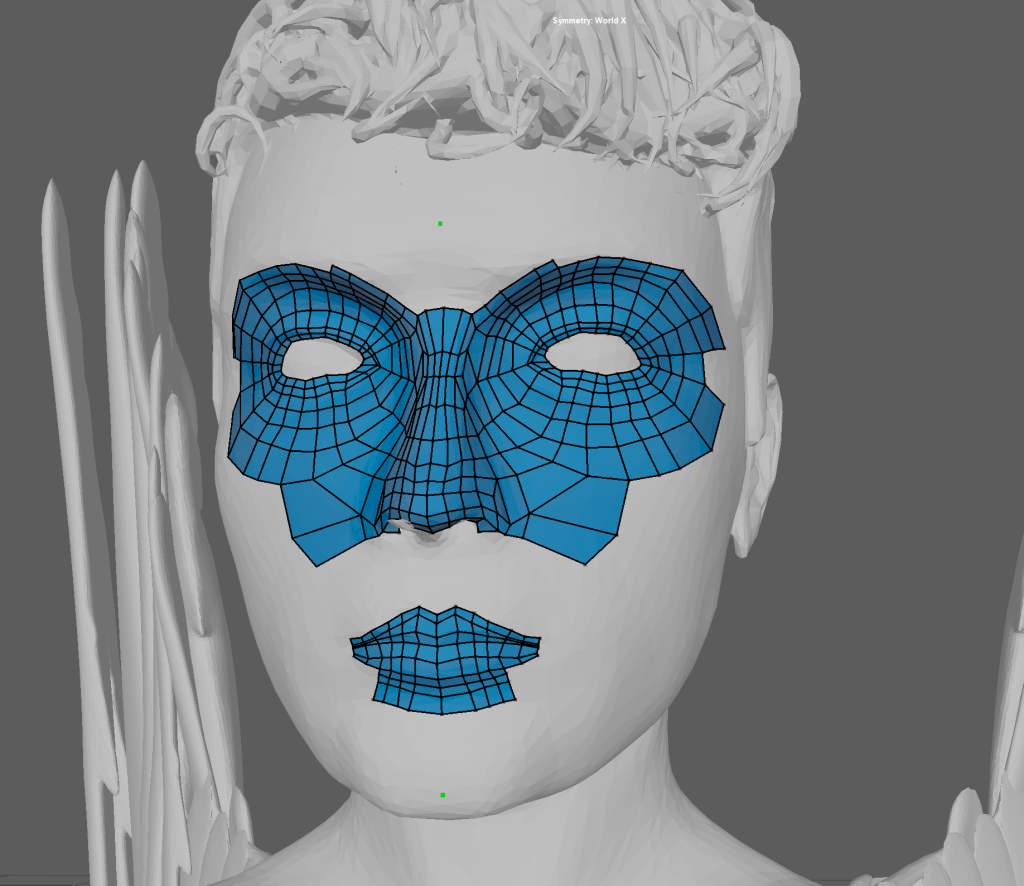
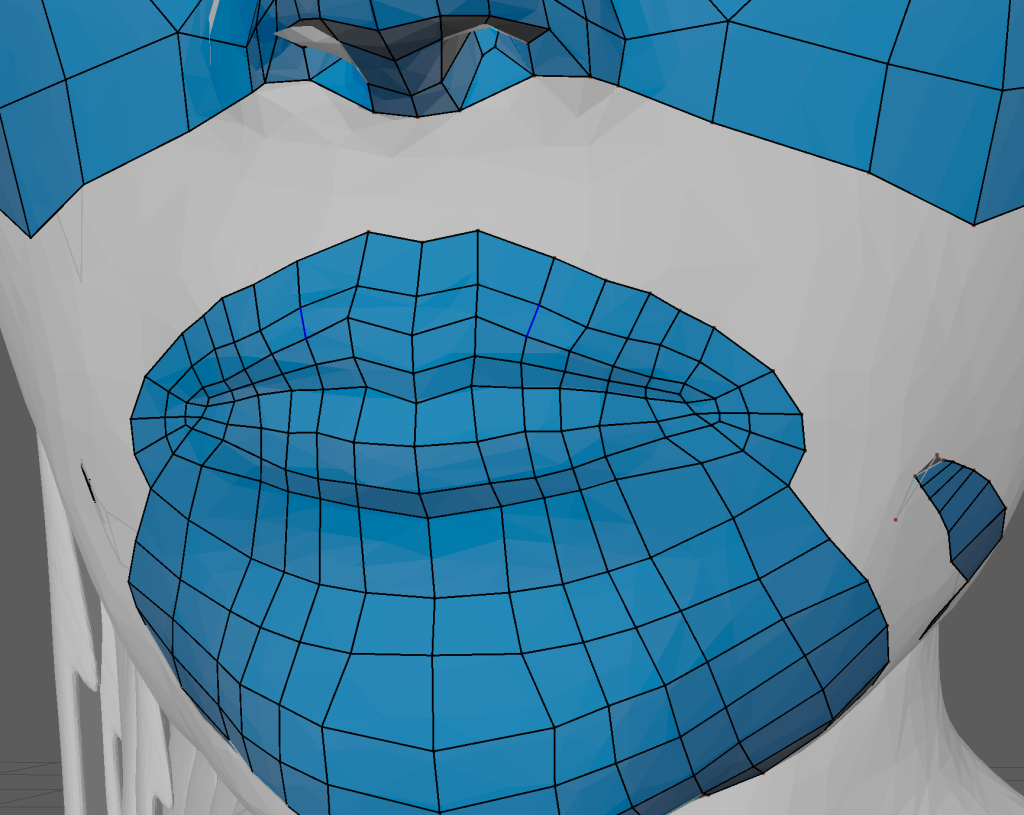
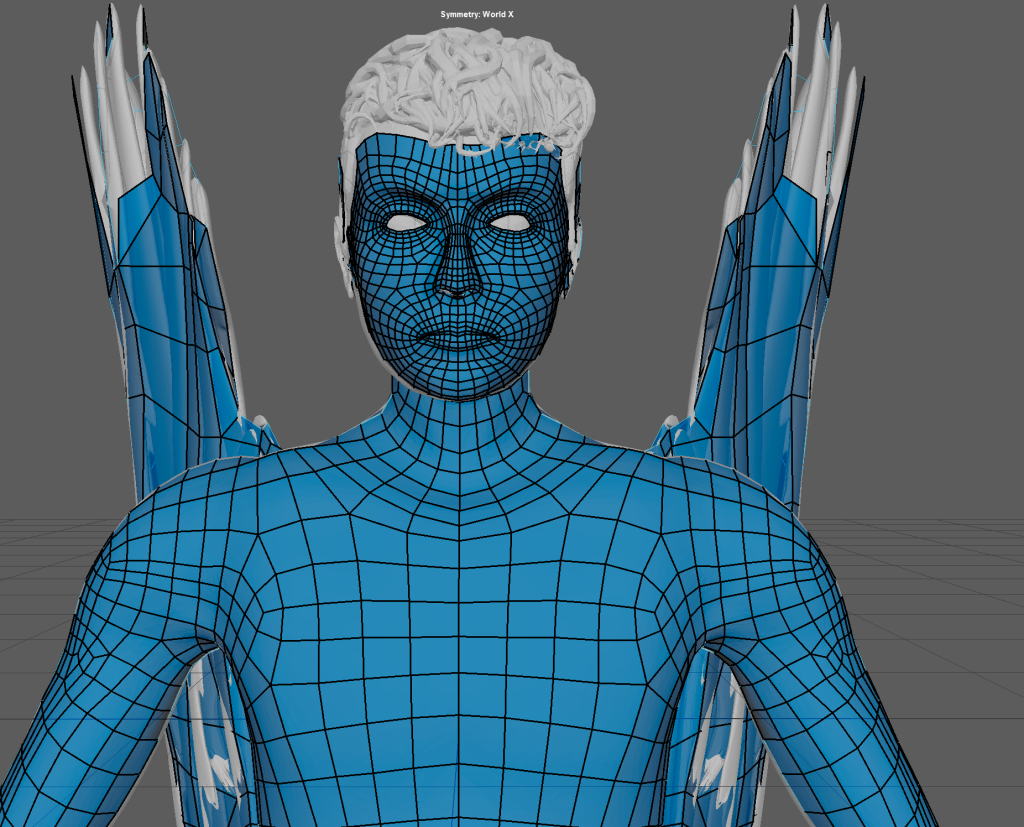
In my first attempt I only made edgeloops around eyes and not the mouth and nose so I had to delete them and start again with edgeloops going around each of them.
The body was fairly quick and simple to retopologise as once you have created an edgeloop around the torse and limbs you can just hold tab and drag with middle click to extrude the quads along the edgeloop.
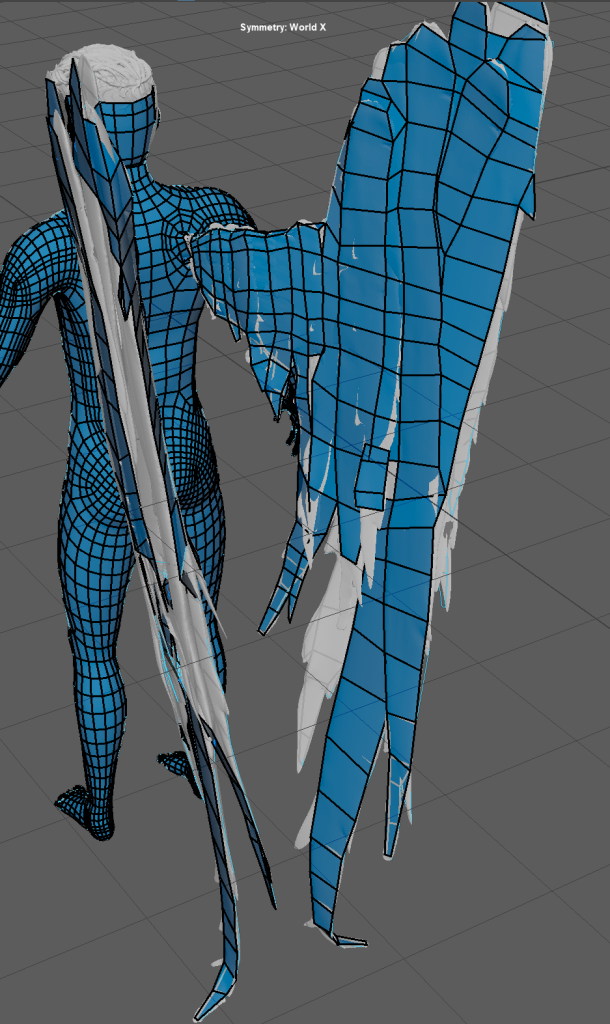
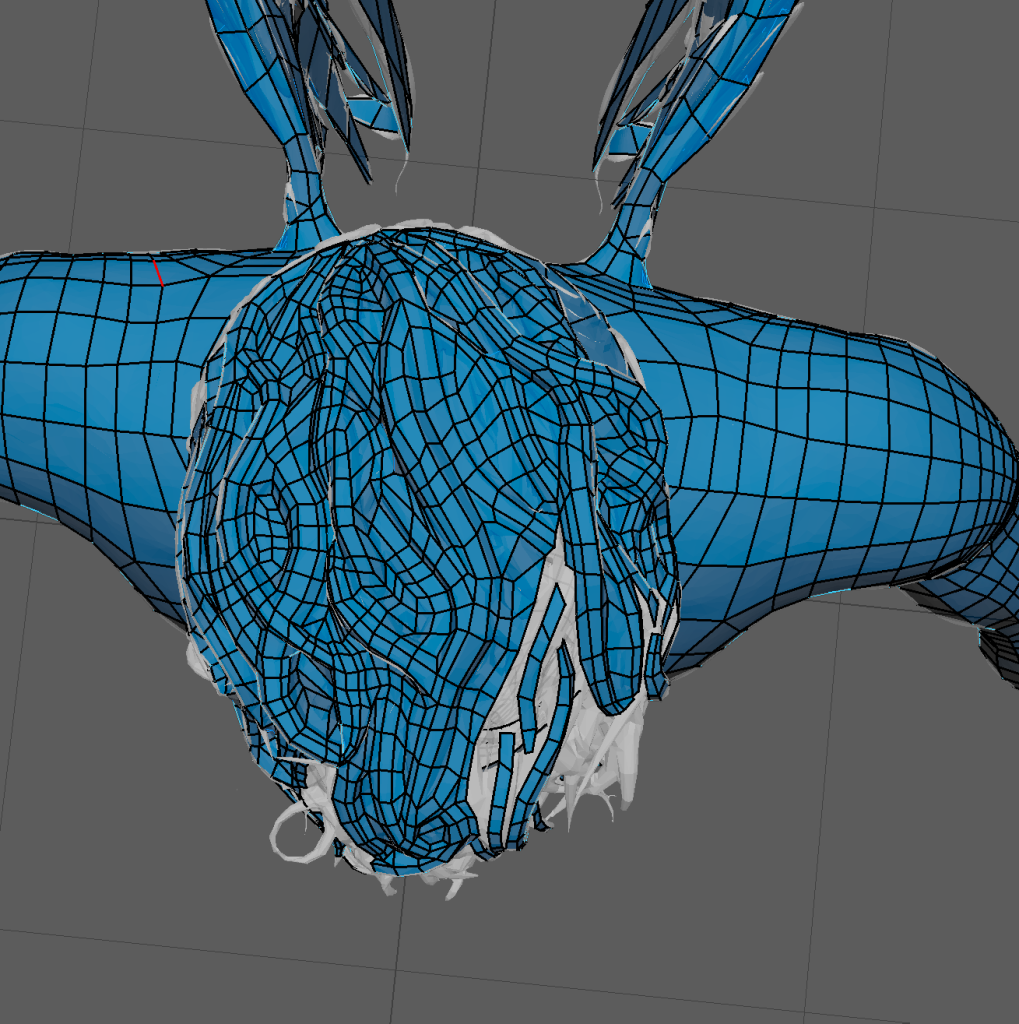
The wings were hard to retopologise as there were gaps between the individual feathers and due to me merging them into the mesh before exporting from ZBrush there wasn’t much I could do to fix it.
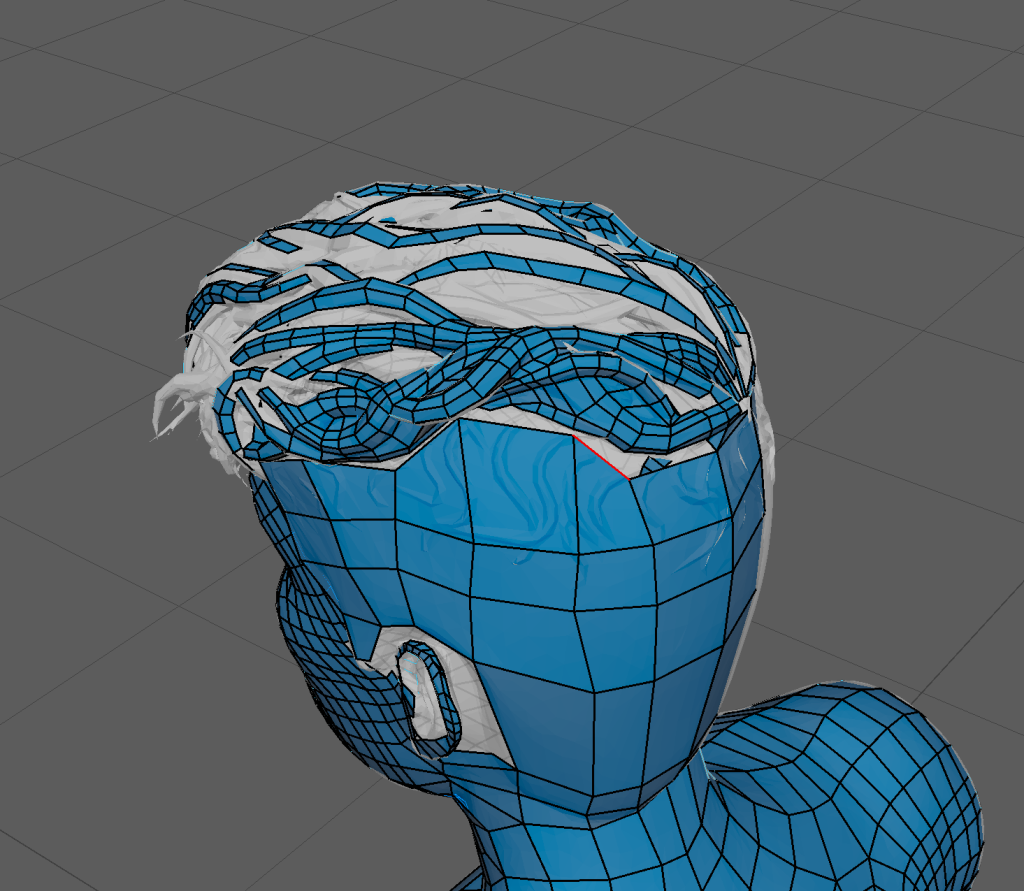
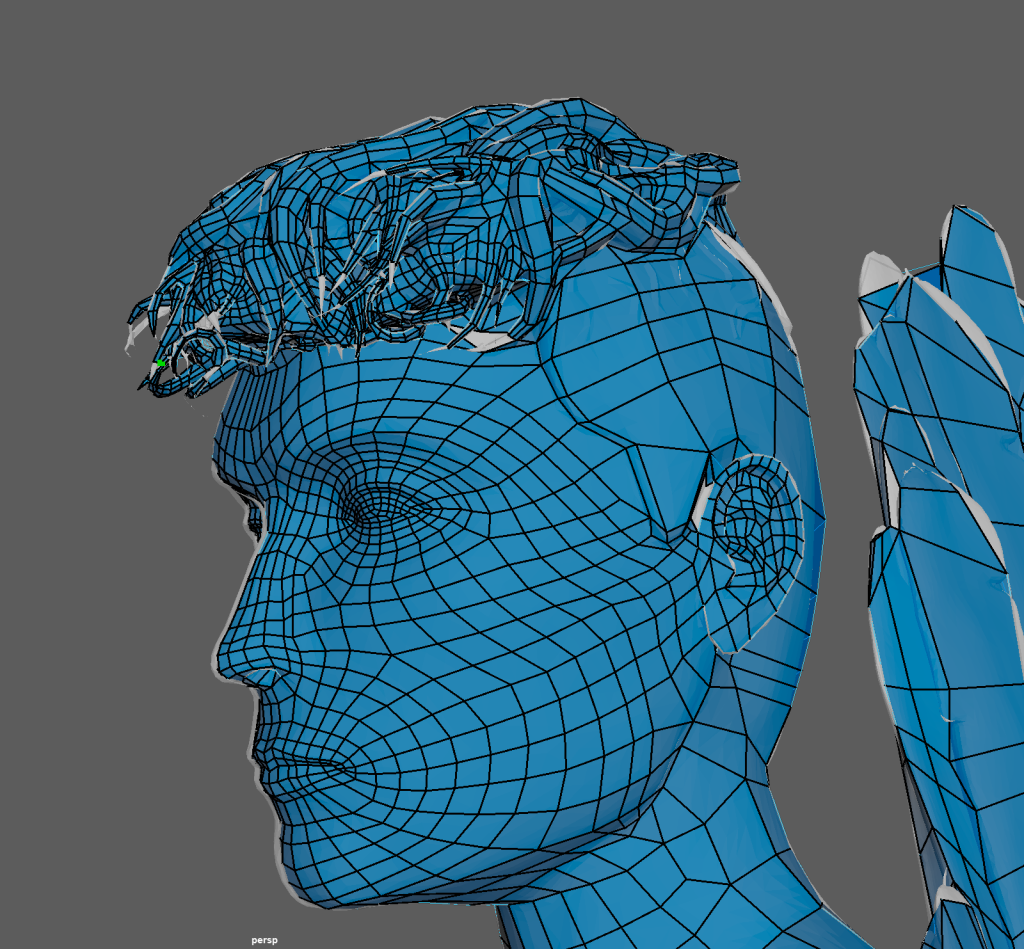
The hair was also difficult due to the points on the ends and the difference in height between each of the stylised strands. In order to reduce the poly count and hide some of the deeper gaps in the hair I stretched some quads across the more difficult to retopologise gaps.
UVs
UV shells allow materials to be applied to assets without warping or stretching.
I had to do the UVs twice due to some issues with the retopology that I had missed that had caused some holes and indents in the mesh; I fixed the most problematic holes by using the target weld tool to merge the vertices around the gaps.
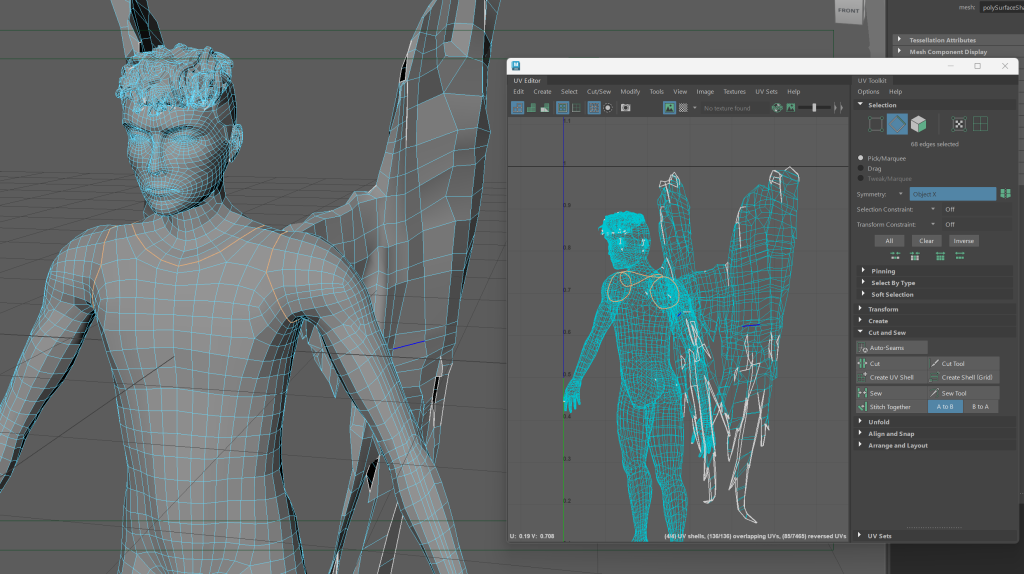
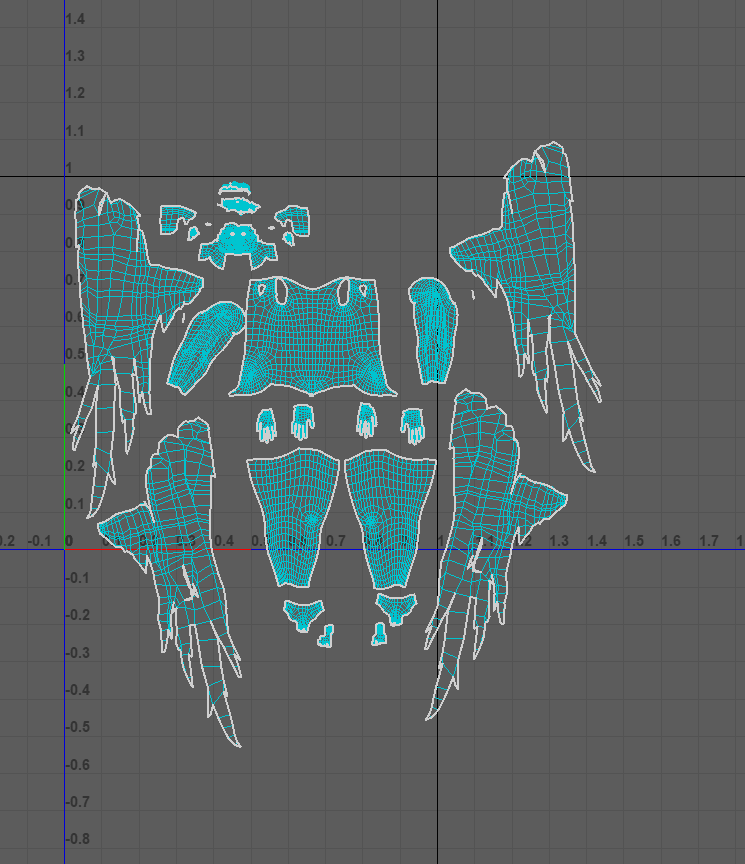
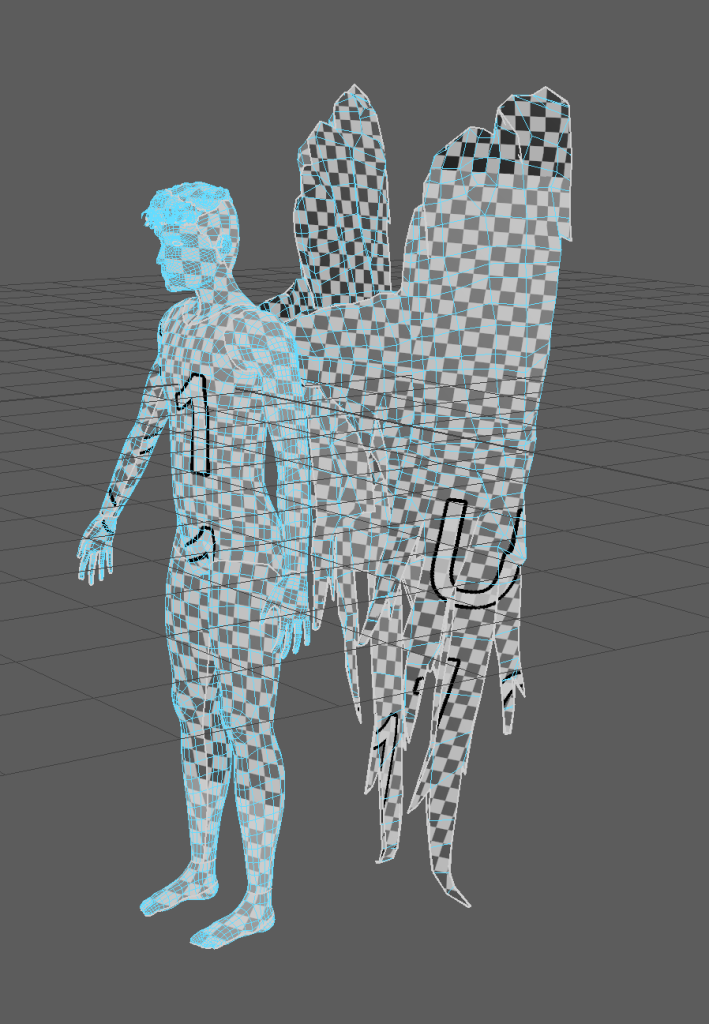
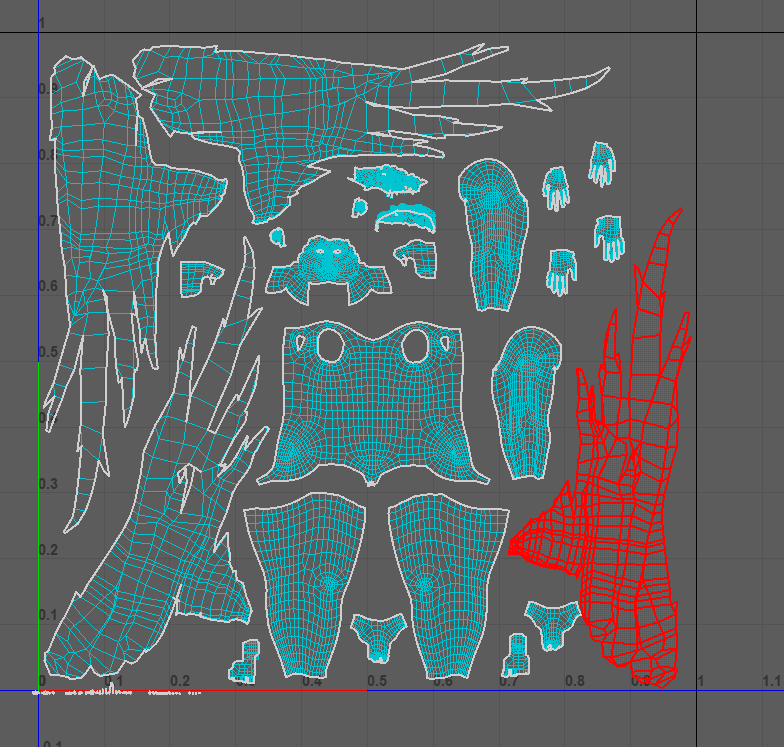
After fixing the retopology I used the 3D cut and sew tool to cut camera based UVs into UVs with seams around the shoulders, wrists, legs, ear and hands and feet. The seams were cut along the edges and undersides of the body so that they would be less visible after texturing.
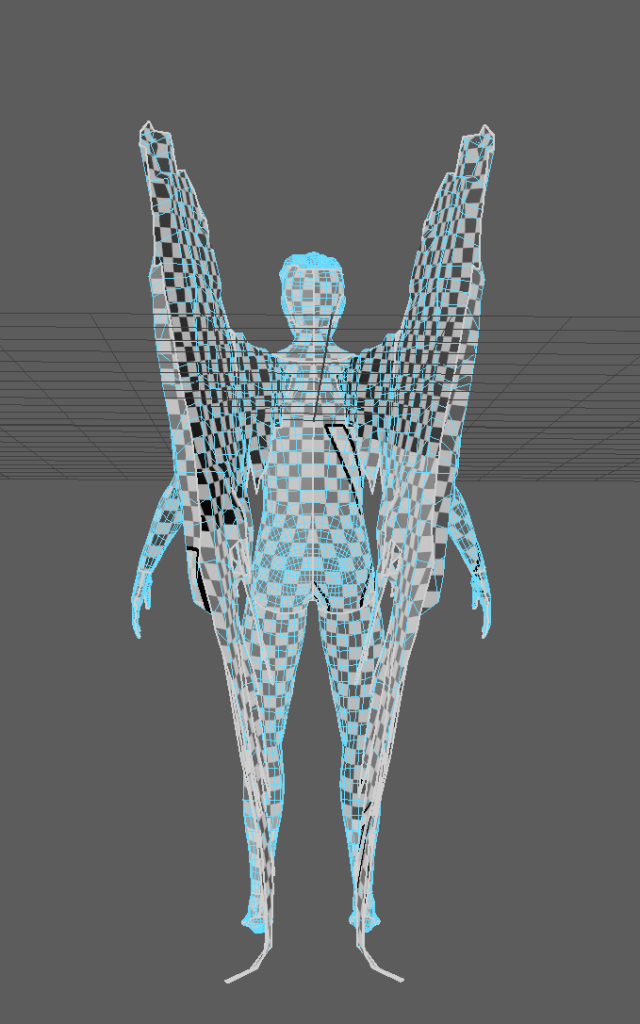
Orthographic View

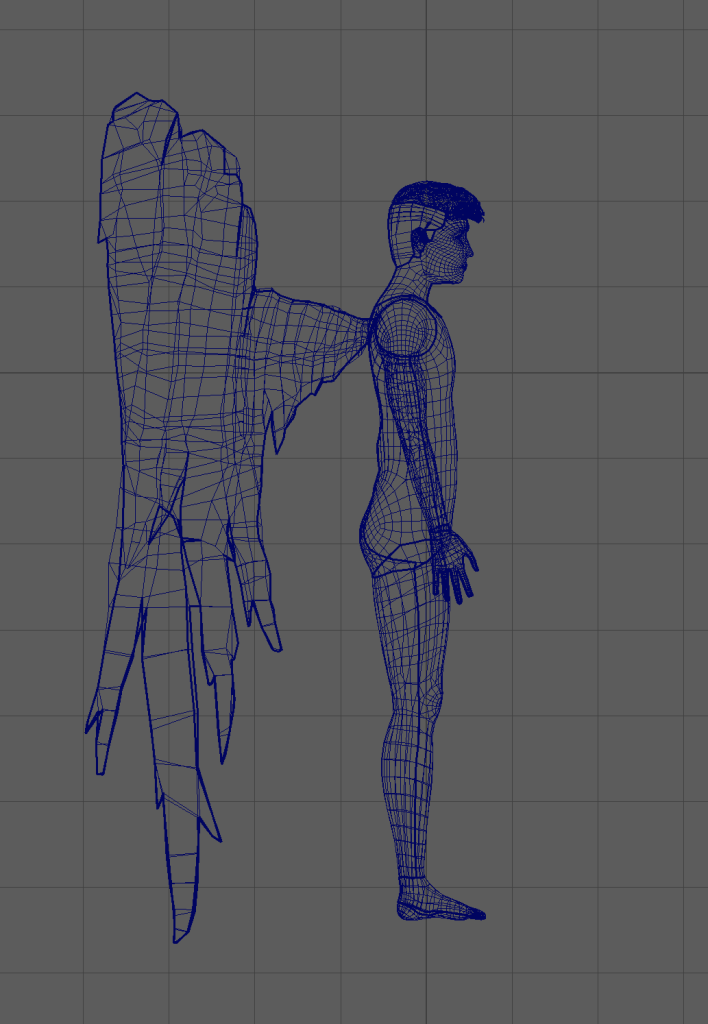
The polycount for the retopologised model was 11971.
Substance Painter
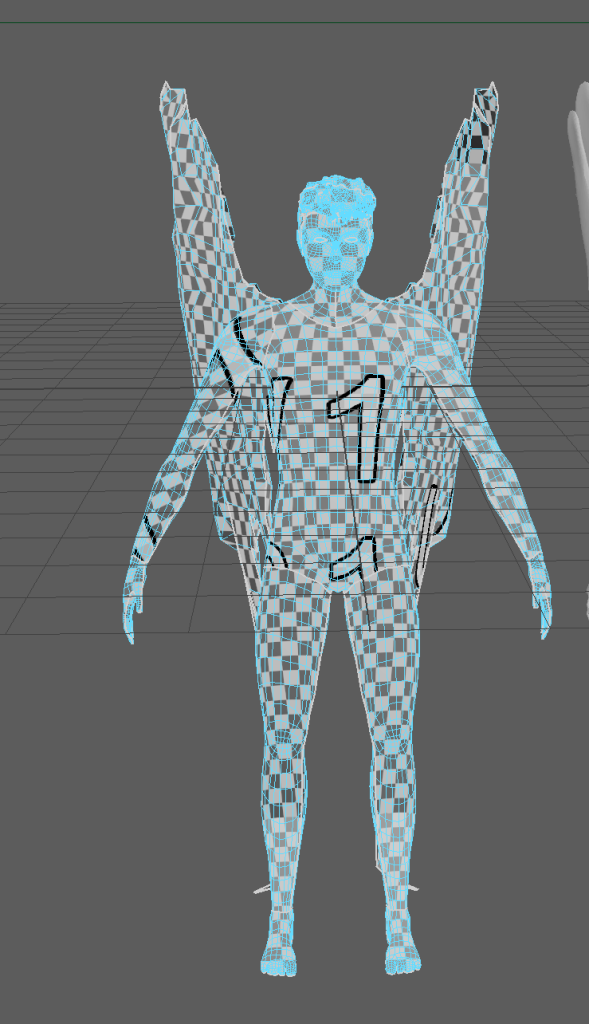
I had to go back to maya to scale the UVs so they would be in one grid square
Maya made the symmetry of my mesh slightly off after I exported it from ZBrush so when i tried to bake high poly to low poly it ended up looking worse than just using the retopologised mesh without baking.
Then I tried using the low poly mesh as the high poly mesh but that also looked worse than without any baking so I decided to just start again without baking the mesh.
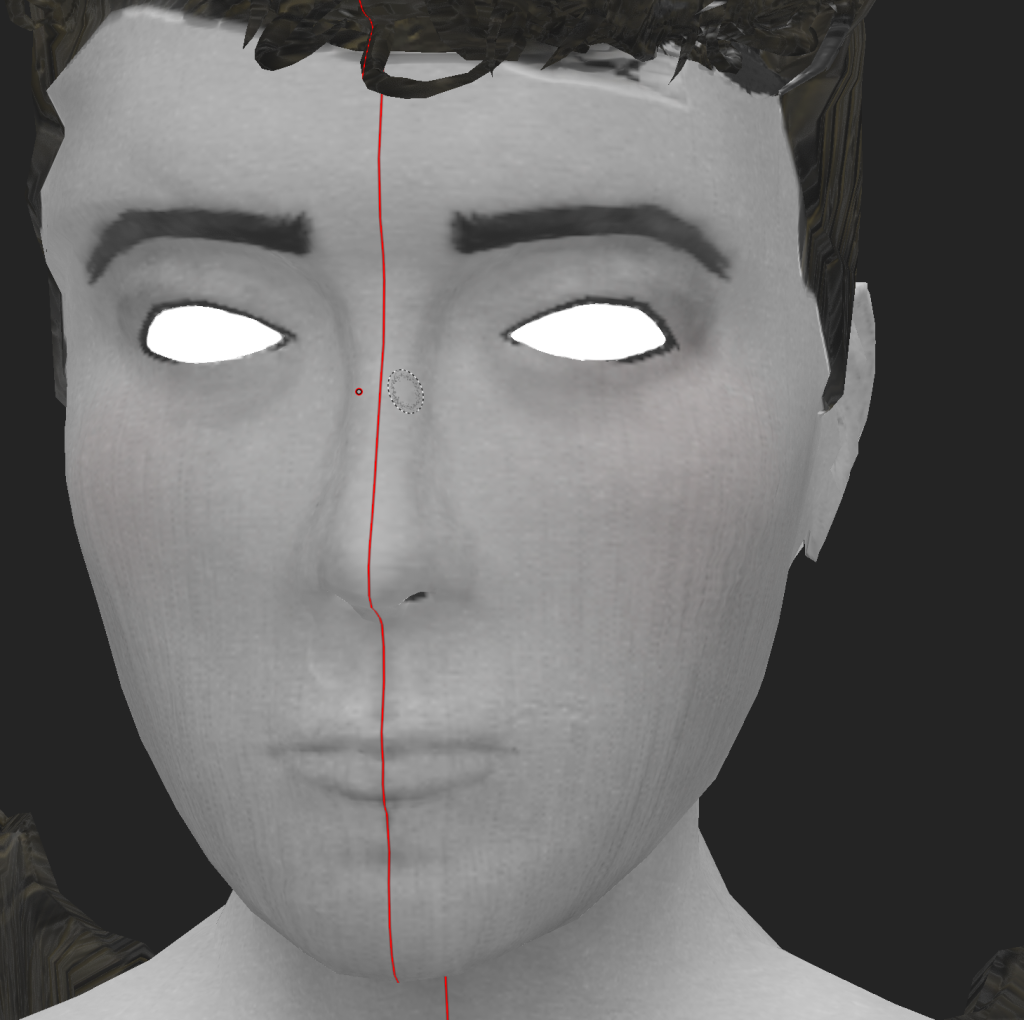
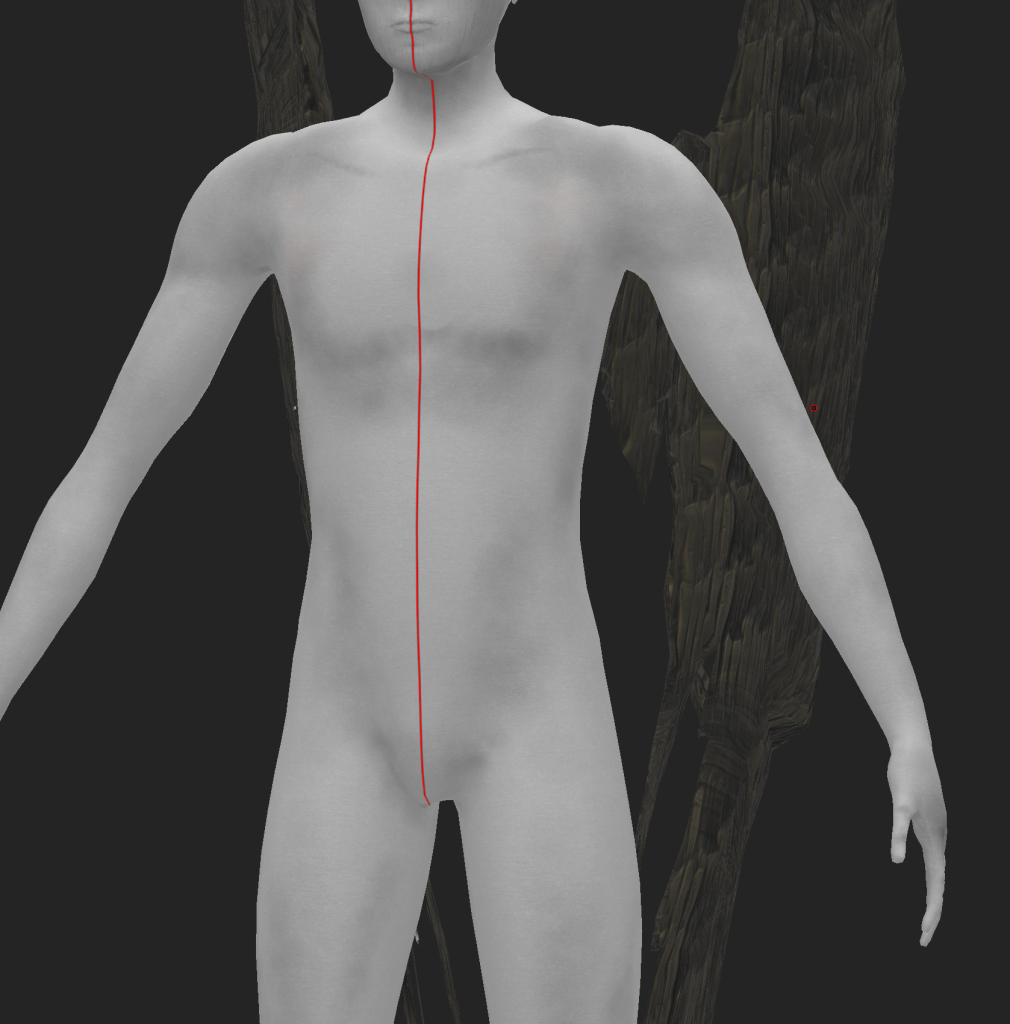
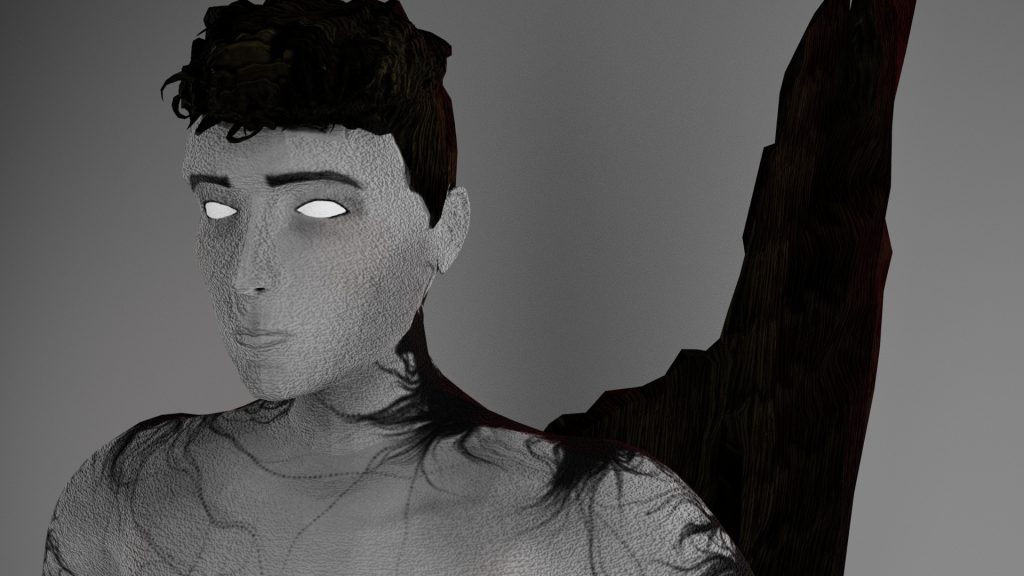
I used the paper grainy material from Substance Painter for the skin and adjusted it to be less rough and have a lower grain density and intensity as the skin material in Substance Painter was scaled too big even at the smallest tiling setting and didn’t look very skin like. The pale paper grain skin looked flat so I painted some shadows on with a smooth, low-opacity brush. I also changed the settings to tri-planar projection to hide the seams of the UVs.
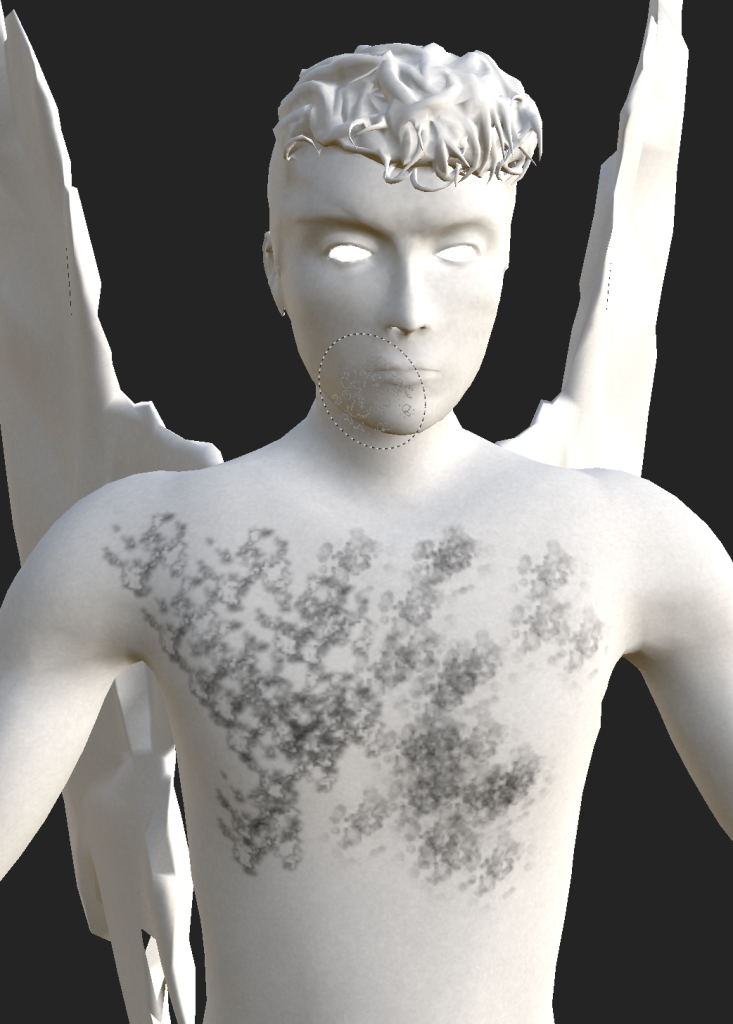

I tested different brushes and patterns in substance to see which were the best at replicating my designs or looked better than my designs
I added an emissive channel to the material settings so that i could make a material that would make the eyes glow
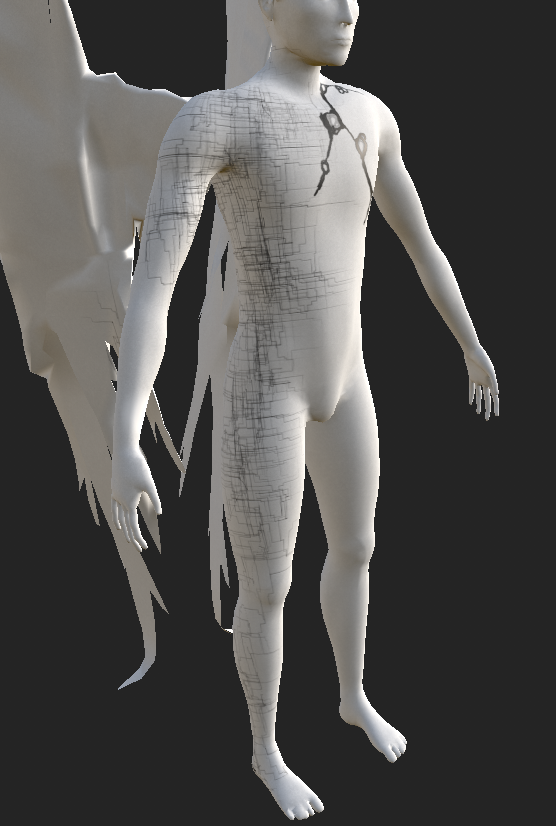
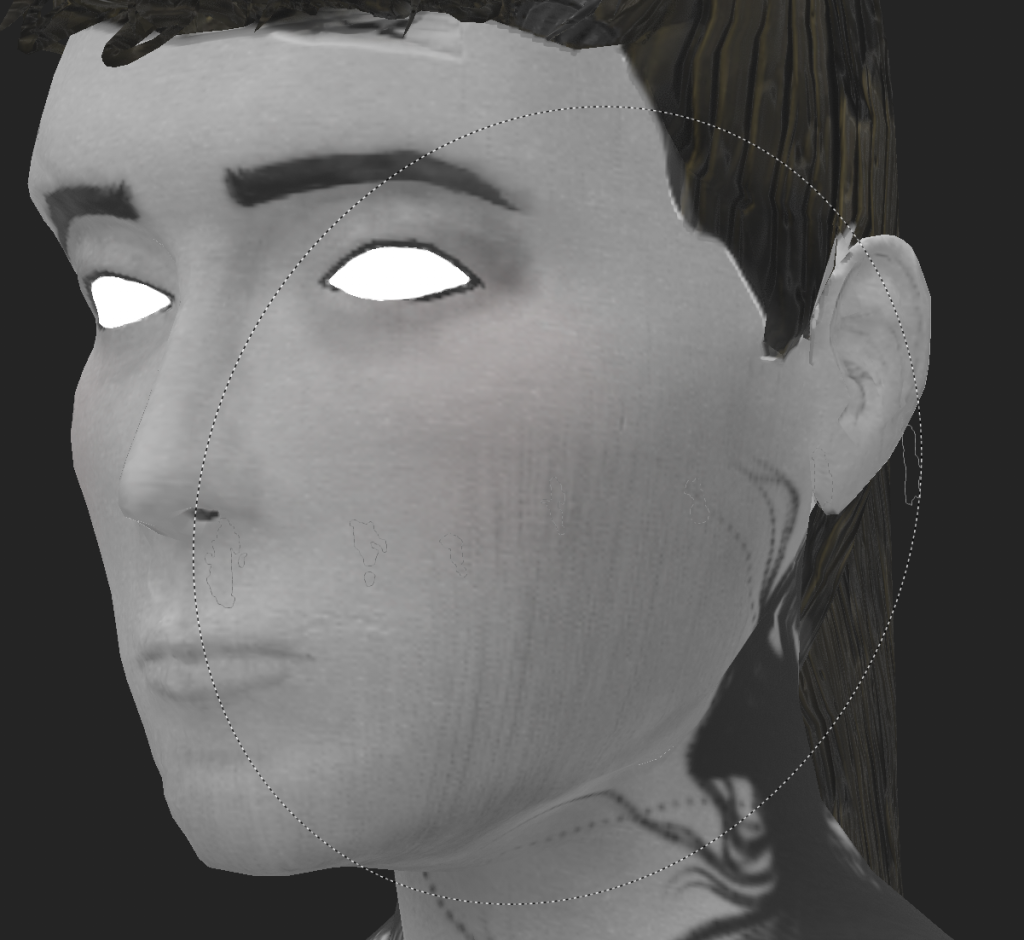
None of the brushes were able to create the cross hatching look i had in my sketches and it looked too harsh on the actual character and hid some of the features. However when I was testing different brushes I found a heavy water leak brush that added lines down the face that felt like a nice compromise between the crosshatching and leaving the model without it.
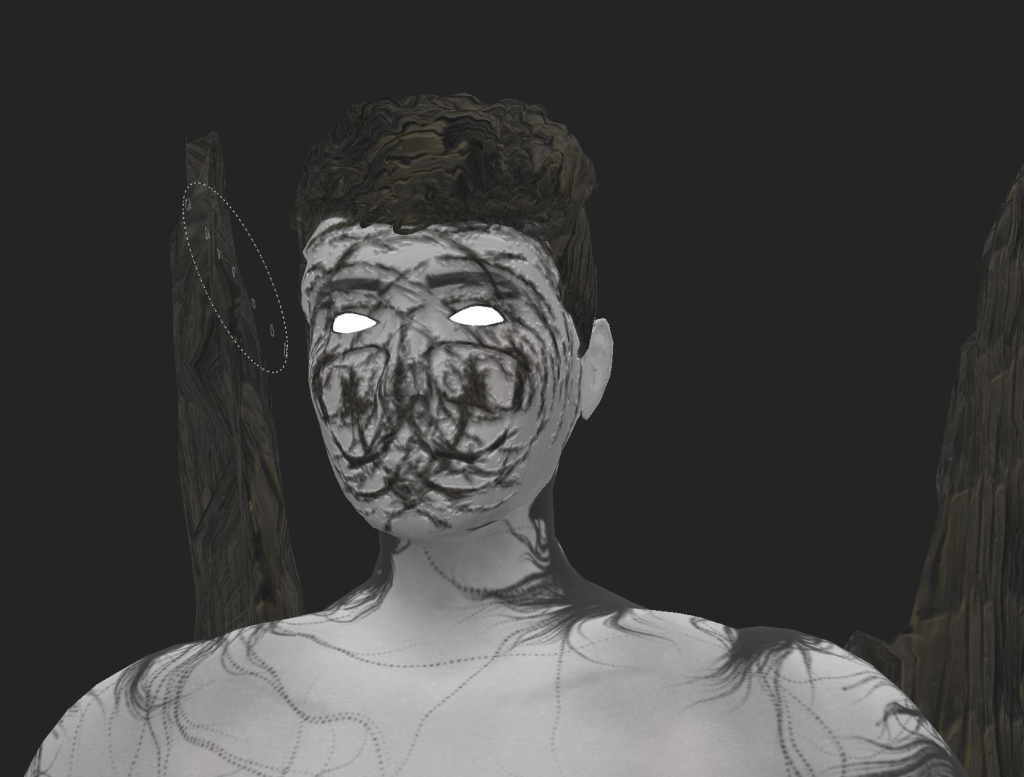
I also tested out a rake brush for cross hatching which didn’t work but it did make the character look really creepy and although I decided not to use that for the final character as it obscured the facial features I did think it had the right feel for the character.
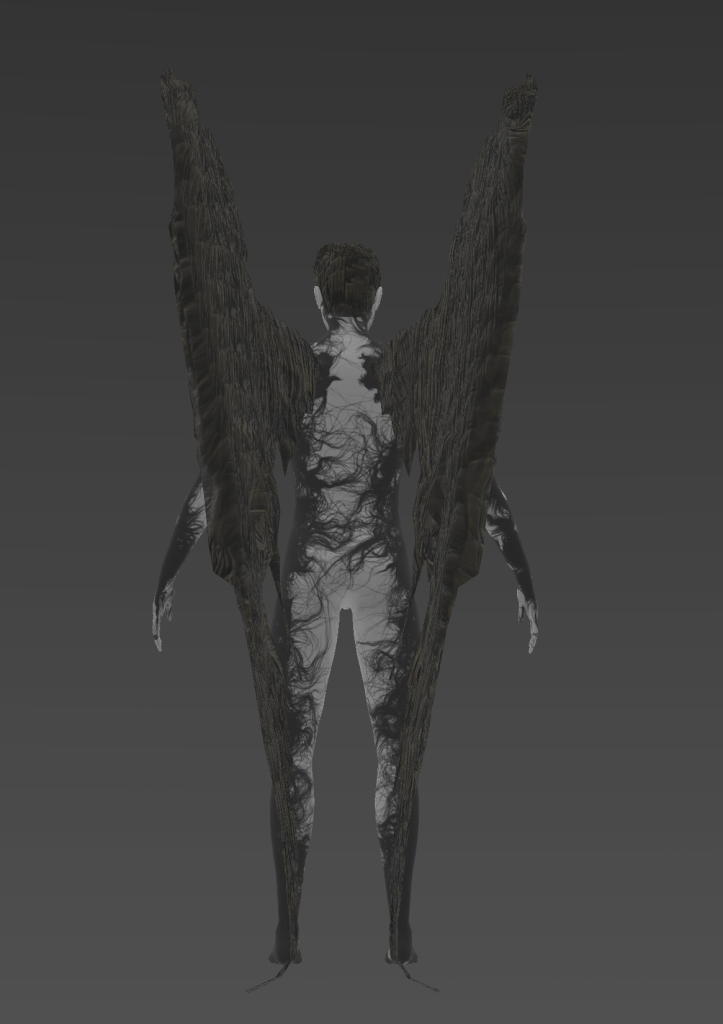
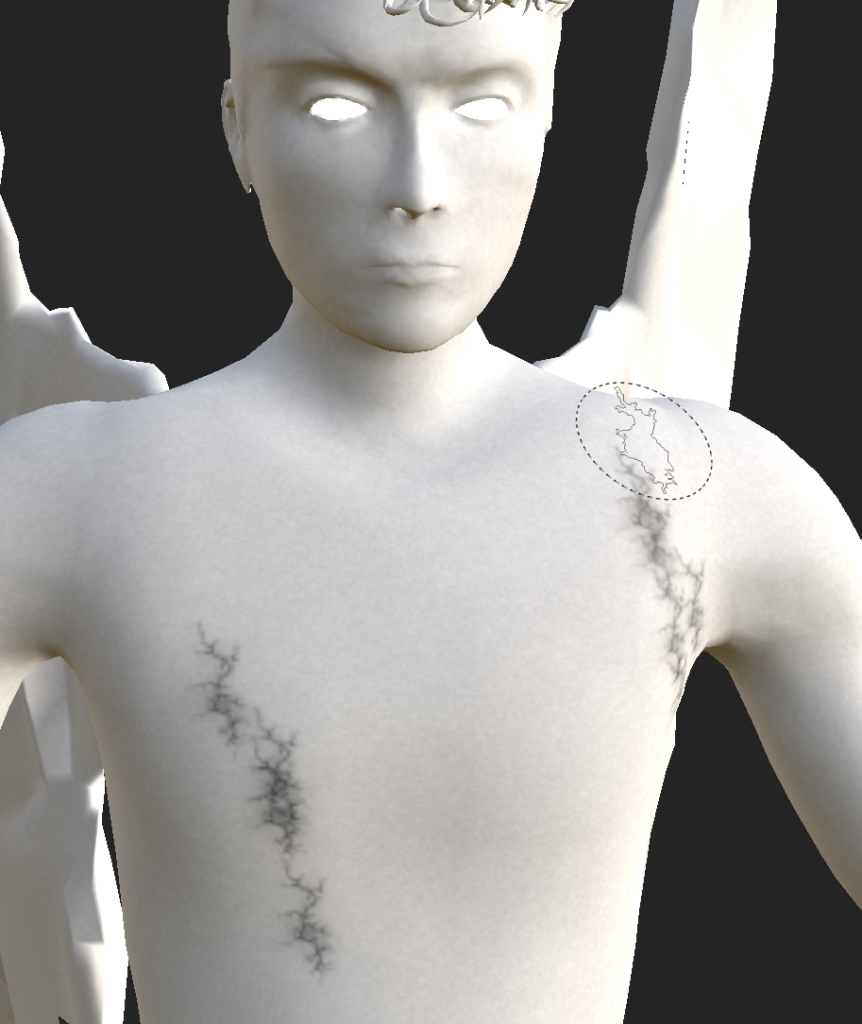
I settled on using the organic lines brush because it suits the theme I was aiming for with the connection to nature.
Lighting Rig
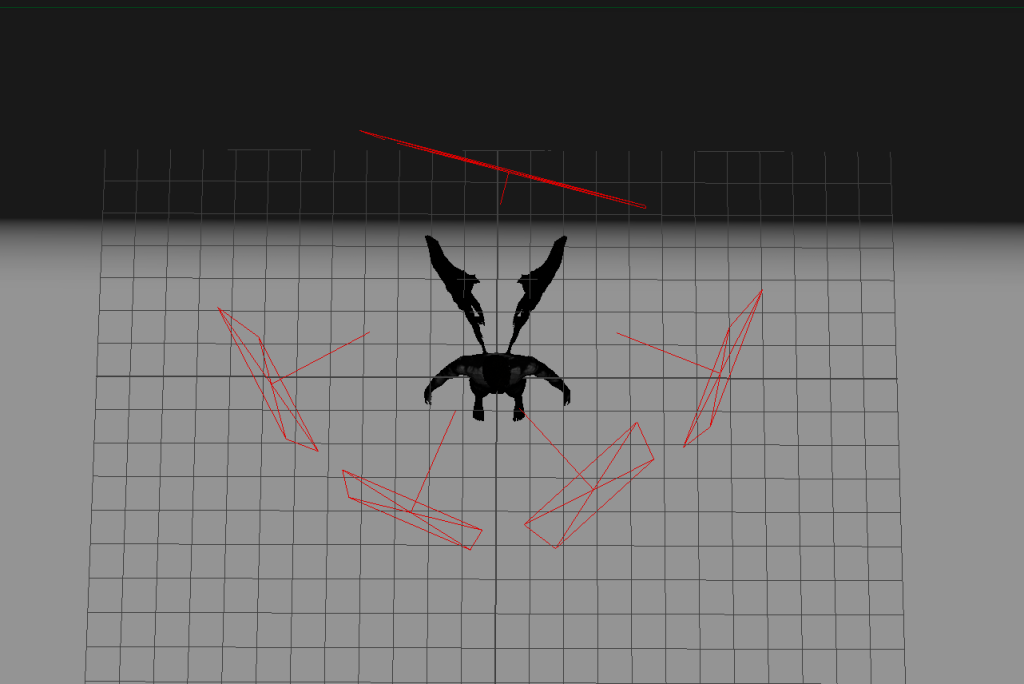
I started with a three point lighting set up but added two more on the sides as the wing material was hard to see in the renders. I made the rim light red as I thought it would make the renders more visually interesting however it didn’t end up very noticeable.
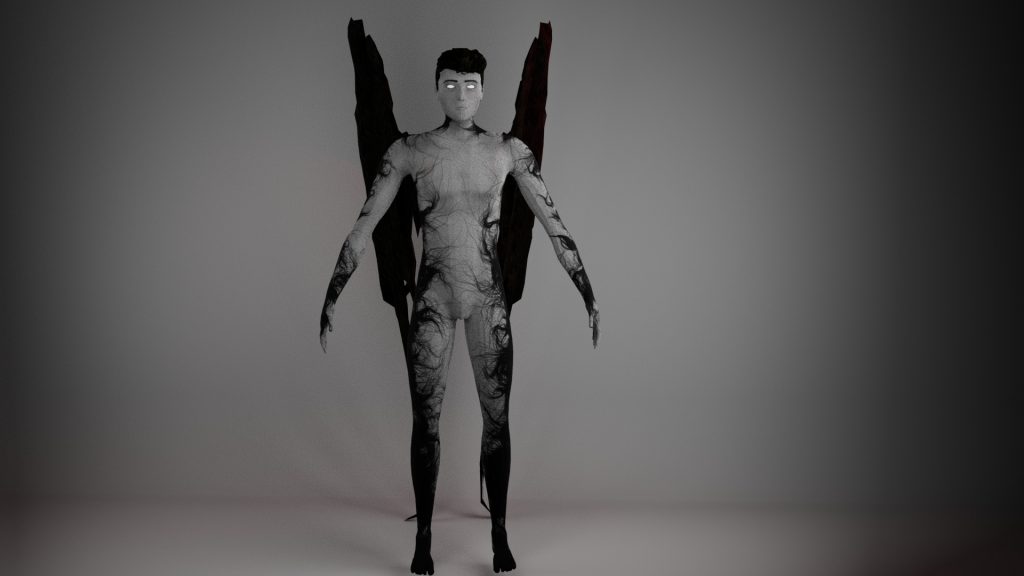
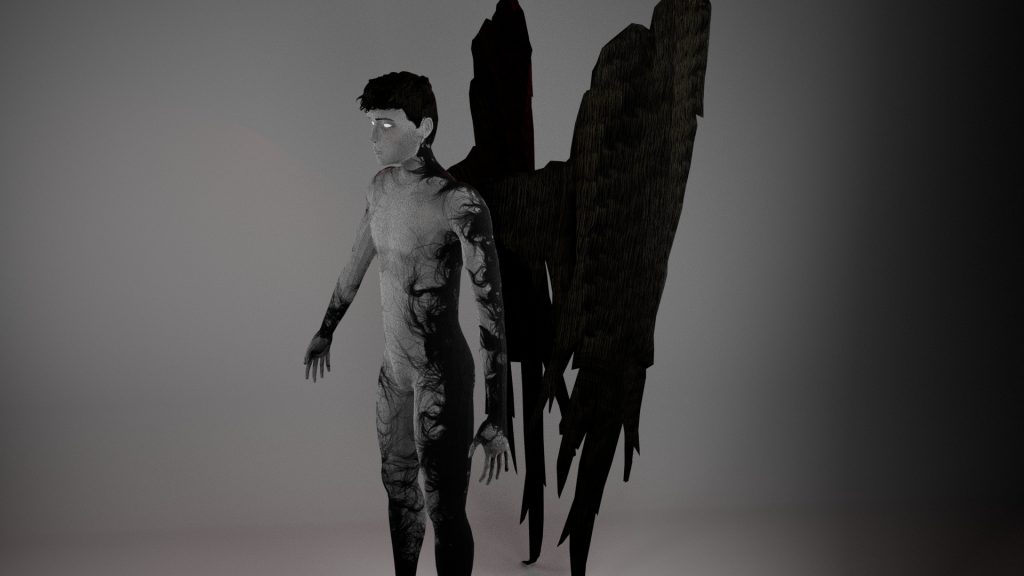
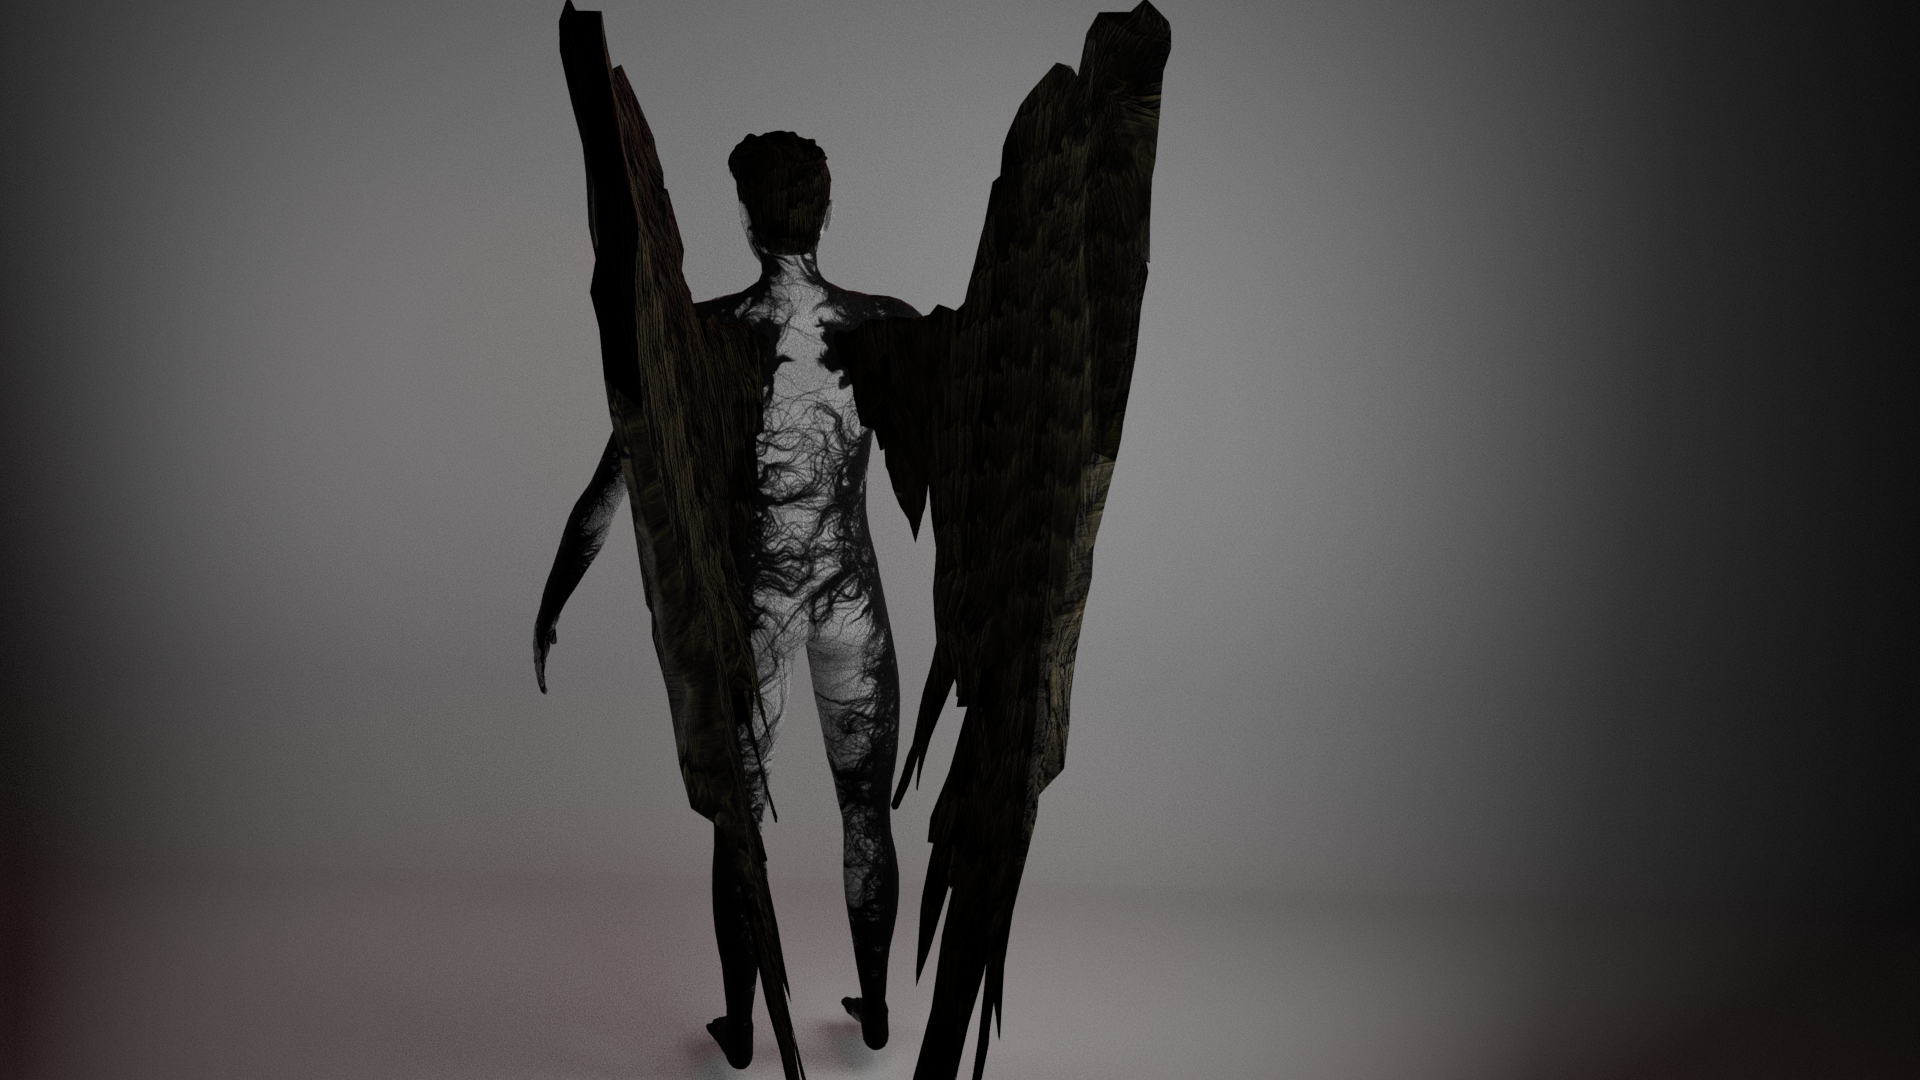
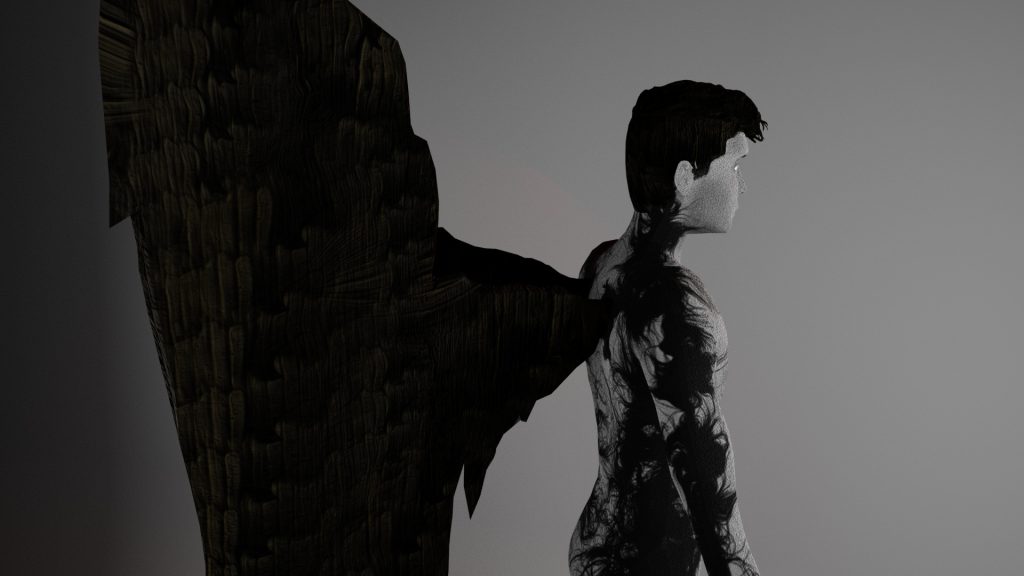
Final Renders

Reflection
I am pleased with the look of my finished character especially the texture I made for the body because I feel it is a good execution of my final designs. Since it was retopologised it has a low enough polycount to be suitable for animation and it looks polished.
I think the colour scheme and texturing gives the character a sinister or ominous feel which is what i was aiming for with a dark fantasy concept.
One of the biggest problems I had during this project was with retopologising the wings and hair due to the gaps and dips in the mesh so if I were to create this character again I would model the wings by making their approximate shape out of a sphere and then add feathers on top of that to prevent any gaps. I would also make the feathers much thicker and have rounder edges as the sharp, slim edges were very difficult to connect the retopology across. I would follow a similar method with the hair and also create fewer strands of stylised hair to reduce the amount of retopology that would need to be done.
I would also keep a non-decimated version of my mesh for baking in substance painter and keep the eyes, wings and hair separate from the body in Zbrush so they could be textured separately in Substance Painter.
I do think the shape of the wings could’ve been sharper and more angular like my initial designs to portray the dangerousness of the character but I think the character does still read as dangerous or scary int he final design.
If I were to texture my asset again I would be less heavy-handed with the shading I added as once it was imported into maya and rendered the material looked much darker than it did in substance painter so i think it could be improved by testing rendering while creating the textures in Substance Painter to ensure the final product will look like the version in Substance Painter. Even though the final character was darker than I intended I think the textures fit together well and look good on the finished product.
References
Ana Carolina Art (2021) Fats Way to Sculpt Hair in ZBrush [Video] Available Online: https://youtu.be/smBp4wp-DPw?feature=shared [Accessed 18/12/23]
crookedcrowmaskspt (n.d.) Barn owl Masks [Photograph} Available Online: https://pin.it/444g9pZX6s [Accessed: 4/10/23]
Defenestrated Juggalo (n.d.) [Digital Art] Available Online: https://pin.it/JUSR2Lxc2 [Accessed: 4/10/23]
Ginanjar Ceasar (n.d.) crow vector set, raven vector set [Digital Art] Available Online: https://pin.it/66bvthDDgx [Accessed: 4/10/23]
HB (n.d.) Screenshot from #webtoon called covenant [Screenshot] Available Online: https://pin.it/7796rMmrS9 [Accessed: 28/11/23]
hornystiel (n.d.) Day 1 – Liminal [Digital Art] Available Online: https://www.tumblr.com/hornystiel/730004449224998912/day-1-liminal?source=share [Accessed: 2/10/23]
hornystiel (n.d.) hello dean [Digital Art] Avilable Online: https://www.tumblr.com/hornystiel/725834881078312960/hello-dean?source=share [Accessed: 15/11/23]
mecha_marokko (2013) [Photograph] Available Online: https://pin.it/6Q80auh7R [Accessed: 9/10/23]
Olivia C (n.d.) Crow Mask (leather beak) [Photograph] Available Online: https://pin.it/6iZUeKmIF [Accessed: 4/10/23]