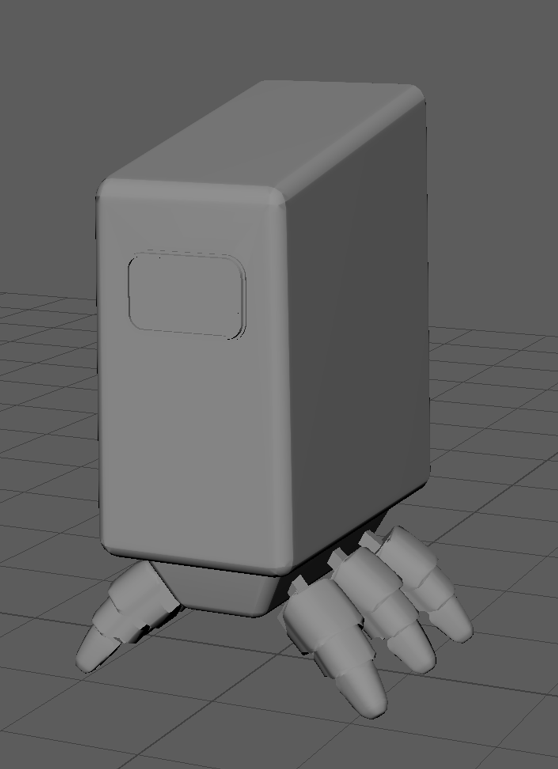
Modelling
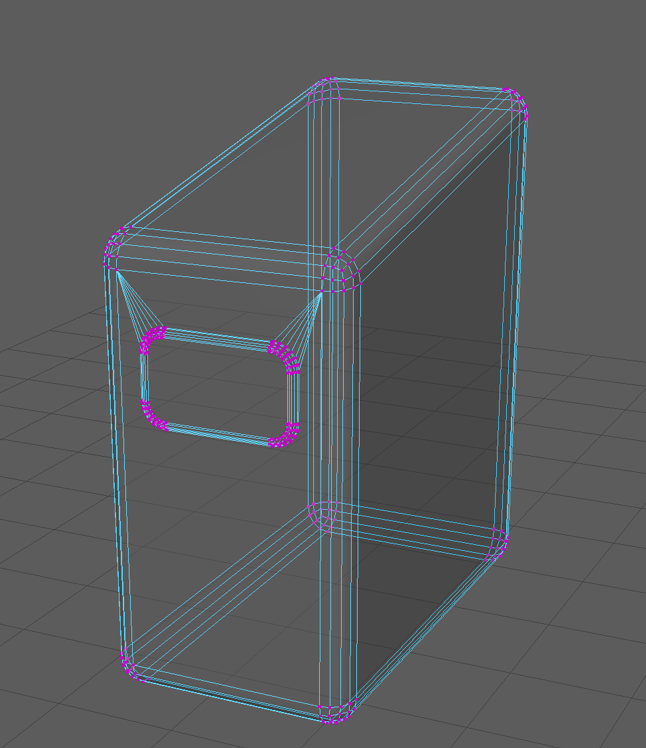
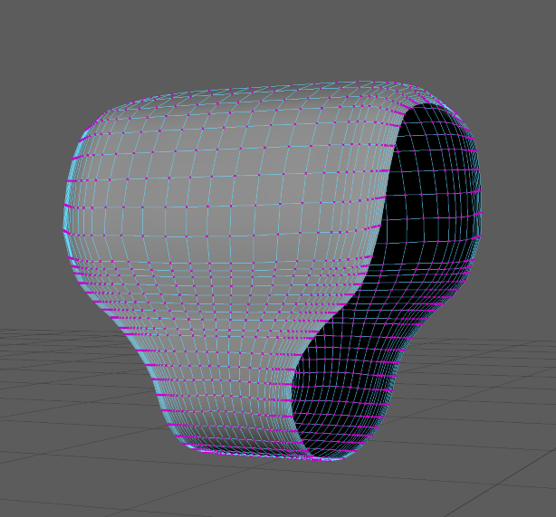
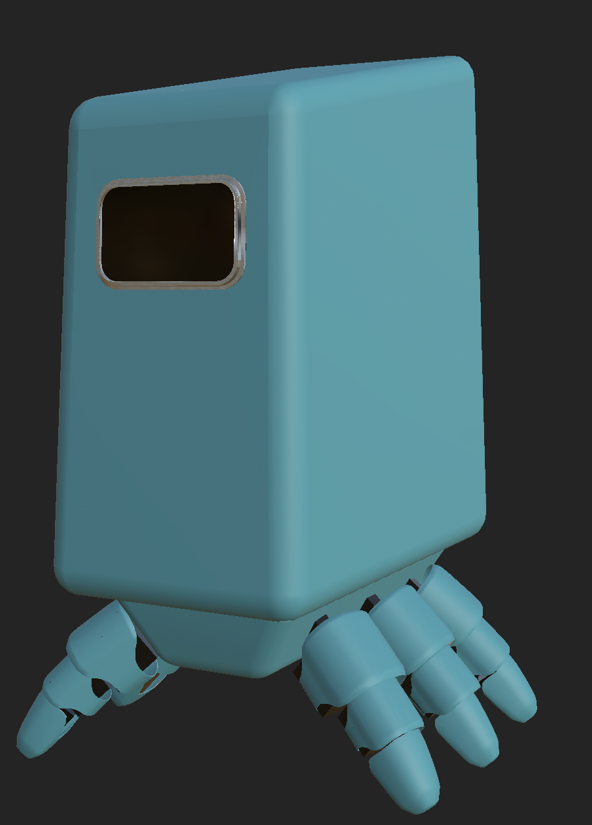
To create the body shape I scaled a cube to make it taller and deeper, then bevelled all the edges to make it the same rounded shape as my robot design. I selected the vertices of the back top corner and transformed them upwards to created the sloped back.
Then to create the edges of the screen for the face I used the multi-cut tool to created edges in the shape of a rectangle on the front face. I then extruded this new face and bevelled the corners to make the rounded rectangle before extruding and offsetting it a few times to create a multi-lipped edge.
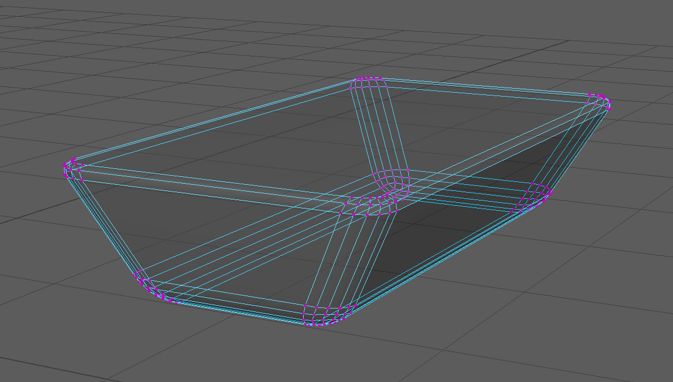
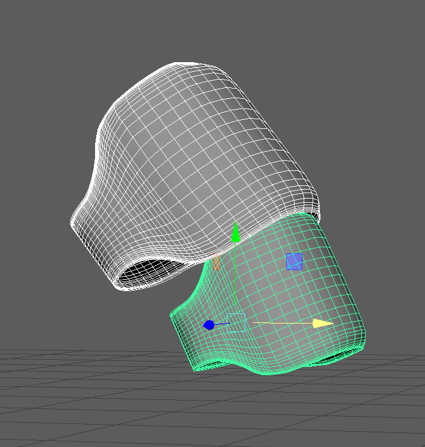
The place where the legs attach was made in a similar way with the vertexes on the bottom face of a cube being scaled before all the edges were bevelled. The top edges were bevelled separately from the other edges as it is where it would attach to the body so I thought having it bevelled would make it harder to attach if it were a real object being built.
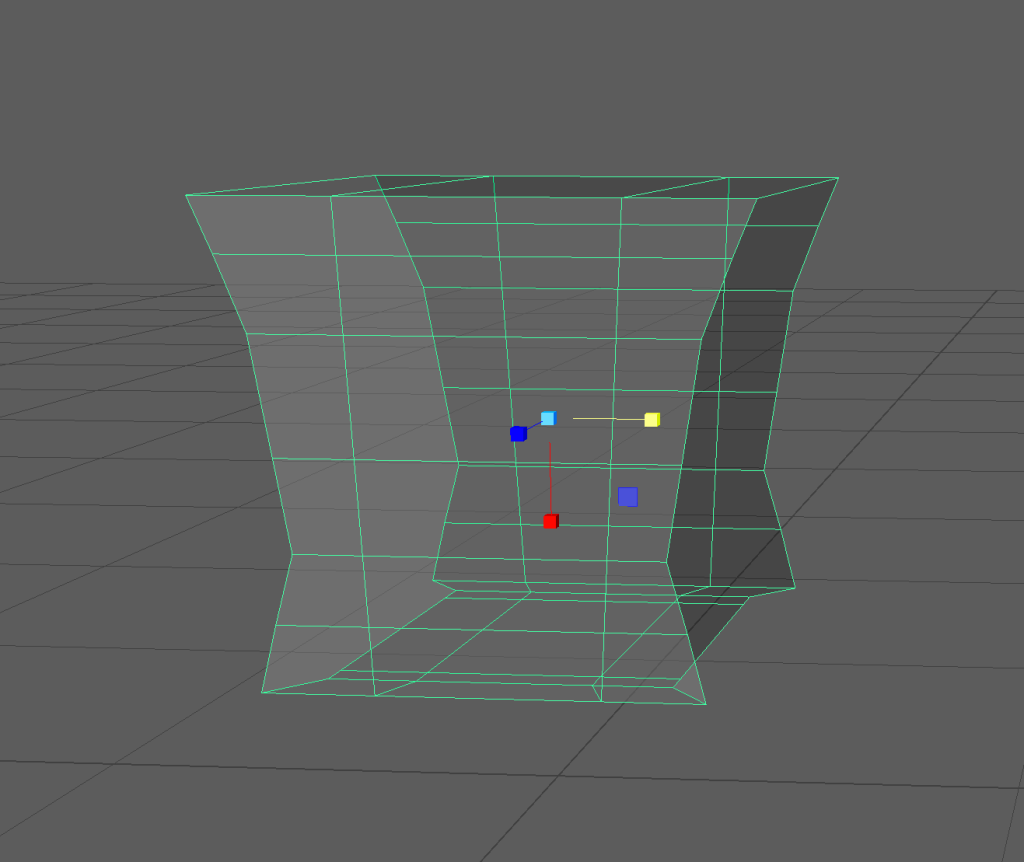
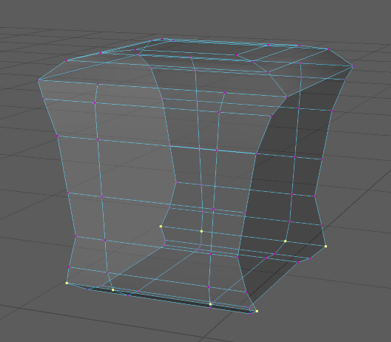

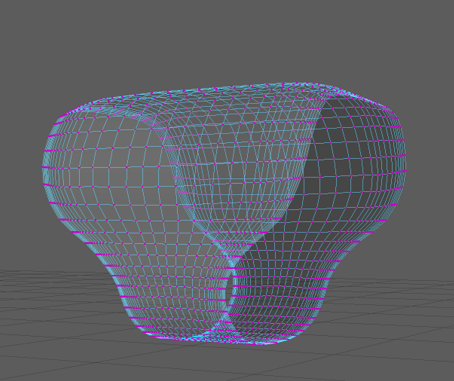
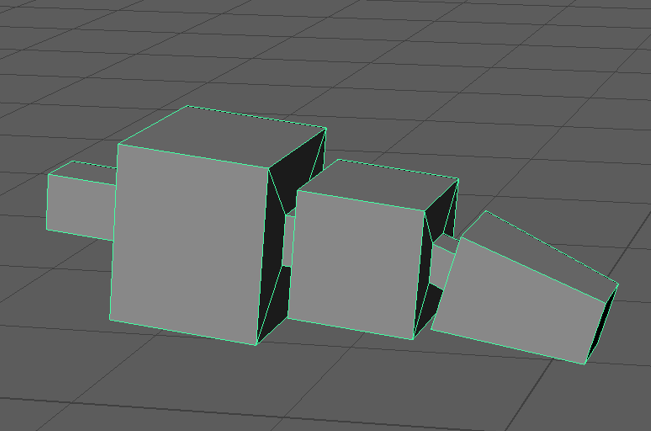
This was my first attempt at making the covers for the legs. I started by deleting two opposite faces of a cube and then used the multi-cut tool with symmetry on to create edge-loops around the faces to allow me to manipulate its shape. I then switched to vertex mode and used the scale tool to push out the vertexes on the corners . I then extruded and bevelled the edges of the top face to make it more rounded. After that I switched back to vertex mode and used the transform tool to shape the bottom and sides closer to the shape I was aiming for.
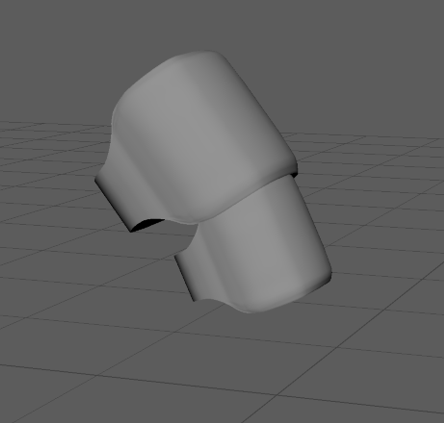
Since I extruded the top face edge-loops did not pass all the way around this object meaning it could not become the shape I wanted so I abandoned it to try again without extruding the top face.
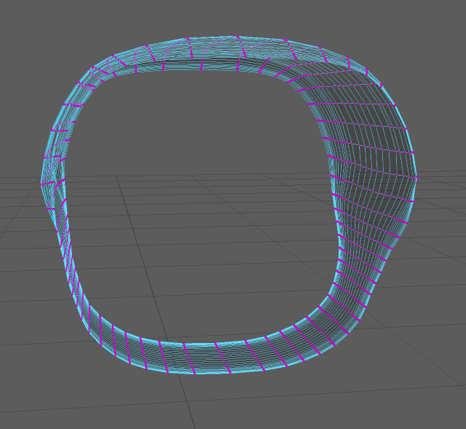
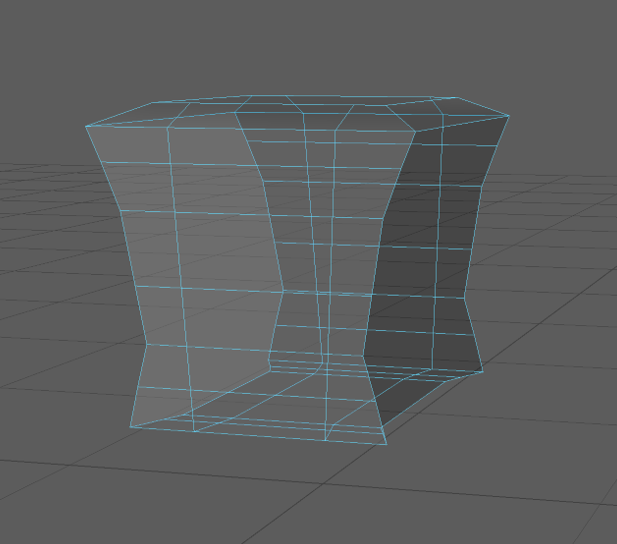
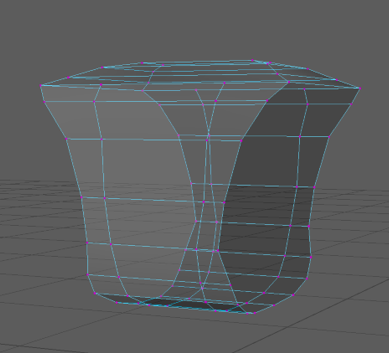
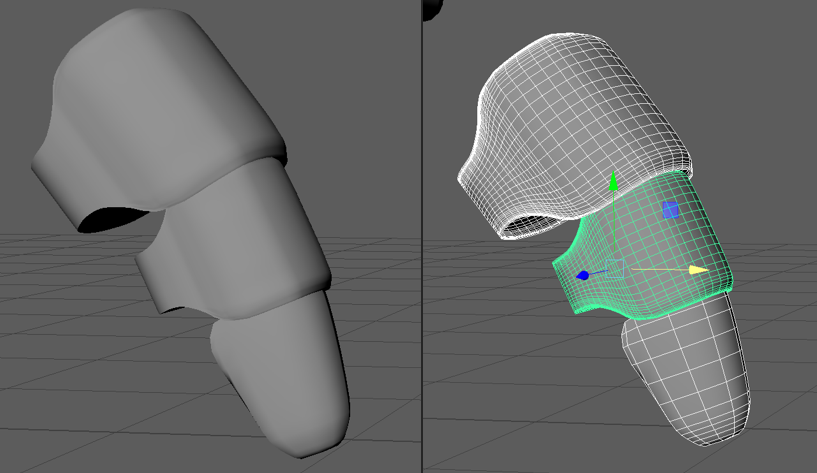
To avoid encountering this problem again I created edge-loops around the new square tube shape then adjusted the vertices to be closer to the shape I was aiming for. Then I selected the vertices on the bottom third of the object and scaled them down on the x axis and then scaled down the vertices above them row by row to create a smooth curve between the two widths.
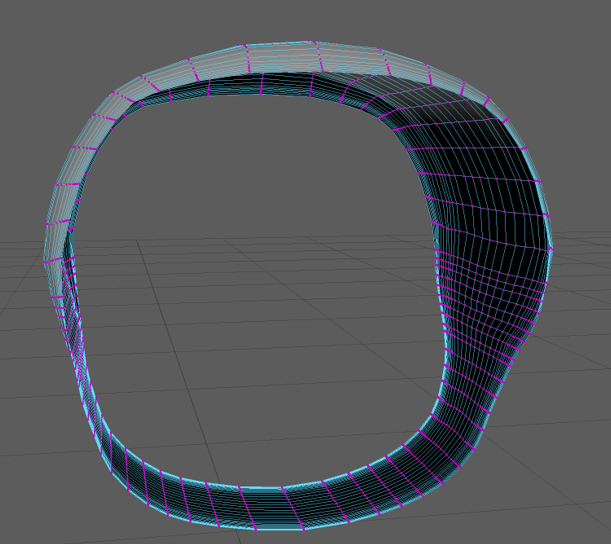
To make the leg covers curve in on the top edges I selected the edge vertices and scaled them down on two axes using symmetry on the z axis to adjust both sides evenly. This created my finished shape for the leg covers.
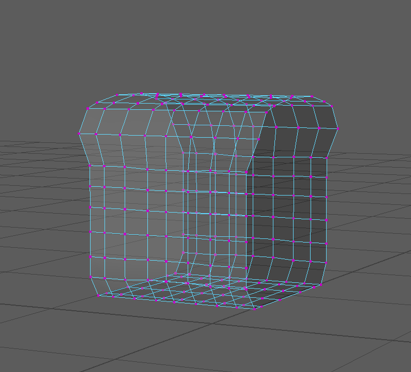
I then duplicated the model and scaled it down to slot the first two pieces of the leg together.
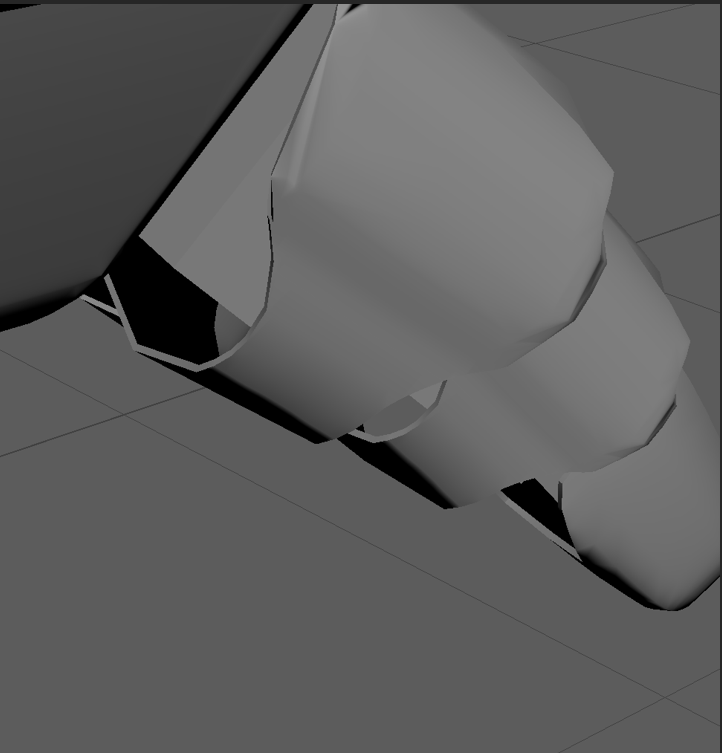
To create the foot I almost repeated the same steps as for the other leg pieces but I only removed the top face from the cube and added an edge-loop to halfway down to remove an adjacent face so that it was half open on the back. Then I just added a few more edge-loops and scaled the vertexes on the bottom to be closer together a row at a time.

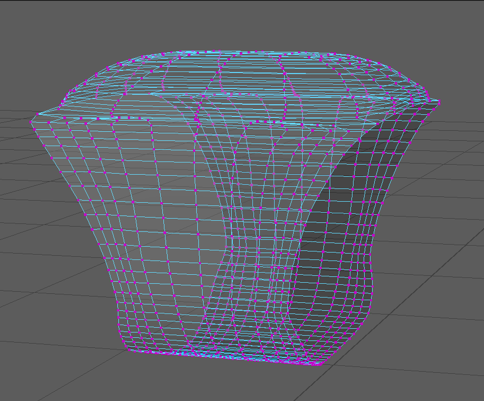
To reduce the poly count of the legs I used the mesh reduce function however this made the faces odd shapes which then made the shape look really spiky when it was put into substance painter so I redid this step and reduced it by a lower percentage which upped the poly count but allowed for a smoother shape.
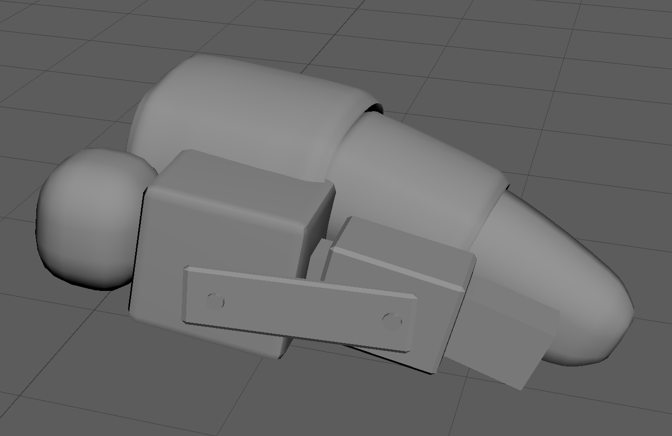
This is the first model I made for the interior of the leg but it was very high poly due to the rounded end, that I made by using the add divisions function on a cube, and the brackets on the side made it hard to fit into the leg covers so I made a new lower poly version by extruding a cube.
I then put it all together and merged it which later caused problems when I had to go back and edit parts of the model so I used the separate tool to break it back up and grouped it instead.
After getting some feedback that using single plane objects would cause issues with the texturing I went back to the model and extruded the faces on the leg covers.
UVs
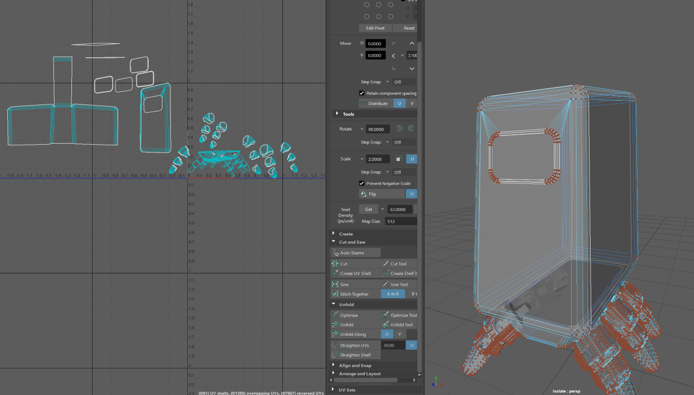
I encountered lots of issues while making custom UVs and had to re-do them multiple times due to them losing their shape when being unfolded despite having seams in the same places that later unfolded fine but I eventually managed to create some that unfolded well.
I used the camera based auto UVs and then cut and sewed them to unfold them into new shells.
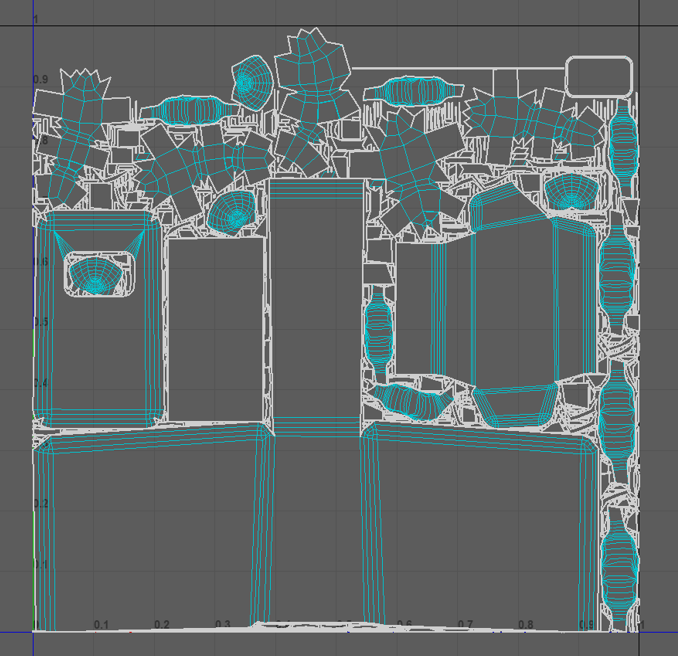
This was the first set after using the automatic layout tool.
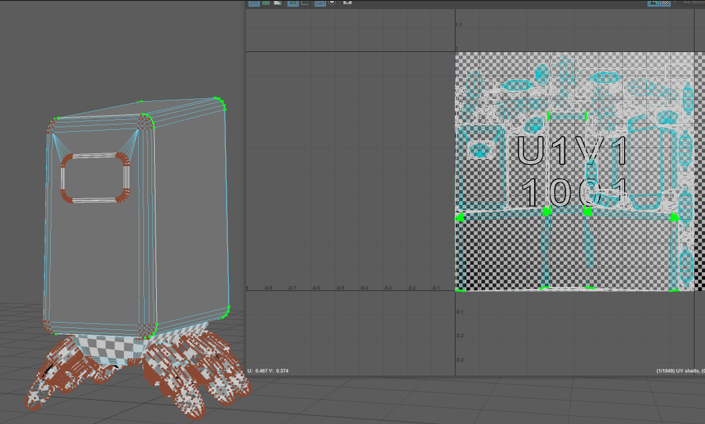
The first set kept having five copies of each shell so I deleted four copies so there were one but this caused issues in substance painter where the textures would not show up on the body as it was a different duplicate than the rest of the shells.
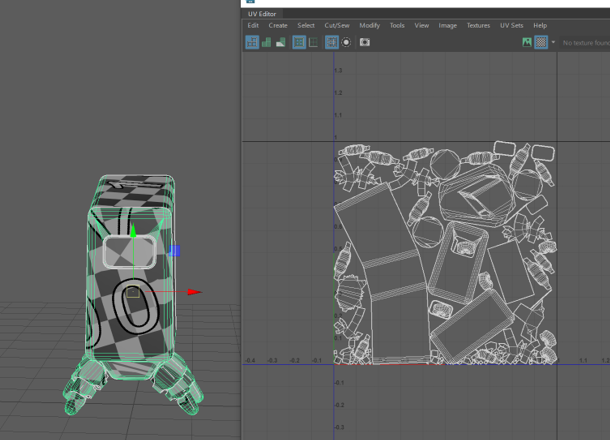
I then realised I had forgotten to add different textures to each part of the model so I went back and added them so i could paint them all separately in substance painter.
Substance Painter
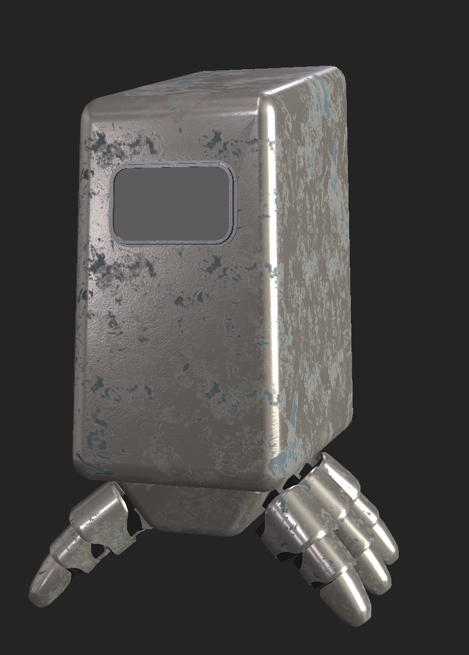
I painted basic textures onto each different texture with the body and legs being a white matt plastic, a metal edge to the face screen and black internal components for the legs as my original idea was for the robot to be black and white however I didn’t like the way it looked and when I asked my peers they also agreed the body needed a more interesting colour.
I tried out a smart material but found I didn’t like the result of it and wanted to instead paint details into the texture and use grunge masks.

I tested red and teal painted steel as the new texture and opted for the teal as I felt it fit the sci-fi dystopian theme more.
I then adjusted the colour to a more desaturated and slightly lighter version of the colour.
I added two grunge masks by creating fill layers, adding a black mask then another fill before adding the grunge. I used a dust layer and then a layer with scratches which i adjusted to suit my robot by reducing the amount of scratches and making them shorter and thicker.
I also found an alpha for the brush called burn which created the patches where the metal under the paint is visible.
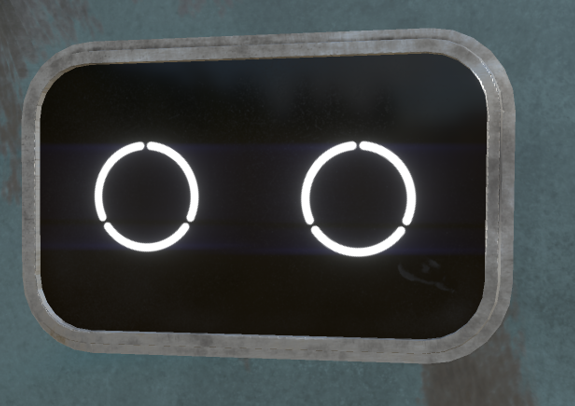
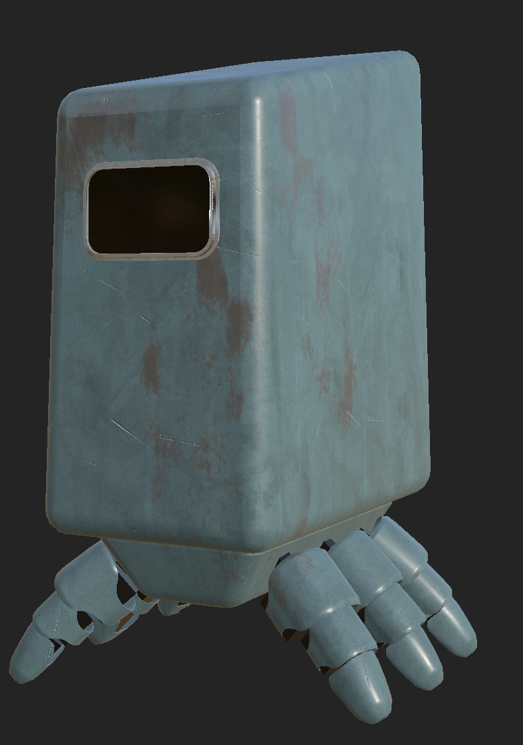
I added an emissive channel to create the glowing eyes in the screen and then added some fine dust to the screen with a brush. I also added a fingerprint smudge on the screen and erased the dust in the less visible part of the fingerprint to make it stand out more and look more realistic as a finger smudge would remove the dust from a screen.
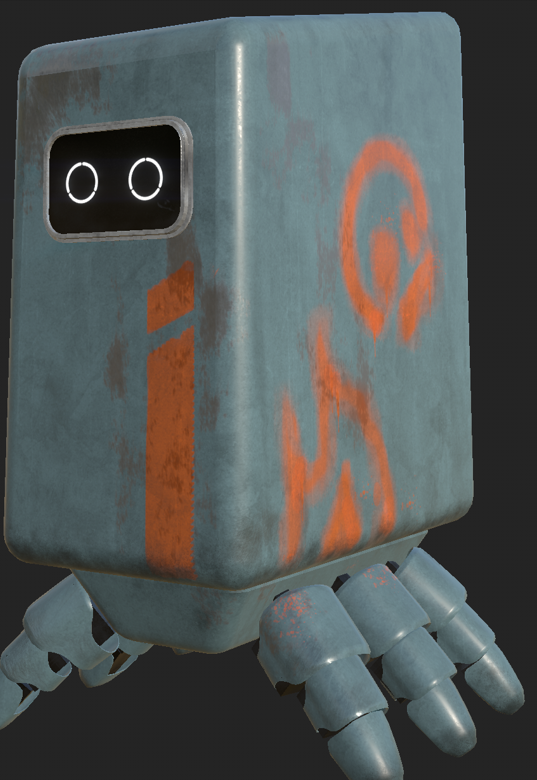
I then used various dirt, drip and spray brushes to create the paint designs to make it looks like it had been spray painted. I chose a bright orange as it is a contrasting colour to teal so it makes the duller teal look brighter. The design on the front has clean edges and no splashes around it as in the story it was created using a stencil while the designs on the side are made with fine dots that are higher opacity towards the centre of the lines to replicate how spray paint works. In the places where the spray paint drips there’s also higher opacity above the drips as you have to apply a lot of spray paint to one area before it has enough to run.
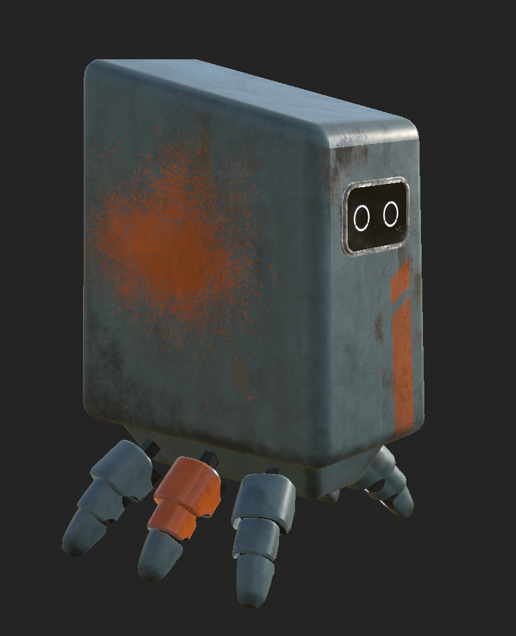
The other side of the robot has a splattered design that can be made by half pressing down the nozzle of a spray paint can. In the story the person who created this robot was experimenting with the paint as they created it out of boredom and loneliness.